Draw an elf with @Dzvinka
Draw a friendly elf step-by-step with artist @Dzvinka, practicing shapes, colors, and facial expressions while learning simple sketching techniques creatively.

Drawing Apps
Step-by-step guide to draw an elf with @Dzvinka
Step 1
Gather your materials and find a comfy spot to draw.
Step 2
Lightly draw a circle for the elf's head while following artist @Dzvinka.
Step 3
Draw a vertical and horizontal guideline across the head to help place the face.
Step 4
Sketch a rounded triangle or tunic shape under the head for the elf's body.
Step 5
Draw simple arms and legs attached to the body using curved lines.
Step 6
Add a long pointy hat on top of the head with a little pom-pom at the tip.
Step 7
Draw two round eyes with small dark pupils and a tiny sparkle in each eye.
Step 8
Draw a small button nose in the middle of the face.
Step 9
Draw a friendly smiling mouth to show your elf is happy.
Step 10
Add eyebrows and light rosy cheeks to give your elf expression.
Step 11
Add simple clothing details like a collar or buttons and little elf shoes.
Step 12
Trace your favorite lines carefully with a black marker or pen to make them bold.
Step 13
Gently erase any leftover pencil guidelines and smudges.
Step 14
Color your elf with bright friendly colors while following artist @Dzvinka.
Step 15
Share your finished elf drawing on DIY.org and tag artist @Dzvinka.
Help!?
What can I use instead of a black marker or pen if I don't have one?
If you don't have a black marker or pen for the step 'Trace your favorite lines carefully', use a dark-colored pencil, fine-tip felt marker, or a sharpened crayon to make your lines bold.
My pencil guidelines smudge when I color—how can I avoid that?
To prevent smudging when you follow Steps 2–3 and later color, draw the head and guidelines lightly, let any ink dry fully after tracing in Step 13, and gently remove leftover pencil guidelines with a clean eraser in Step 14.
How can I adapt this drawing activity for different ages?
For younger children, simplify Steps 2–6 by focusing on the circle head, tunic shape, and basic arms and legs with crayons, while older kids can add facial details, clothing patterns, shading, and follow Step 13 to trace and Step 14 to color more precisely.
What are some fun ways to extend or personalize the elf after finishing the drawing?
After coloring in Step 14 you can personalize the outcome by adding a festive background, unique patterns on the hat and tunic, a name tag, or turning the piece into a holiday card to share on DIY.org and tag @Dzvinka in Step 15.
Watch videos on how to draw an elf with @Dzvinka
How to Draw a Elf on a Shelf
4 Videos
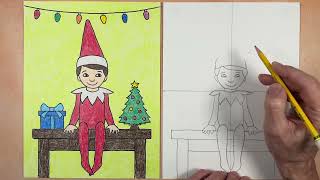
How to Draw a Elf on a Shelf
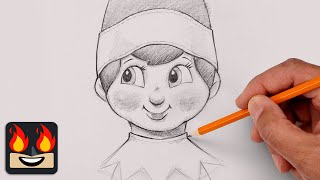
How To Draw the Elf on the Shelf | Sketch Tutorial
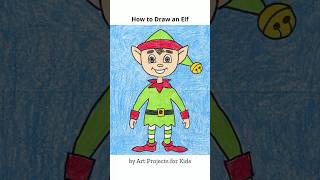
How to draw an Elf

Cute Elf Drawing - Part 1 | Step-by-Step Tutorial
Facts about drawing and sketching for kids
🧝 Elves in folklore go back centuries and were often seen as magical, tricky, or protective beings — not just the friendly helpers we draw today.
✏️ Many artists start characters by combining a few simple shapes (circles, ovals, triangles) — it's a fast trick to build a friendly elf.
🎨 Warm colors (reds, oranges, yellows) feel energetic while cool colors (blues, greens, purples) feel calm — use them to set your elf's mood.
🙂 The human face uses roughly 40–50 muscles to make expressions, and cartoonists exaggerate a couple of features to show feelings clearly.
⏱️ Short, regular sketching sessions (even 10–15 minutes a day) help kids improve faster than rare long practices — consistency builds skill.
How do I draw an elf with @Dzvinka step-by-step?
What materials do I need to draw an elf with @Dzvinka?
What ages is drawing an elf with @Dzvinka suitable for?
What are the benefits of drawing an elf with @Dzvinka?
