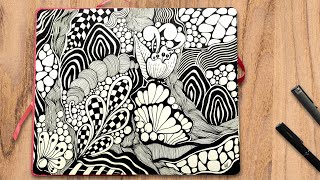
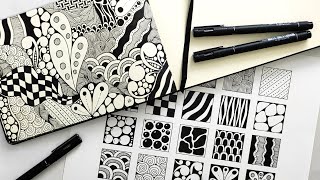
Draw a zentangle
Create a zentangle drawing by filling sections with repeating patterns using pencils and markers; practice focus, pattern design, and fine motor skills.

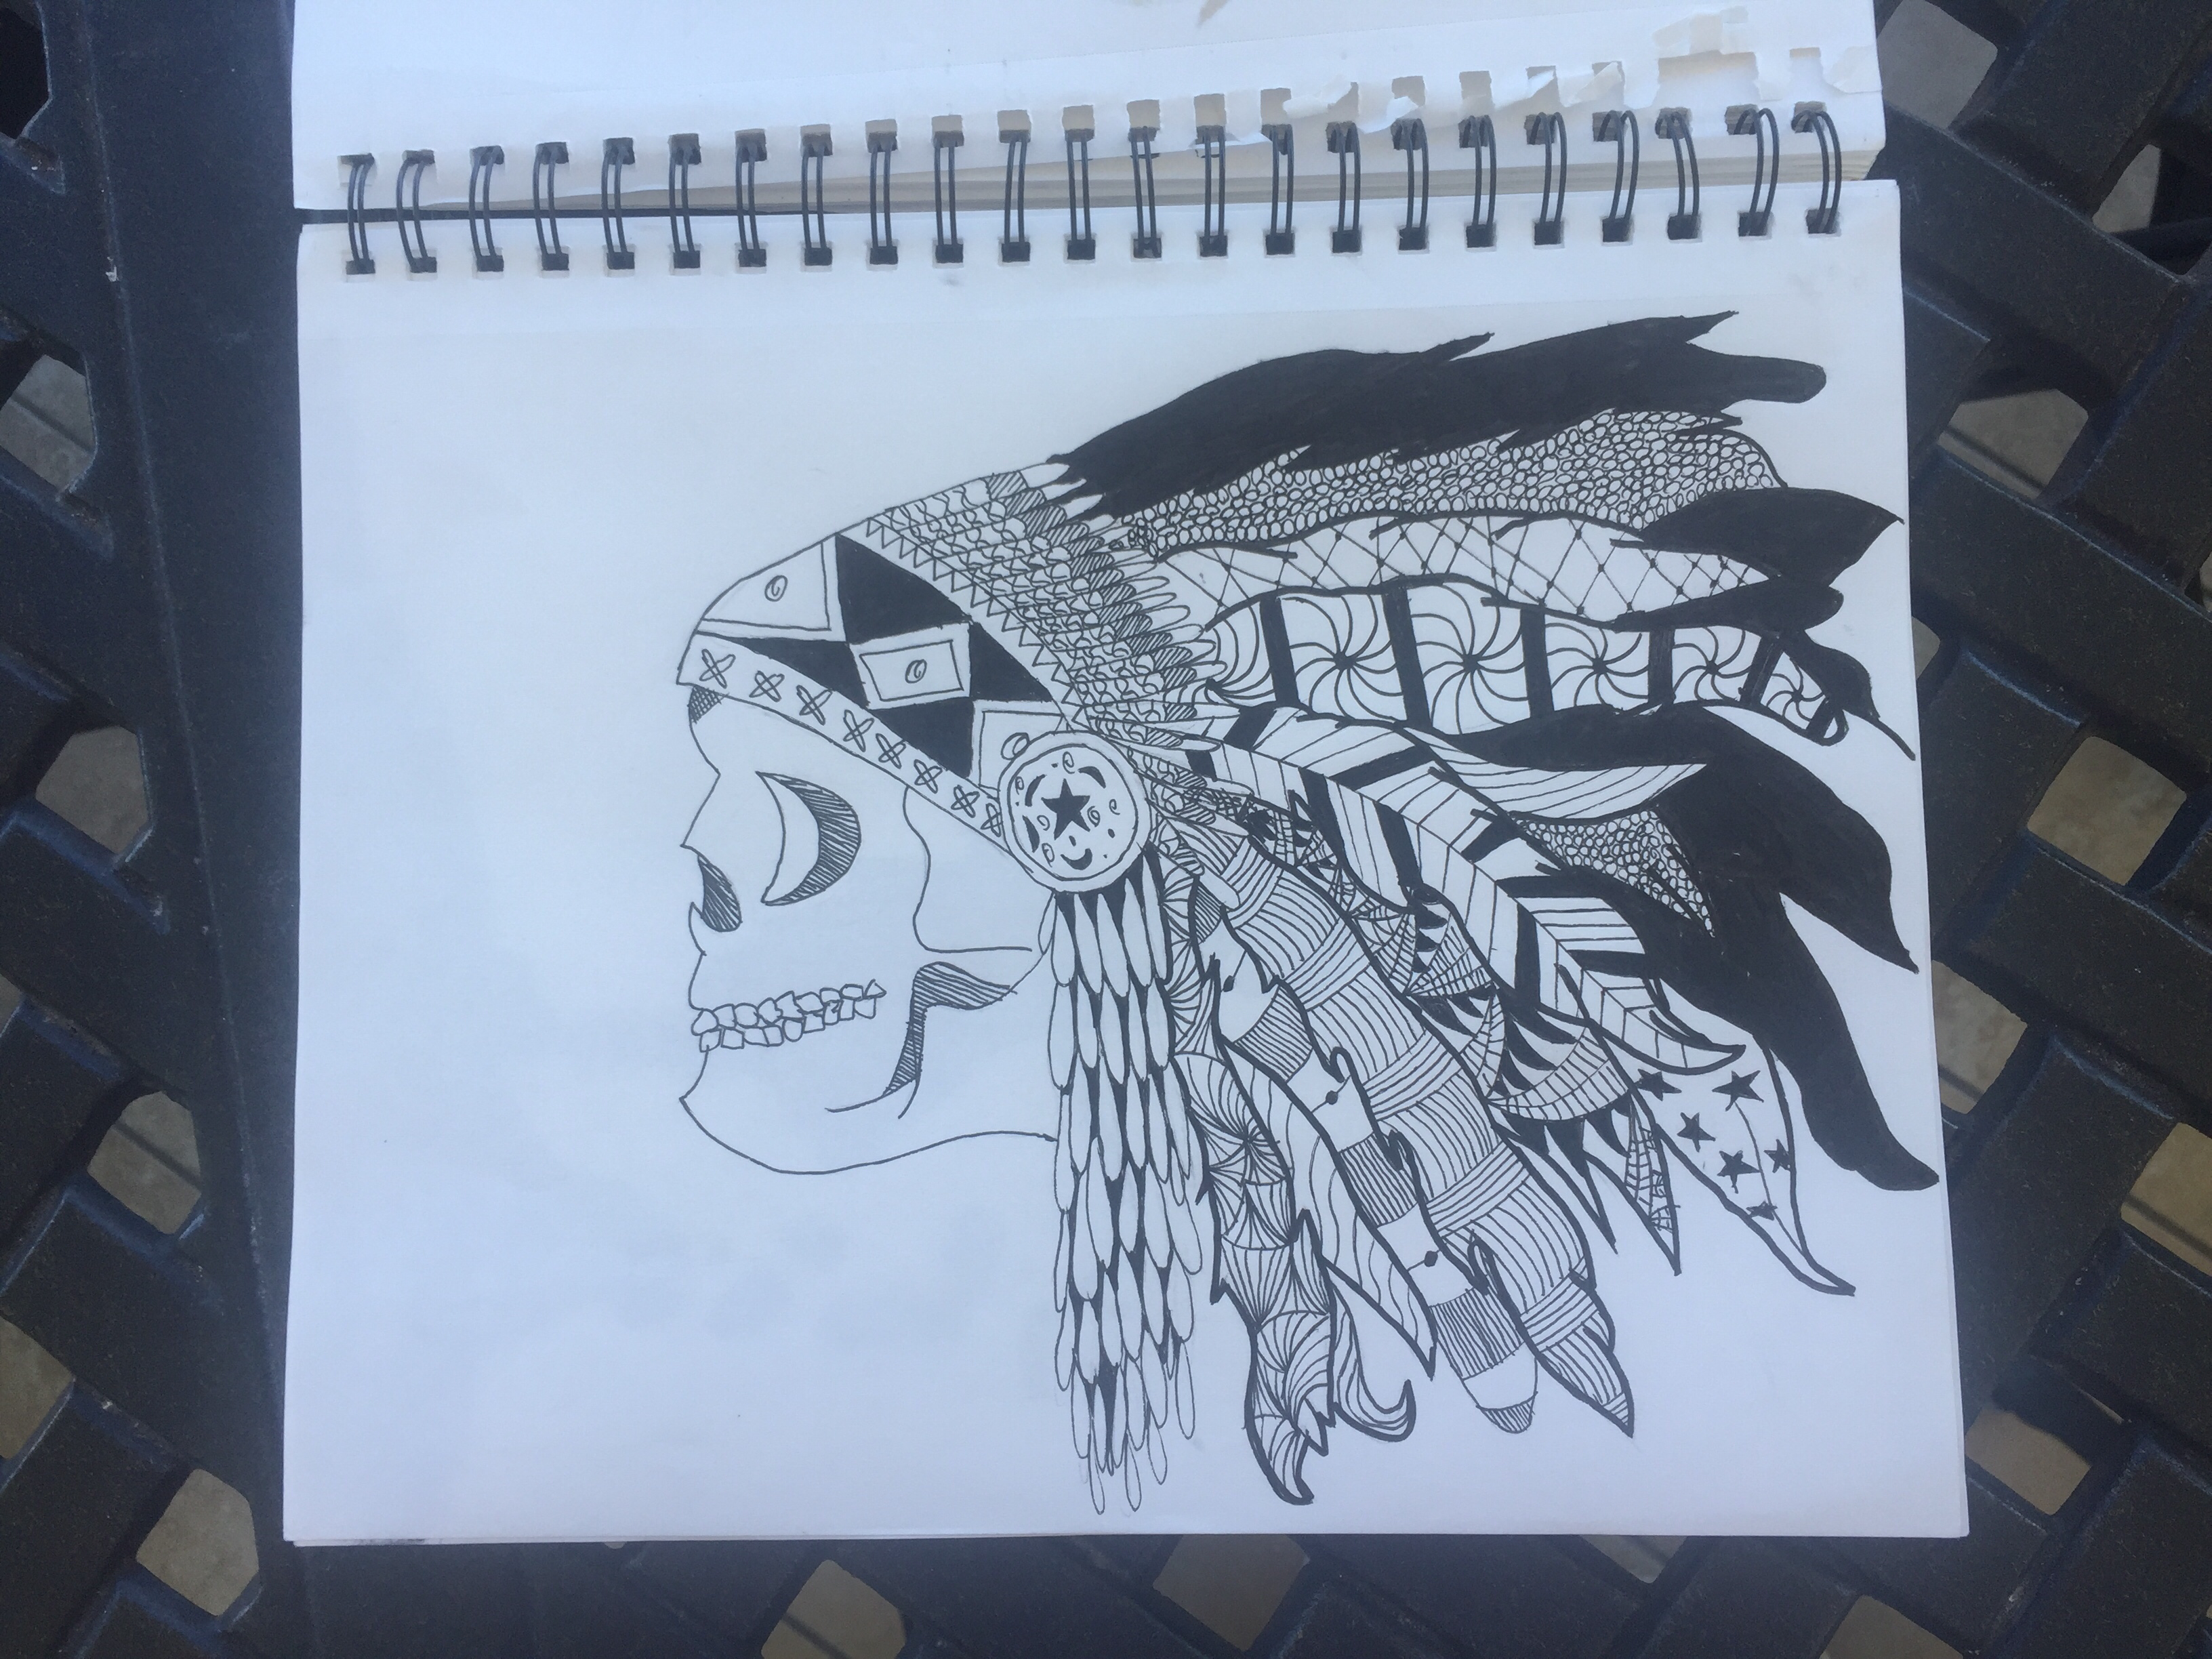

Step-by-step guide to create a zentangle drawing
Step 1
Gather all the materials listed above.
Step 2
Sit at a clean flat surface with good light.
Step 3
Place your paper in front of you.
Step 4
Lightly draw a large border shape (circle square heart) on the paper with your pencil.
Step 5
Draw 6 to 12 lines inside the border to make separate sections using your pencil.
Step 6
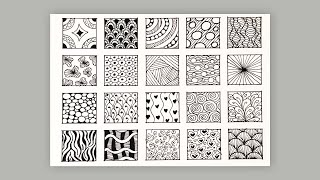
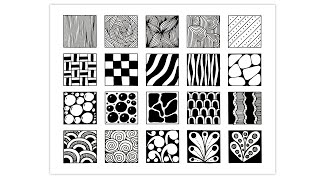
Choose a simple repeating pattern to try first (dots stripes waves loops).
Step 7
Practice that pattern once on the scrap paper.
Step 8
Fill one section with the pattern using your pencil.
Step 9
Trace over the pencil pattern in that section with the fine-tip black marker.
Step 10
Erase any pencil marks left in that section after the marker dries.
Step 11
Repeat Steps 6 through 10 for each empty section until all sections are filled.
Step 12
Add small border lines or extra dots between sections with the black marker to make your zentangle pop.
Step 13
Add color to some sections using colored markers or colored pencils.
Step 14
Share your finished zentangle creation on DIY.org.
Help!?
I don't have a fine-tip black marker or colored markers—what can I use instead for tracing and coloring?
Use a thin black gel pen or a sharp mechanical pencil to trace over the pencil pattern in Step 9 and substitute colored markers with colored pencils or crayons for Step 12 while still practicing patterns on your scrap paper from Step 6.
My marker smudged and the pencil marks won't erase cleanly—how can I fix this?
Let the black marker dry completely after tracing in Step 9 before erasing in Step 10, use very light pencil strokes when drawing the border and section lines in Steps 4–5, and practice pressure control on scrap paper (Step 6) to avoid smudges and stubborn pencil lines.
How can I change the activity to suit a 4-year-old or a 12-year-old?
For younger children, draw one large border and 6 big sections with simple dot or stripe patterns and use crayons for Steps 4–12, while older kids can make 12 small sections, practice intricate patterns on scrap paper in Step 6, and add detailed black marker embellishments in Step 11.
What are quick ways to personalize or extend my zentangle after I finish all sections?
Add themed details or small border lines and extra dots between sections with your black marker in Step 11, layer shading or metallic highlights when you color in Step 12, and then photograph and share the finished zentangle on DIY.org as the final step.
Watch videos on how to create a zentangle drawing
20 Easy Zentangle Patterns for Beginners | Step-by-Step Zentangle Doodle Art
4 Videos
20 Easy Zentangle Patterns for Beginners | Step-by-Step Zentangle Doodle Art
20 Zentangle Patterns for Beginners Step-by-Step Tutorial
Zentangle Art Step by Step | Easy Zentangle Patterns for Beginners
Zentangle Patterns for Beginners: How to Draw Simple Zentangle Designs
Facts about zentangle and pattern drawing
🌀 The Zentangle method was created by Rick Roberts and Maria Thomas and became a global drawing practice for relaxation and creativity.
✍️ Studies suggest light doodling can help people concentrate and remember information better than just daydreaming.
🎨 'Mandala' comes from the Sanskrit word for 'circle' and has been used for centuries as a meditative and decorative design.
🔁 Repeating patterns that cover a surface without gaps are called tessellations — artists use this idea in many zentangle-style fills.
🖍️ Mixing pencils and markers in one zentangle gives great effects: pencils add soft shading, markers add bold lines and color.
How do I guide my child to create a zentangle drawing?
What materials are needed for a child’s zentangle activity?
What ages is creating zentangle drawings suitable for?
What are the benefits and safe variations of zentangle for kids?
