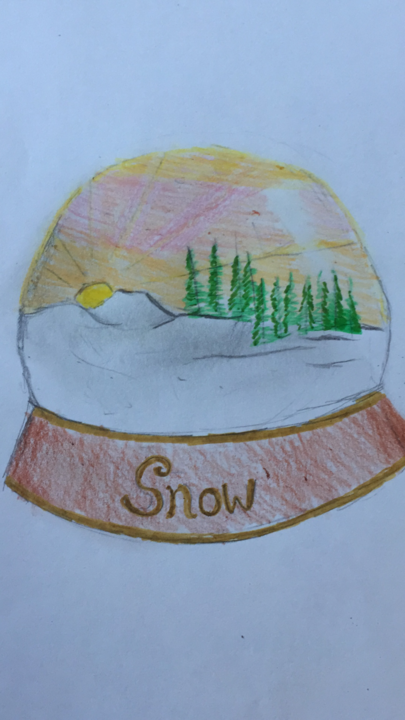
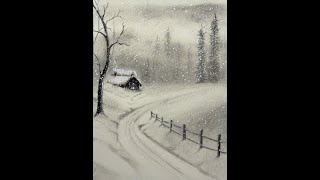
Draw a winter landscape
Draw a snowy winter landscape using pencils, crayons, or watercolors. Practice perspective, shading, and adding trees, hills, and cozy houses.

Drawing Apps
Step-by-step guide to draw a winter landscape
How To Draw A Winter Landscape
Step 1
Gather all the materials listed so you are ready to start drawing.
Step 2
Find a comfortable well lit workspace where you can sit and draw.
Step 3
Place your paper in landscape orientation on the table.
Step 4
Lightly draw a horizontal horizon line a bit below the center of the paper.
Step 5
Mark a tiny vanishing point on the horizon with a small dot.
Step 6
Sketch a cozy house in the foreground using simple shapes like a square and a triangle.
Step 7
Sketch a second smaller house closer to the vanishing point to show distance.
Step 8
Draw rolling hills behind the houses using curved overlapping lines.
Step 9
Draw pine trees of different sizes to show depth by making nearby trees larger and distant trees smaller.
Step 10
Add a door and windows to the nearest house using simple rectangles and squares.
Step 11
Draw smoke curling from the chimney using soft wavy lines.
Step 12
Add falling snow by dotting small circles or little plus signs across the sky.
Step 13
Shade under eaves and along the bottom of hills with soft pencil strokes to make shadows.
Step 14
Color the scene using your chosen materials using lighter tones for far away objects and stronger tones for things up close.
Step 15
Share your finished winter landscape on DIY.org
Help!?
What can we use if we don't have the exact drawing materials listed (like colored pencils or markers)?
Substitute crayons, watercolor paints, charcoal, or collage from magazine scraps and still follow the step to 'place your paper in landscape orientation' and 'color the scene using your chosen materials'.
My second house doesn't look farther away—how do I fix the perspective?
Lightly erase and redraw the second house smaller and closer to the tiny vanishing point on the horizon so it matches the instruction to 'sketch a second smaller house closer to the vanishing point' and shows distance.
How can I change the activity for different age groups?
For toddlers glue pre-cut square and triangle shapes for the 'cozy house' and use stickers for 'falling snow', for early elementary have them draw the horizon and vary tree sizes, and for older kids add careful 'shade under eaves' and use lighter tones for distant objects to practice atmospheric perspective.
What are simple ways to extend or personalize the winter landscape after finishing the basic steps?
Add warm yellow color or a gel pen glow to the 'door and windows', draw footprints in the snow leading from the front door, texture pine trees with short pencil strokes, or film your process to 'share your finished winter landscape on DIY.org'.
Watch videos on how to draw a winter landscape
How To Draw A Winter Landscape - version 2
4 Videos
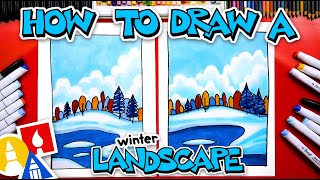
How To Draw A Winter Landscape - version 2
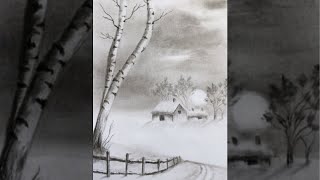
Simple Landscape Scenery Drawing with Pencils| Winter Cottage, Birch Tree | Easy Step by Step
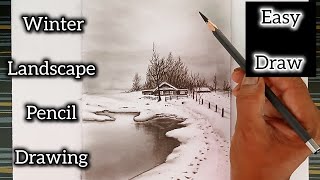
How to draw winter nature landscape scenery with pencil for beginners.
Simple Winter Landscape Drawing: Snowy Cabin & Trees Tutorial | Charcoal & Acrylic Art for Beginners
Facts about drawing and painting for kids
⛄ Snowflakes usually have six sides because of the way water molecules bond — and no two are exactly alike!
🎨 Watercolor paint uses gum arabic as a binder, which helps create soft, glowing washes perfect for snowy skies.
🌨️ Fresh snow can reflect up to about 90% of sunlight, which is why snowy scenes look so bright and magical.
🖍️ Crayons were first sold by Binney & Smith (now Crayola) in 1903 — millions of kids have colored with them since!
🌲 Pine and other conifer trees keep needles in winter to lose less water, so they stay green and look great in winter scenes.
How do I guide my child to draw a snowy winter landscape step by step?
What materials do I need to draw a snowy winter landscape with children?
What ages is this snowy winter landscape drawing activity suitable for?
What are the benefits and easy variations for drawing a snowy winter landscape?
