Draw a water scene
Draw a detailed water scene—ocean, river, or pond—adding waves, reflections, fish, and a boat while exploring color, texture, and perspective.

Drawing Apps
Step-by-step guide to draw a water scene
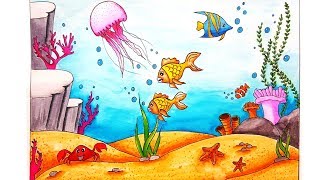
easy underwater scenery drawing for kids and biggeners,how to draw underwater scenery step by step
Step 1
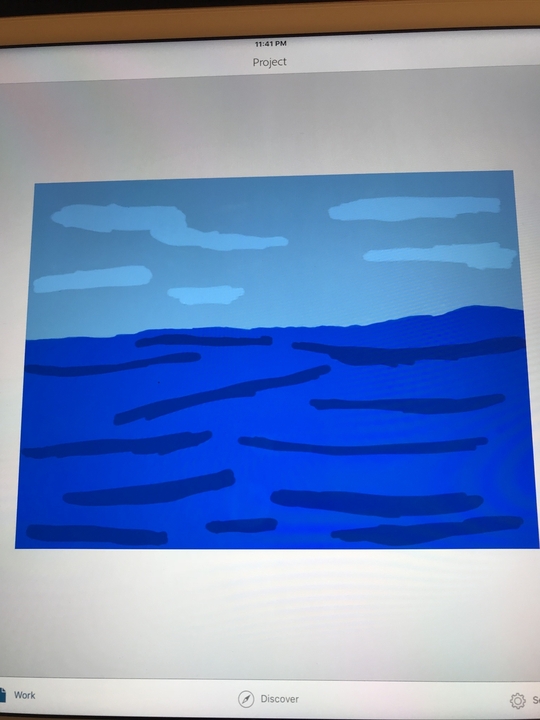
Choose whether you will draw an ocean river or pond and imagine where the horizon will sit on the page.
Step 2
Lightly draw a straight horizon line with your pencil across the paper.
Step 3
Sketch big simple shapes for the main elements like the shoreline boat and large fish to plan your scene.
Step 4
Draw waves and water patterns with curved lines of different sizes to show movement.
Step 5
Add reflections by sketching faint mirror shapes beneath objects and soft horizontal strokes on the water.
Step 6
Make objects in the foreground larger and add smaller less detailed objects toward the horizon to show perspective.
Step 7
Add texture to the water and surfaces using short lines dots or light cross-hatching where you want ripples or roughness.
Step 8
Draw details on the fish and boat such as fins eyes sails or windows using clear simple shapes.
Step 9
Use the ruler to make any straight edges you need like a mast a dock or the boat’s sides.
Step 10
Outline the important lines with your black marker so key shapes stand out.
Step 11
Gently erase extra pencil guidelines to clean up the drawing.
Step 12
Color your scene starting with base colors and layer darker and lighter shades to create depth and shine on the water.
Step 13
Add highlights and small finishing touches like foam on waves or glints on water with a light-colored pencil.
Step 14
Sign your name and date in a small corner of the picture.
Step 15
Share your finished water scene on DIY.org.
Help!?
What can we use if we don't have a ruler, black marker, or light-colored pencil?
Use the straight edge of a hardcover book to draw masts or docks instead of a ruler, a dark pen or fine-tip felt pen to outline in place of a black marker, and a white gel pen, white crayon, or chalk for highlights instead of a light-colored pencil.
My reflections and pencil guidelines smudge or won't erase cleanly—how can I fix that?
Wait for any black marker ink to fully dry, then gently erase extra pencil guidelines with a soft or kneaded eraser and test on a scrap so your faint mirror shapes and horizontal strokes on the water stay crisp.
How can I adapt this water scene activity for different ages?
For younger kids simplify step 3 by sketching only big shapes with thick crayons and a pre-drawn horizon, while older kids can focus on perspective by making foreground objects larger, use the ruler for precise masts or docks, and add texture and layered shading as described in the coloring and cross-hatching steps.
How can we extend or personalize the finished water scene?
Personalize and enhance the scene by adding mixed media like glued tissue-paper or shiny foil for water, attaching a cut-out sail for a 3D boat, using a white gel pen or glitter for foam and glints as in the finishing touches, then sign, date, and share on DIY.org.
Watch videos on how to draw a water scene
How to Draw An Underwater Scenery for Beginners |Step By Step
4 Videos
How to Draw An Underwater Scenery for Beginners |Step By Step
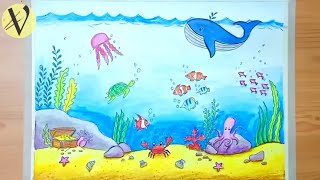
How to Draw Underwater scenery// How to Draw Water Animals
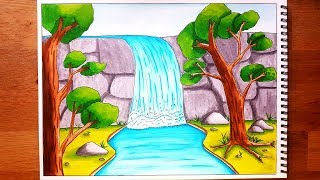
How to Draw A Waterfall Stream Scenery for Beginners| Step By Step
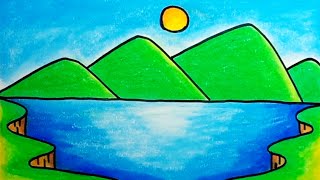
How To Draw Lake Scenery Step By Step |Drawing Lake Easy scenery
Facts about water-themed drawing and painting
🎨 Deep water often looks blue because blue wavelengths scatter and travel farther—artists layer blues to show depth.
🌊 Waves carry energy, not water—short, choppy strokes can make water look rough while long curves make it look calm.
🔍 Smooth water behaves like a mirror, so drawing upside-down shapes of sky and objects makes reflections believable.
🐟 Many fish have shiny, iridescent scales that reflect light—tiny white highlights make them look sparkly on paper.
🚤 In perspective, objects closer to you appear larger—putting a tiny boat near the horizon makes the scene feel vast.
How do I help my child draw a detailed water scene with waves, reflections, fish, and a boat?
What materials do I need to draw a water scene (ocean, river, or pond) with reflections and a boat?
What ages is this water scene drawing activity suitable for?
What are the benefits of drawing detailed water scenes for children?
