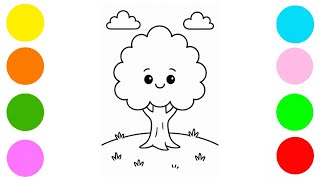
Draw a tree
Draw a detailed tree using pencil, eraser, and colored pencils; observe trunk, branches, leaves, and texture while practicing shading and perspective.


Step-by-step guide to draw a tree
Step 1
Gather all the materials and place them on your workspace.
Step 2
Place your paper flat and draw a light horizontal line for the ground.
Step 3
Lightly draw a vertical guideline where you want the center of the tree trunk to be.
Step 4
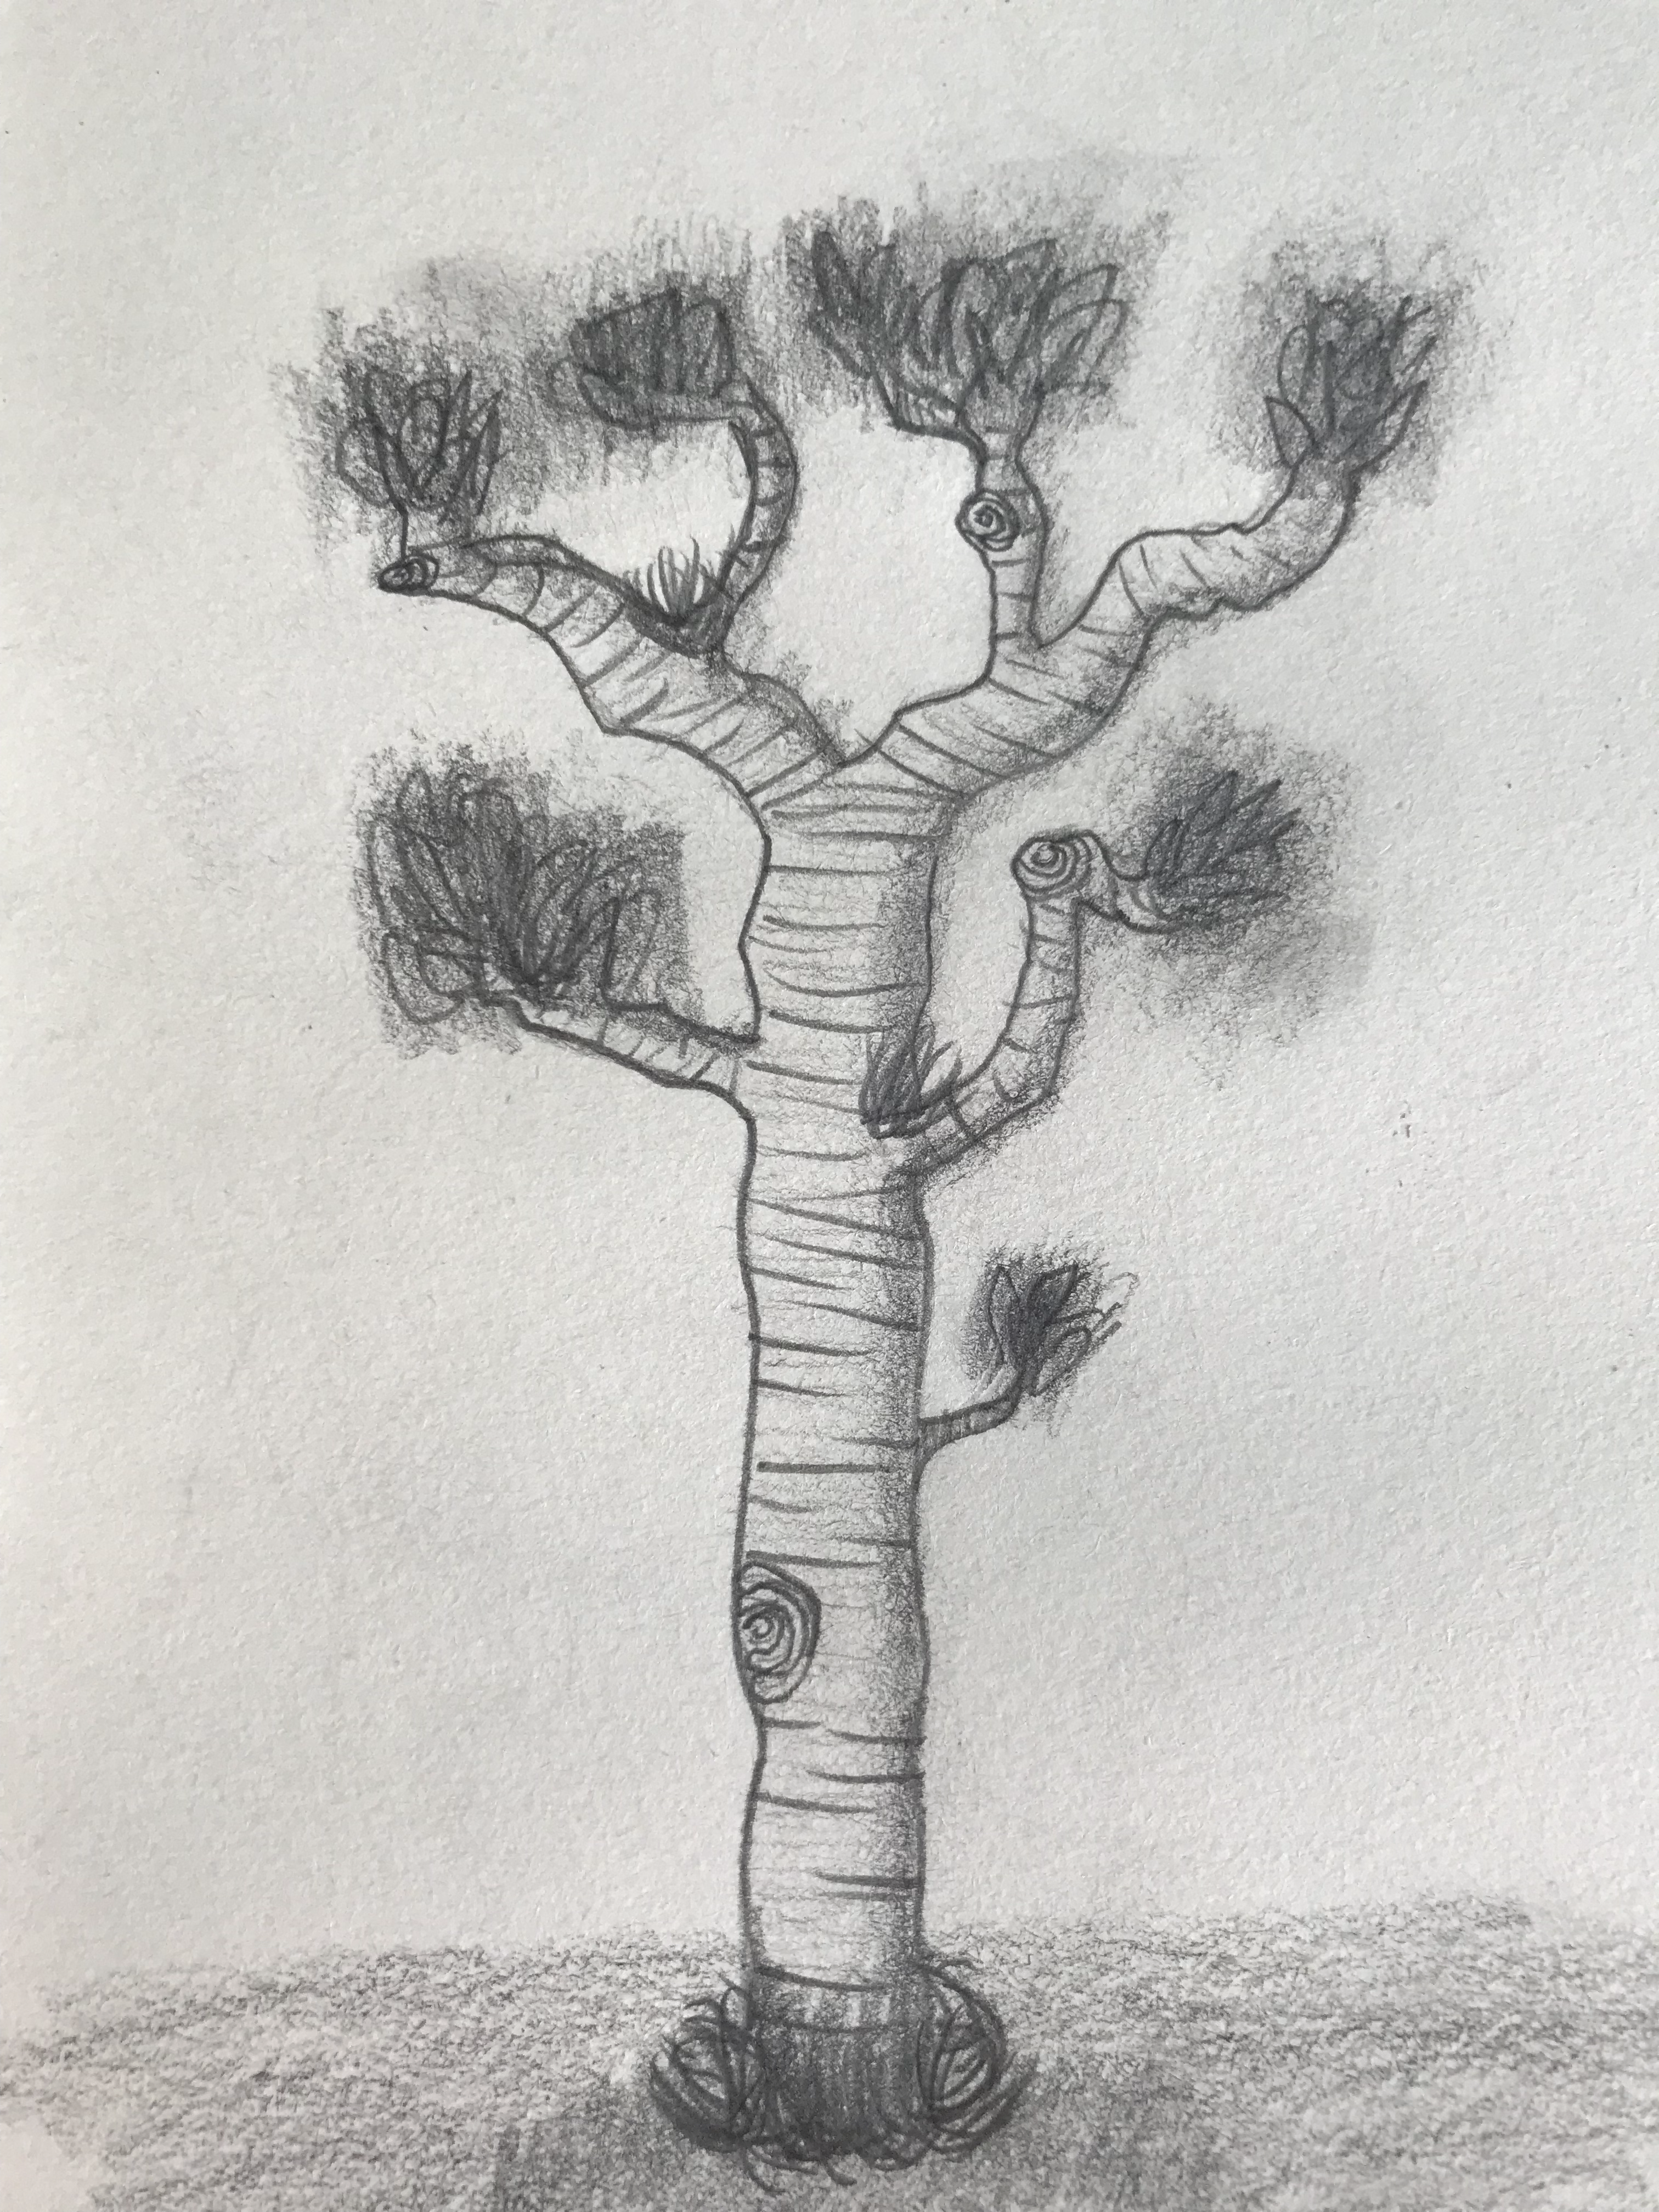
Sketch the trunk shape by drawing two curved lines on either side of the guideline.
Step 5
Draw the main branches as thick lines growing out from the trunk that get thinner as they go out.
Step 6
Add smaller branches and twigs branching off the main branches.
Step 7
Outline leaf clusters as soft cloud-like shapes at the ends of the branches.
Step 8
Add bark texture by drawing short irregular vertical lines and a few knots on the trunk.
Step 9
Mark the light source by sketching a small sun or an arrow showing which side the light comes from.
Step 10
Shade the trunk and branches on the side away from the light to create shadow with your pencil.
Step 11
Gently blend the shaded areas with a tissue or cotton ball to soften the texture.
Step 12
Add darker pencil marks inside the leaf clusters on the shadow side to show depth.
Step 13
Color the trunk and branches with brown tones and layer different greens in the leaves with colored pencils.
Step 14
Add final small details by darkening a few twigs and leaf edges to make them pop.
Step 15
Take a photo of your finished tree drawing and share it on DIY.org.
Help!?
If I don't have a tissue, cotton ball, or colored pencils, what can I use instead?
Use a clean fingertip or a blending stump to gently blend the shaded areas in the step 'gently blend the shaded areas with a tissue or cotton ball', and substitute crayons or markers for the colored pencils when coloring the trunk and leaves.
My trunk looks lopsided and the branches are uneven—how can I fix that?
Lightly erase and redraw using the vertical guideline from step two to center the trunk, sketch the trunk again with soft strokes, and correct branch thickness by making main branches thick near the trunk and tapering them thinner outward as described in the instructions.
How can I adapt this tree drawing activity for different ages?
For younger kids simplify to the ground line, a single trunk, and cloud-like leaf clusters to color with crayons, while older kids can add detailed bark texture, layered shading, and varied green tones with colored pencils as in the later steps.
What are simple ways to extend or personalize the finished tree drawing?
Personalize your tree by changing seasons—add blossoms, autumn colors, or snow on branches—experiment with a watercolor wash under the colored pencils for depth, and then take the photo to share on DIY.org as the final step.
Watch videos on how to draw a tree
How To Draw A Tree
4 Videos
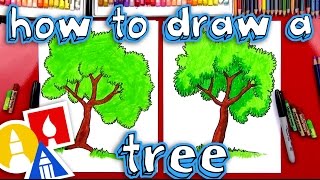
How To Draw A Tree
How to Draw a Tree Easy for Beginners | Step-by-Step Tutorial 🌳
Simple Tree Drawing Step by Step for Kids
How to Draw a Simple Tree Step by Step for Kids
Facts about drawing and sketching for kids
🌳 Some trees are ancient — the bristlecone pine nicknamed "Methuselah" is over 4,800 years old!
✏️ A single pencil can draw a line about 35 miles (56 km) long — imagine drawing tree branches that far!
🍃 Leaves come in many shapes: botanists name types like lanceolate, ovate, and palmate to help identify trees.
🖍️ Professional colored pencil sets can include 100+ colors so you can mix tiny shades for realistic leaves and bark.
🎨 Linear perspective and shading techniques became popular in the Renaissance and helped artists make drawings look 3D.
How do I teach my child to draw a detailed tree step by step?
What materials do I need to draw a detailed tree with shading and color?
What ages is a detailed tree-drawing activity suitable for?
What are the benefits of having my child draw detailed trees?
