Draw a Pusheen w/ DIY Star Summer2
Draw a summer-themed Pusheen cat and make DIY paper stars to decorate the scene, practicing sketching, coloring, cutting, and simple composition.


Drawing Apps
Step-by-step guide to draw a summer Pusheen with DIY paper stars
Step 1
Gather all the materials on a clear table so you can reach everything easily.
Step 2
Lightly sketch a chubby rounded rectangle shape for Pusheen's body with your pencil.
Step 3
Draw two small triangle ears on top and a curved tail at the back of the body.
Step 4
Draw four short stubby legs under the body so Pusheen can stand.
Step 5
Add two small dot eyes a tiny mouth whisker lines and three stripes on Pusheen's back.
Step 6
Draw simple sunglasses on Pusheen's face to make it look summery.
Step 7
Draw one summer prop like a beach ball or an ice cream cone next to Pusheen.
Step 8
Trace over your pencil lines with the black marker to make the drawing bold.
Step 9
Color Pusheen the sunglasses and the summer prop using your colouring materials.
Step 10
Draw star shapes on coloured paper with your pencil to make the paper stars.
Step 11
Cut out the star shapes with scissors while an adult helps you if needed.
Step 12
Decorate each paper star with markers or stickers to make them sparkly.
Step 13
Lay the decorated stars around your Pusheen drawing to choose where they will go.
Step 14
Glue each paper star onto your scene to finish the summer decoration.
Step 15
Take a photo of your summer Pusheen scene and share your finished creation on DIY.org.
Help!?
What can I use instead of coloured paper, a black marker, scissors, or glue if I don't have them?
Use plain printer paper colored with markers or crayons for the stars, trace pencil lines with a dark gel pen or fine-tip black ballpoint if you don't have a marker, replace scissors with child-safe craft scissors or ask an adult to cut, and use tape or a glue stick instead of liquid glue.
My marker smudged and the paper stars tore while cutting—how can I fix these problems?
Let the marker ink fully dry before erasing pencil lines, press gently when coloring to avoid smudges, cut stars from thicker paper or fold the star to make a sturdier cut line, and always have an adult help with tricky cuts.
How can I adapt this Pusheen+star activity for toddlers, older children, or teens?
For toddlers pre-draw the chubby rectangle and large stars for them to color and stick with dot stickers, for school-age kids encourage drawing sunglasses and a summer prop freehand and using scissors with supervision, and for teens add detailed shading, patterned designs on the stars, or try mixed media like watercolor backgrounds.
What are some creative ways to extend or personalize the summer Pusheen scene before I take the photo to share on DIY.org?
Decorate stars with glitter glue or sequins, create a painted beach background behind Pusheen, attach stars with brads so they can move, add a name banner or tiny props like a paper umbrella, and take several photos to make a mini stop-motion video to share on DIY.org.
Watch videos on how to draw a summer Pusheen with DIY paper stars
DIY Pusheen Plush | LDP
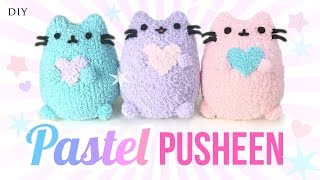
4 Videos
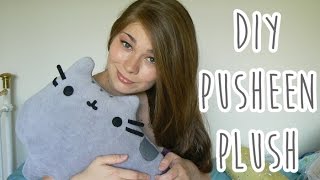
DIY Pusheen Plush | LDP

How to Make an Origami Pusheen the Cat | Easy Instructions for Kids
DIY Pusheen Cat Plush - Make Adorable Budget Plushies Using SOCKS!!
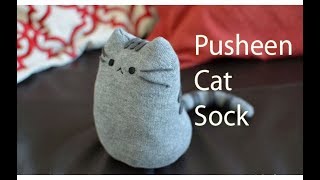
How To Make Pusheen Cat From SOCKS!! DIY Pusheen Cat Cute
Facts about drawing and paper crafts for kids
🐱 Pusheen was created in 2010 for a webcomic and grew into a global hit with stickers, plushies, and merch.
🌸 Kawaii means "cute" in Japanese — Pusheen’s round shapes and simple face fit this style perfectly.
✨ Origami lucky stars are folded from short paper strips and can be made into tiny puffy stars without glue.
✂️ Papercraft turns plain paper into fun decorations and is perfect for practicing cutting, folding, and composition.
🌞 Summer-themed art loves warm colors and icons like suns, sunglasses, and beach stars to show sunny vibes.
How do I draw a summer-themed Pusheen and make DIY paper stars?
What materials do I need to draw Pusheen and make DIY paper stars?
What ages is this activity suitable for?
What are the benefits of drawing a summer Pusheen and making paper stars?
