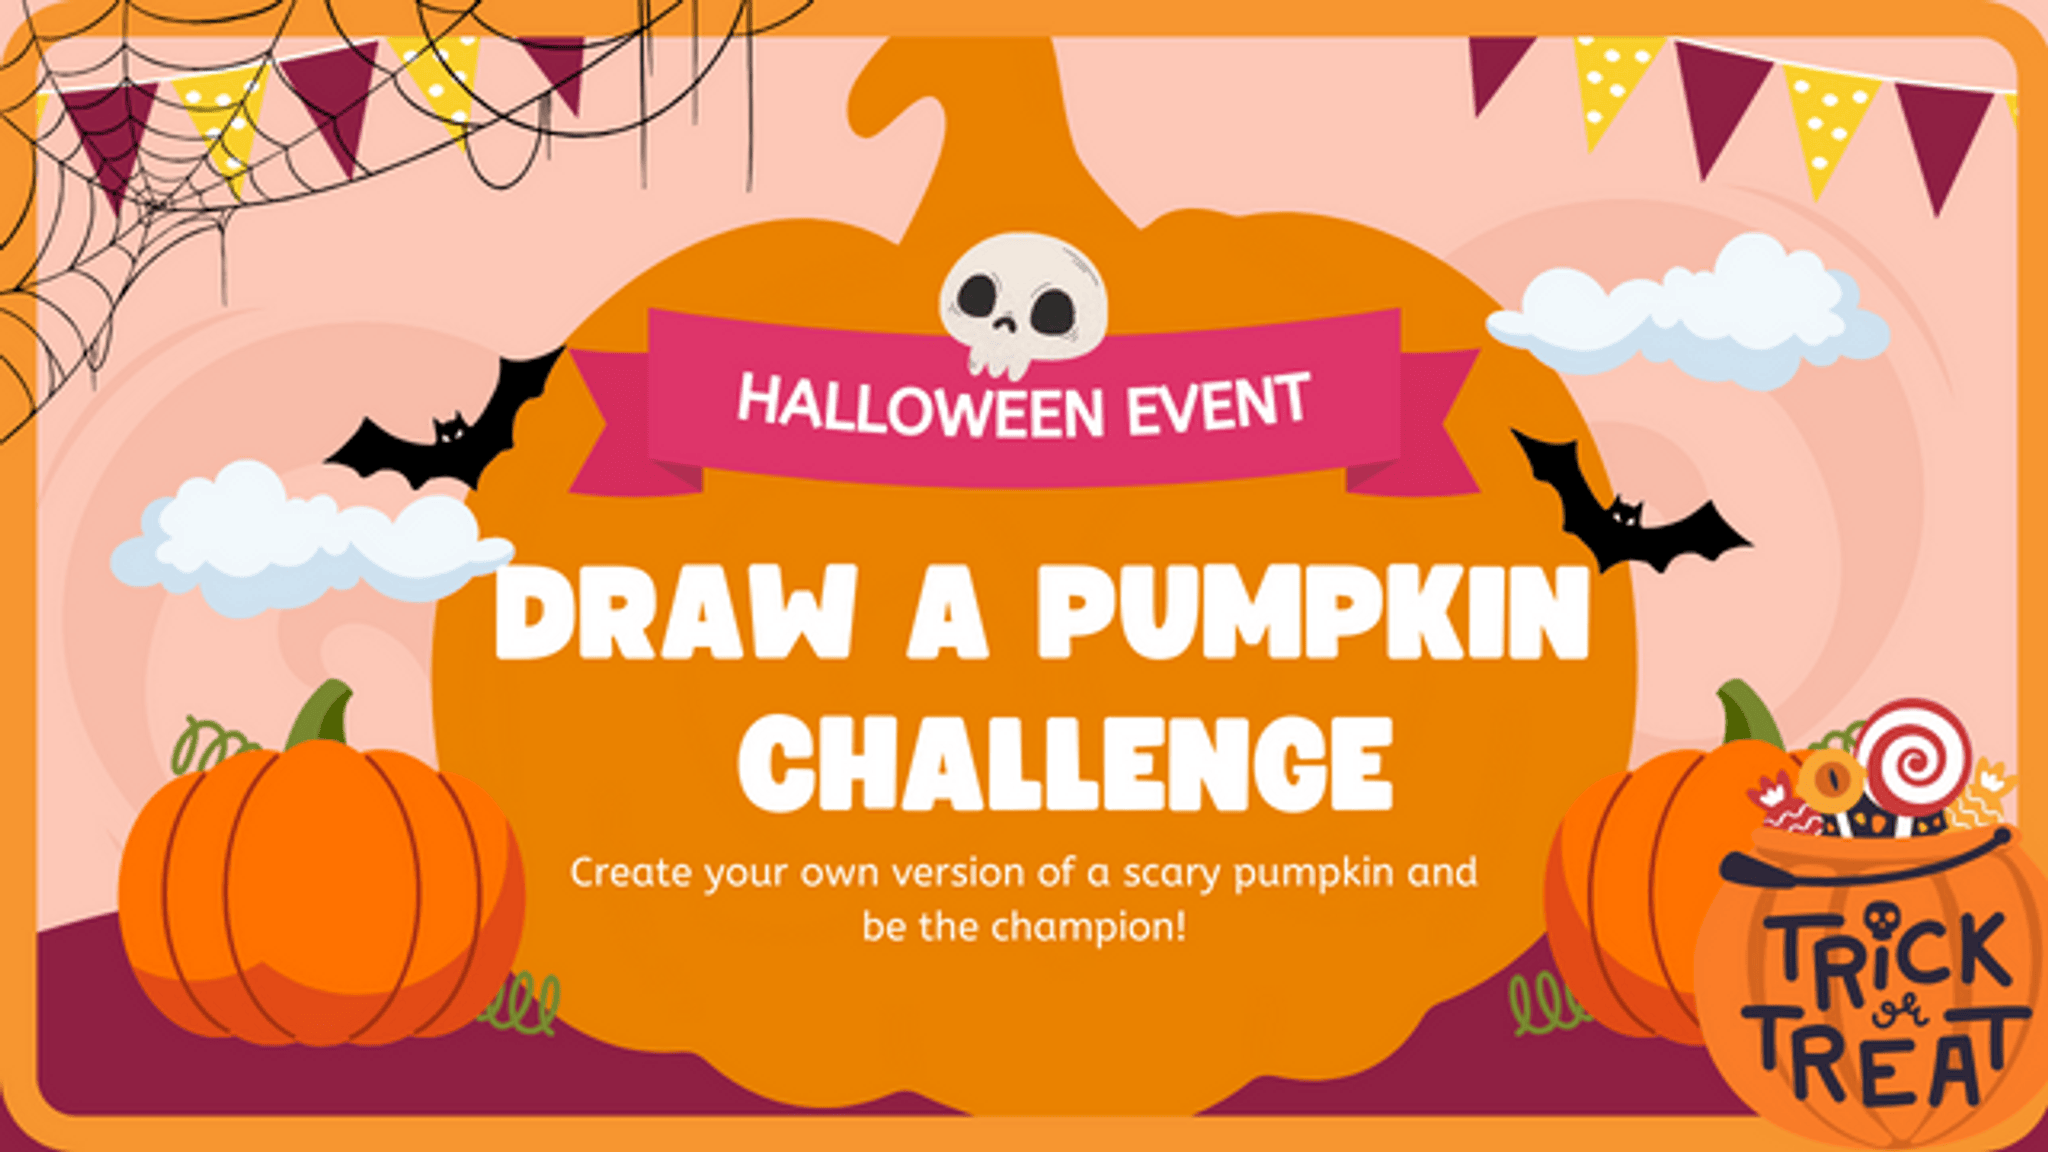
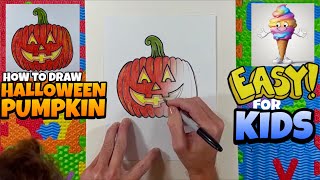
Draw A Pumpkin #DTIYS
Draw a pumpkin in your style using pencil, eraser, and colored pencils; practice shapes, shading, and adding a stem or decorated face.

Drawing Apps
Step-by-step guide to draw a pumpkin
How to Draw Halloween Pumpkin | Drawing Lesson
Step 1
Gather your pencil eraser colored pencils plain paper and sharpener and put them where you can reach them.
Step 2
Lightly draw a large oval or round shape in the middle of the paper for the pumpkin body.
Step 3
Draw 4 to 6 curved vertical lines from top to bottom to divide the pumpkin into ribs.
Step 4
Sketch a small stem on top using a short rectangle or a little cone shape.
Step 5
Trace over the best lines with firmer pencil strokes to finalize the pumpkin outline.
Step 6
Erase the faint sketch lines you no longer need so the outline looks clean.
Step 7
Pick a light source spot and make a tiny pale mark where the highlight will be.
Step 8
Shade the sides of each rib opposite the highlight with light pencil strokes.
Step 9
Color the main pumpkin areas with orange or your favorite pumpkin color using even pencil layers.
Step 10
Add darker colored pencil over the shaded ribs and near the stem to deepen the shadows.
Step 11
Use an eraser or a white colored pencil to add small highlights on the light spot and along ridges.
Step 12
Draw a decorated face or fun patterns on the pumpkin with colored pencils.
Step 13
Write your name and the date in a corner of the paper.
Step 14
Share your finished pumpkin drawing on DIY.org.
Help!?
What can I use if I don't have colored pencils, a pencil, or a sharpener?
Use crayons, washable markers, or watercolor paints to color the pumpkin in step 9, any available pencil for the light sketch in steps 2–5, and carefully taper the tip on sandpaper or a rough surface if you don't have a sharpener.
My ribs look lopsided or my erasing smudges the paper — how can I fix that?
Redraw with very light strokes in step 2, clean up stray marks with your eraser in step 6, then strengthen only the chosen lines with firmer strokes in step 5 and place a scrap paper under your hand while shading in step 7 to avoid smears.
How can I adapt this activity for toddlers, older kids, or teens?
For toddlers trace a pre-drawn oval and let them color with crayons for step 9, school-age kids can follow all steps to practice shading in steps 7–10, and teens can add extra ribs and advanced layering/blending in steps 8–10 for more realism.
How can we extend or personalize the pumpkin drawing after finishing it?
After writing your name in step 12, decorate the pumpkin with a patterned face from step 11, glue it onto colored cardstock to make a card or mask, add extra highlights with the white colored pencil from step 10, and then share it on DIY.org in step 13.
Watch videos on how to draw a pumpkin
How to Draw a Halloween Pumpkin | Sketch Tutorial
4 Videos
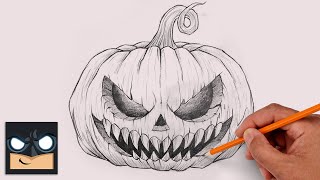
How to Draw a Halloween Pumpkin | Sketch Tutorial
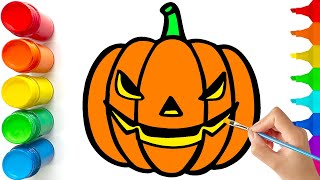
How to Draw a Pumpkin | Easy Step by Step Drawing Tutorial
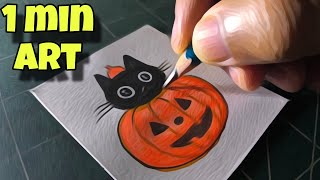
DRAW a Spooky Halloween Pumpkin Now!
How to Draw a Halloween Pumpkin | Easy Art Lesson for Kids & Beginners
Facts about drawing and shading for kids
🎃 Pumpkins are botanically fruits (a type of berry called a pepo) because they grow from a flower and contain seeds.
🥔 Early jack-o'-lanterns were carved from turnips and potatoes in Ireland before pumpkins became the favorite in America.
🖍️ Colored pencils can be layered and blended to create smooth gradients — artists often build color with light layers.
✏️ Graphite pencil grades like 2B, HB, and 4H tell you how soft or hard the lead is — softer pencils make darker marks for shading.
🏆 Contest pumpkins can grow to weigh over 2,000 pounds with special varieties and lots of dedicated care.
How do I do the Draw A Pumpkin #DTIYS activity with my child?
What materials do I need to draw a pumpkin in my style (Draw A Pumpkin #DTIYS)?
What ages is the Draw A Pumpkin #DTIYS activity suitable for?
What are the benefits of doing the Draw A Pumpkin #DTIYS activity?
