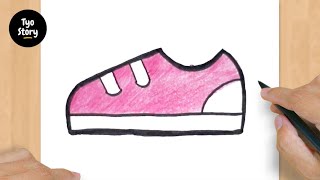
Draw a pair of shoes
Draw a pair of shoes step by step, sketching outlines, adding details like laces and soles, then color and decorate your finished artwork.

Drawing Apps
Step-by-step guide to draw a pair of shoes
How to draw a pair of Shoes Step by step - a pair of Shoes Easy Drawing for children
Step 1
Place a blank sheet of paper horizontally in front of you so you have room for two shoes.
Step 2
Lightly sketch two long ovals side by side where each shoe will sit to mark the soles.
Step 3
Draw the outer shape of each shoe around each oval by adding a rounded toe and a smooth heel line.
Step 4
Sketch the top opening of each shoe by drawing a curved line across the upper part of each shape.
Step 5
Draw a small curved rectangle inside the top opening of each shoe to show the tongue.
Step 6
Draw a line parallel to the bottom of each shoe to show the sole edge.
Step 7
Add small evenly spaced circles or dashes along the upper edge to make eyelets.
Step 8
Draw crisscross lines between the eyelets to create the laces.
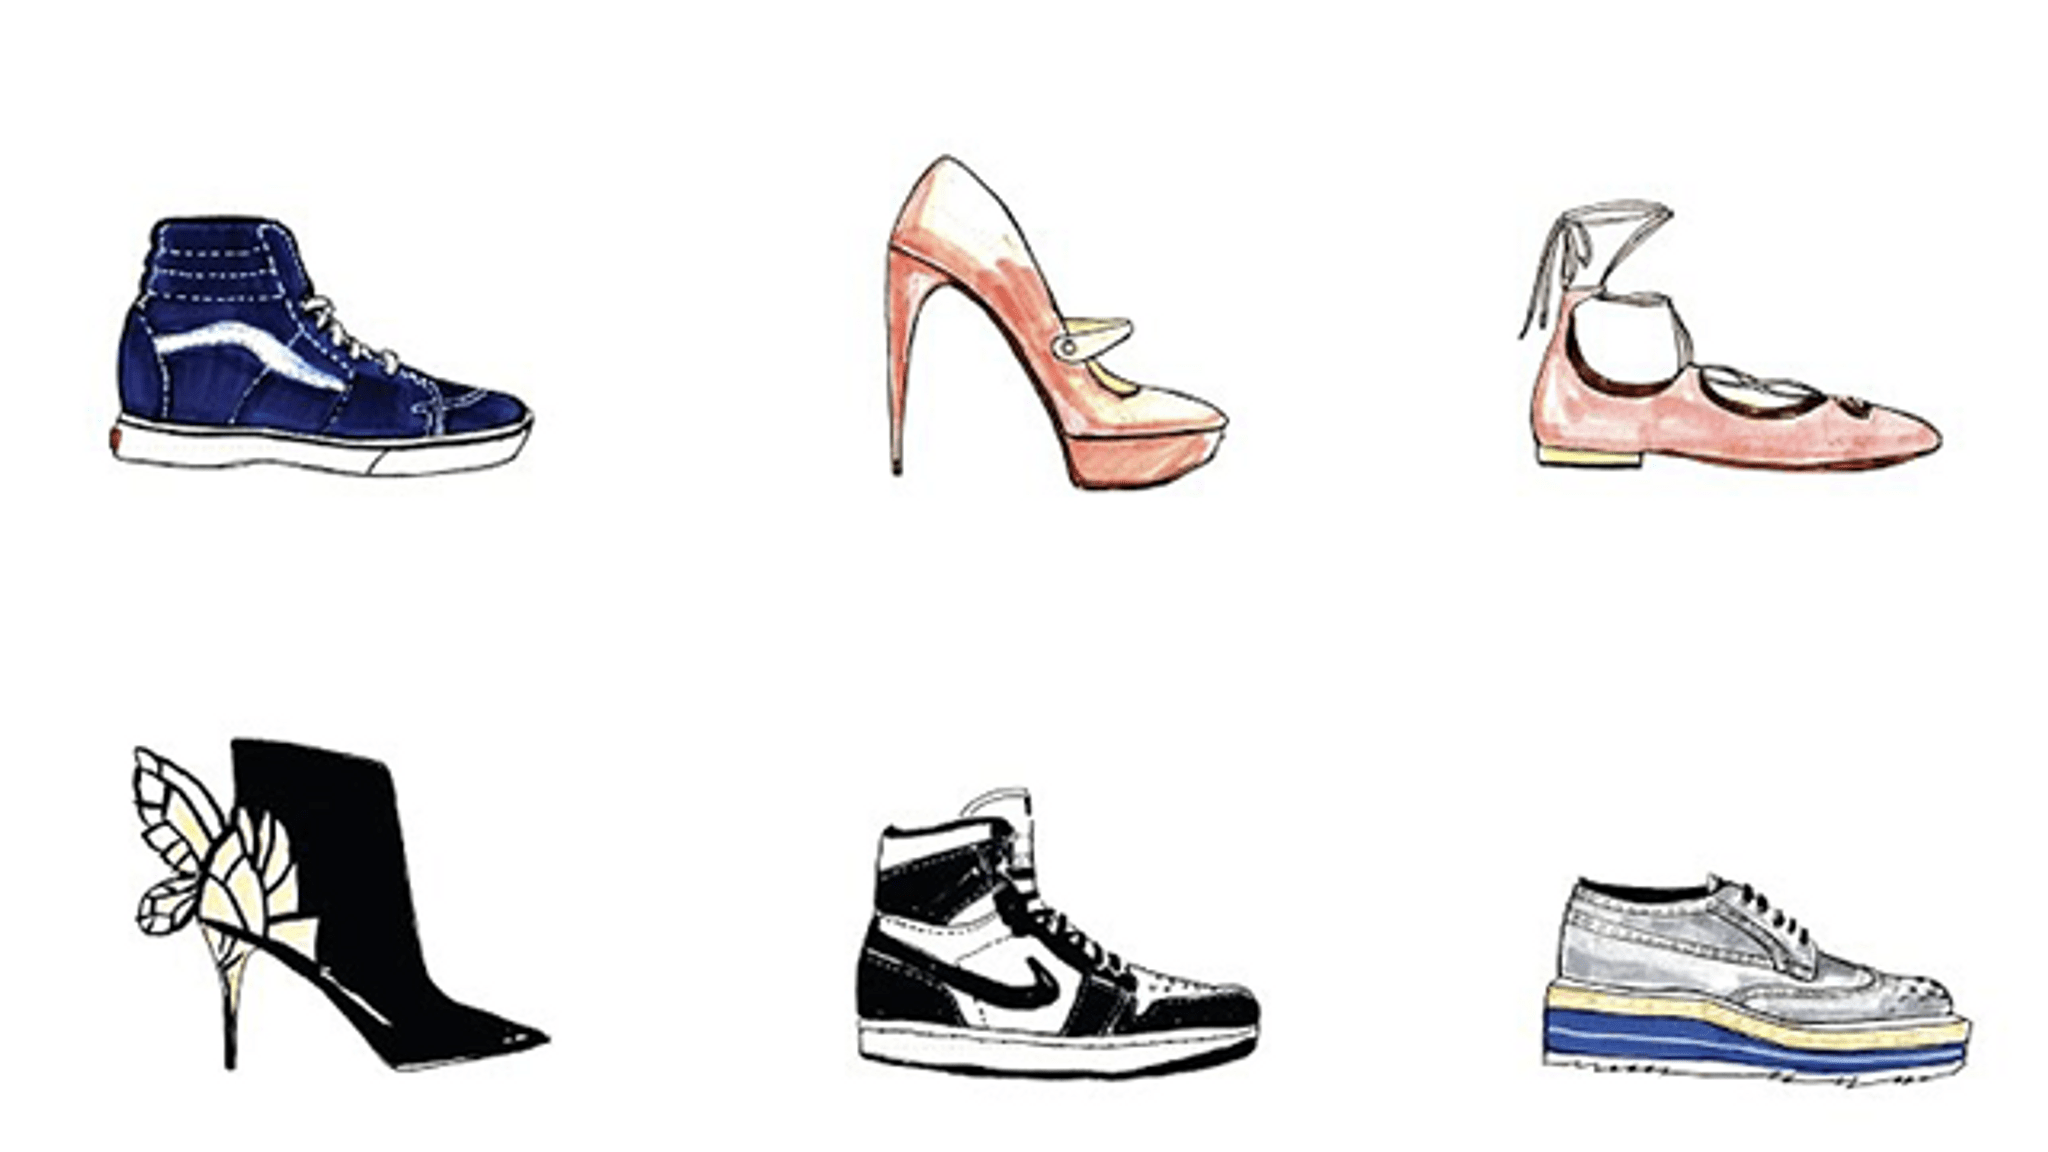
Step 9
Add fun details like stripes stars stitches or a logo on the sides of each shoe.
Step 10
Trace over the final pencil lines carefully with a black marker to make bold outlines.
Step 11
After the ink dries erase any remaining pencil marks gently.
Step 12
Color the shoes using your coloring materials and add stickers or extra marks for decoration.
Step 13
Share a photo of your finished shoe drawing on DIY.org.
Help!?
What can we use instead of a black marker or stickers if we don't have them?
If you don't have a black marker for the 'Trace over the final pencil lines' step, use a dark blue or brown fine-tip pen or a sharpened dark graphite pencil for bold outlines, and replace the 'add stickers' step with glued cut colored paper shapes.
My shoe shapes look uneven or my ink smudged — how can I fix that?
If the long ovals or outer shoe shapes look uneven, lightly erase and reshape the ovals before the 'trace over the final pencil lines' step, and to avoid ink smudging let the marker dry fully before you 'erase any remaining pencil marks gently.'
How can I change this activity for younger or older kids?
For toddlers, skip the 'eyelets' and 'crisscross laces' steps and let them color broad areas with crayons and apply stickers during the 'Color the shoes' step, while older kids can add stitched details, logos, and trace carefully with a black marker for sharper outlines.
How can we make the shoe drawings more creative or personal?
To enhance the 'Add fun details' step, glue on fabric swatches for texture, use metallic pens for stripes or logos, or fold and attach a paper tongue as a 3D element before photographing the finished shoes for DIY.org.
Watch videos on how to draw a pair of shoes
HOW TO DRAW SHOES EASY FOR KIDS | DRAW SHOES STEP BY STEP.
4 Videos
HOW TO DRAW SHOES EASY FOR KIDS | DRAW SHOES STEP BY STEP.
How to draw shoe easy step by step |learn drawing a shoe video tutorial for kids easy
How to draw SHOES for kids
#214 How to Draw a Shoes - Easy Drawing Tutorial
Facts about drawing and sketching for kids
👟 The oldest known leather shoe (the Areni-1 shoe) was found in Armenia and is about 5,500 years old.
✏️ Artists often start drawing shoes with simple shapes—circles, ovals, and rectangles—to get the right proportions.
🧵 Adding tiny stitches, seams, or eyelets in your sketch instantly makes shoes look more realistic and detailed.
🌈 Bright markers, paint, and patterned paper are quick ways kids can decorate shoes to make them one-of-a-kind.
🦶 Different soles (flat, treaded, or heeled) change how a shoe looks and what activities it’s best for.
How do I draw a pair of shoes step by step?
What materials do I need to draw a pair of shoes?
What ages is drawing a pair of shoes suitable for?
What are the benefits of drawing shoes and variation ideas?
