Draw a character model sheet
Draw a character model sheet showing front, side, and back views, expressions, and color swatches to learn proportions, consistency, and character design.

Drawing Apps
Step-by-step guide to draw a character model sheet
How To Create A Model Sheet For Your Character
Step 1
Clear a space and lay out your paper pencil eraser ruler pen and colors so everything is easy to reach.
Step 2
Pick your character type and one big trait (for example a brave cat or a shy robot).
Step 3
Lightly draw a vertical centerline down the middle of the page to help line up all the views.
Step 4
Mark equal head-length units along the centerline to set your character’s overall height and proportions.
Step 5
Sketch the front view using simple shapes placed on the head-unit marks to block out body proportions.
Step 6
Draw the side view to the right of the front view using the same head-unit marks so the sizes match.
Step 7
Draw the back view to the left of the front view using the same head-unit marks so it lines up with the others.
Step 8
Add details to each view like hair face shapes clothing and important costume lines.
Step 9
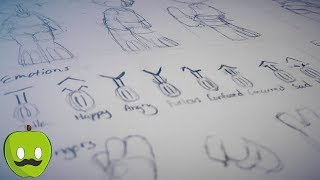
Draw a small expression panel with four to six faces using the same head shape to show different emotions.
Step 10
Draw small close-up thumbnails of a hand and a foot so they look the same in every view.
Step 11
Make color swatches of your character’s main colors on the page.
Step 12
Trace over your best lines with a black pen or darker pencil to make the final clean artwork.
Step 13
Gently erase the light construction lines so only your finished model sheet remains.
Step 14
Take a photo or scan your finished character model sheet and share it on DIY.org.
Help!?
What can we use if we don't have a ruler, pen, or scanner?
Use a straight-edged book or piece of cardboard to draw the vertical centerline and mark head-length units, trace over your best lines with a dark pencil instead of a pen, and use a phone camera to take a photo of the finished model sheet to share on DIY.org.
What should we do if the front, side, and back views don't line up or look like different sizes?
Double-check and redraw the light vertical centerline and the equal head-length marks, redraw each view using those head-unit guides so sizes match, then erase and adjust the construction lines before tracing your final lines.
How can we adapt this activity for different ages or skill levels?
For younger kids simplify to one front view with big basic shapes and two expressions using pencil and colors, while older kids follow all steps including aligned front/side/back views, hand/foot thumbnails, and detailed color swatches for a full model sheet.
How can we extend or personalize the character model sheet when we're finished?
Add extra color swatches for alternate outfits, small action turnaround sketches next to the thumbnails, label important costume lines and materials, and scan or photograph the sheet to digitally color and share on DIY.org.
Watch videos on how to draw a character model sheet
How to make a Character Model Sheet for your Animated Character | Animation series #9
4 Videos
How to make a Character Model Sheet for your Animated Character | Animation series #9
Learn how to create character model sheet in Animate CC | Step‑by‑Step Beginner Tutorial
Character modeling for beginners - Blender
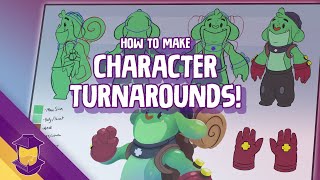
How I Make Character TURNAROUNDS and Sheets!
Facts about character design and drawing fundamentals
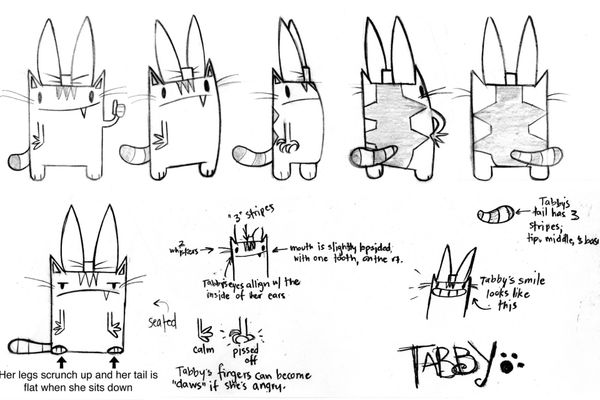
🖼️ Model sheets (also called turnarounds) show front, side, and back views so different artists keep a character looking the same.
🎨 Color swatches on a model sheet are often called a color key and make sure the exact same shades are used every time.
😀 A helpful drawing trick: the eyes are usually placed about halfway down the head, which surprises many beginners.
✏️ Classic animation studios used model sheets to let dozens of artists animate one character without it changing shape.
🧠 Tiny tweaks to eyebrows and mouth shapes can turn a neutral face into dozens of different expressions.
How do I draw a character model sheet showing front, side, and back views?
What materials do I need to make a character model sheet?
What ages is drawing a character model sheet suitable for?
What are the benefits of making a character model sheet?
