Draw a Character in Outer Space
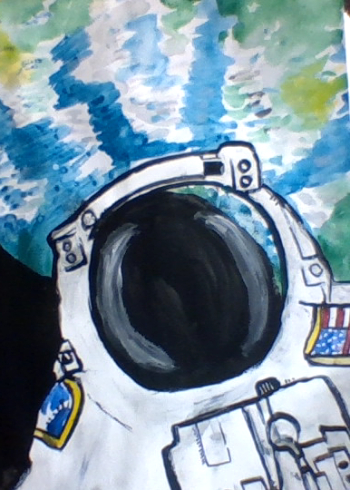
Draw a space character floating among planets and stars using pencils and colors, design a spaceship, and write a short backstory.
About this tutorial
Draw a space character floating among planets and stars using pencils and colors, design a spaceship, and write a short backstory.
What you need
Instructions
- 1
Step 1
Place your paper on a flat surface so you have plenty of room to draw.
- 2
Step 2
Put your pencil eraser and sharpener within easy reach so you can work without interruption.
- 3
Step 3
Lightly sketch a circle for the head and a rounded shape for the body to plan your space character.
- 4
Step 4
Draw curved arms and legs that flow away from the body to show the character floating.
- 5
Step 5
Add a helmet and simple spacesuit details like seams gloves and a chest badge.
- 6
Step 6
Sketch a spaceship nearby using basic shapes like a cone for the nose and ovals for the windows.
- 7
Step 7
Draw several planets as circles of different sizes and place stars around the scene.
- 8
Step 8
Add details to each planet such as rings craters or stripes to make them unique.
- 9
Step 9
Go over your favorite pencil lines with a slightly darker pencil to make the final shapes stand out.
- 10
Step 10
Erase any light construction lines gently so your drawing looks clean.
- 11
Step 11
Color your space character using your coloring materials to bring them to life.
- 12
Step 12
Color the spaceship and each planet using different colors to create a vibrant space scene.
- 13
Step 13
Add simple shading or highlights with a darker or lighter color to give depth to your drawing.
- 14
Step 14
Write a short backstory of two to four sentences about your character who floats among the planets.
- 15
Step 15
Share your finished space character drawing and backstory on DIY.org
Fun facts
How do I draw a character floating in outer space and create a backstory?
Start by sketching your space character in a floating pose—tilt the body and add hair or clothing that drifts. Draw nearby planets, asteroids, and a starry background. Design a spaceship on the side or show the character piloting it. Ink the lines, erase pencil marks, then color with pencils, markers, or watercolor. Finish by writing a short backstory: name, mission, and one fun detail about their favorite planet or goal.
What materials do I need to draw a space character, spaceship, and write a backstory?
You’ll need sketching pencils (HB–2B), an eraser, sharpener, and good drawing paper. Add colored pencils, markers, or watercolors plus brushes if painting. Use fine-liner pens for outlines and a white gel pen for highlights. Optional tools include a ruler or compass for planets, stickers or glitter for decoration, scrap paper for planning, and a notebook or index card to write the backstory. Protect the work surface for messy media.
What ages is this outer space drawing activity suitable for?
This activity suits children roughly ages 5–12 with adaptations. Ages 5–7 enjoy simple floating poses, big planet shapes, and basic coloring—offer tracing or templates and adult help. Ages 8–12 can add detailed spaceships, shading, perspective, and longer backstories. Teens can expand with mixed media or digital tools. Always supervise younger kids with scissors, paints, or small parts, and tailor expectations to each child’s skill level.
What are the benefits of drawing a space character and writing a backstory?
This project builds creativity, storytelling, and fine motor skills while introducing basic design and spatial thinking. Drawing planets and a spaceship encourages observation, scale, and color mixing—early STEM concepts. Writing a backstory develops vocabulary, sequencing, and emotional perspective as children imagine motivations. It’s low-cost and adaptable for solo or group play. For safety, choose non-toxic supplies and supervise small parts or paints.
Watch & Learn
Need help?
What can I use if I don’t have a pencil eraser or sharpener as the instructions ask to put within reach?
If you don't have a pencil eraser or sharpener, keep a clean white vinyl eraser substitute or a folded piece of soft cloth for smudges and sharpen pencils carefully with fine sandpaper or an emery board so you can still follow the step 'Put your pencil eraser and sharpener within easy reach.'
My character's arms and legs look stiff when I try to make them float—how do I fix that?
To fix stiff limbs, follow the 'Draw curved arms and legs that flow away from the body' step by sketching very light guide curves and rotating the paper for looser strokes, then go over only your favorite pencil lines as the instructions suggest to keep the motion natural.
How can I change the activity for different ages, from toddlers to older kids?
For toddlers simplify to big circles for the head/body and basic coloring while skipping shading and the 'Write a short backstory of two to four sentences' step, and for older kids add detailed seams, planet textures, shading, and a longer backstory to expand the scene.
What are some ways to enhance or personalize my space character drawing beyond the basic instructions?
Enhance the drawing by adding aluminum foil or metallic pens for a shiny helmet, using a watercolor wash for a nebula background, and experimenting with layered colors when you 'Color the spaceship and each planet' and 'Add simple shading or highlights' to make the scene unique.