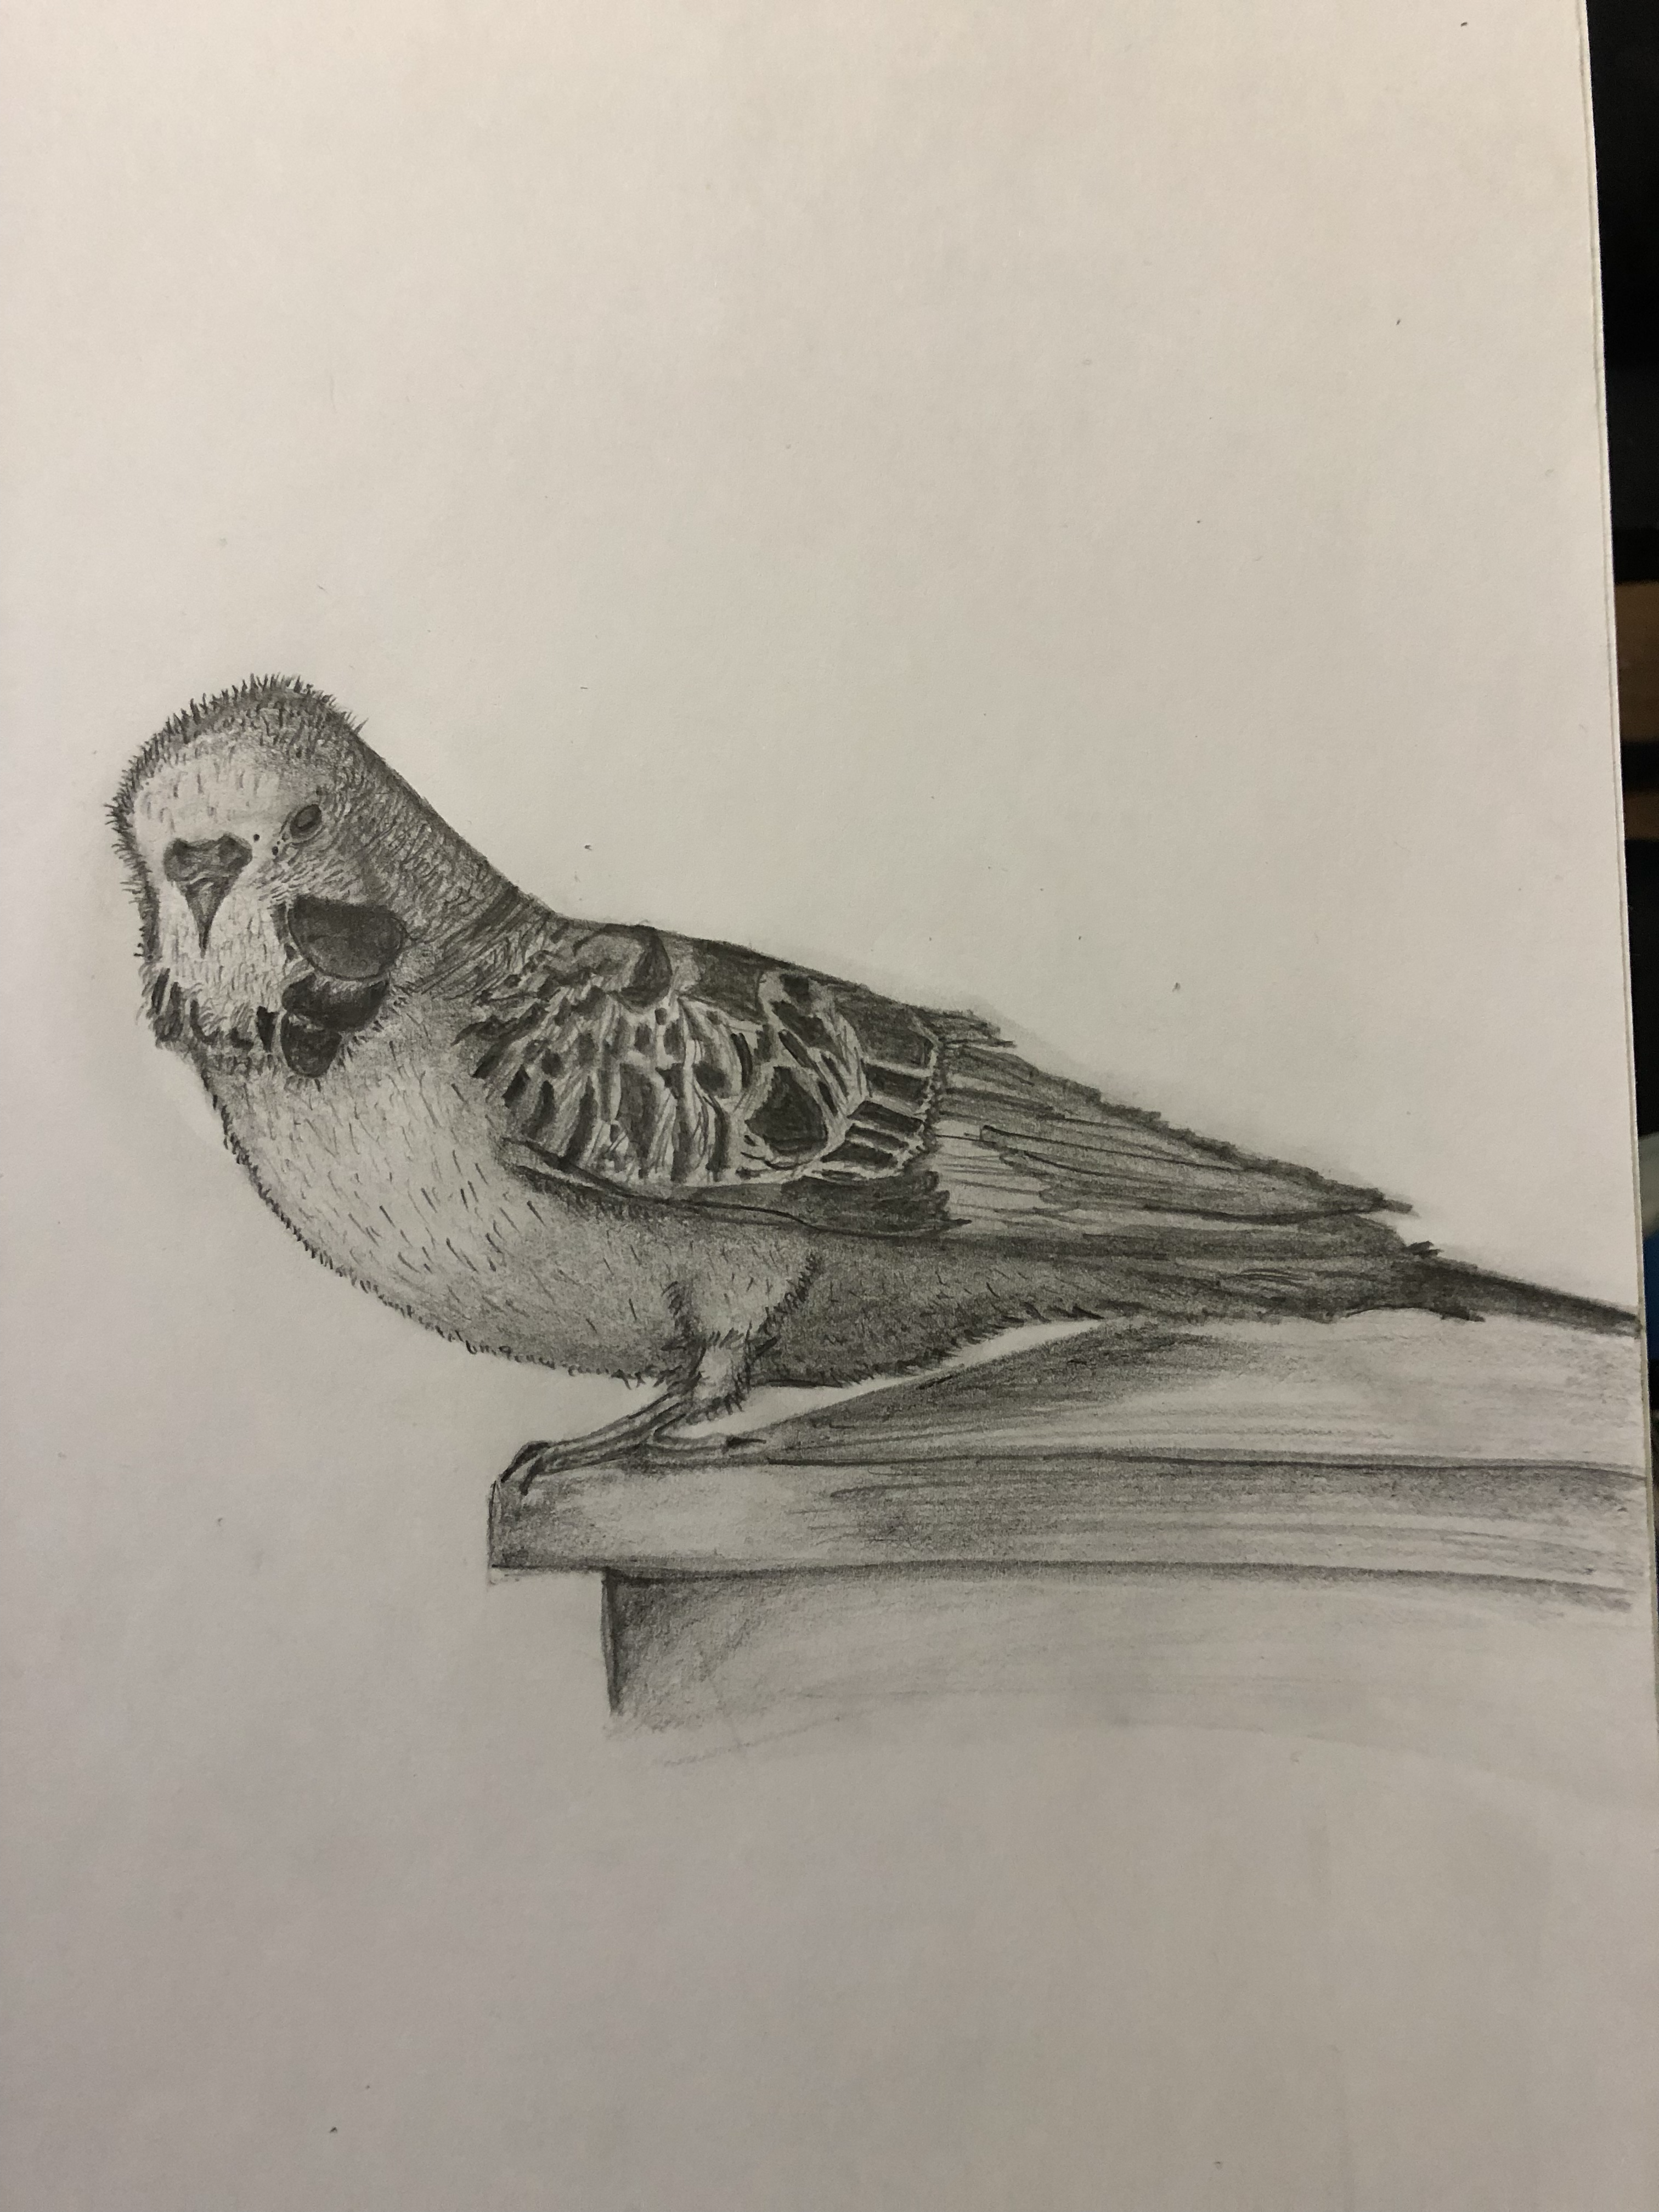
Draw a bird
Draw a bird step by step using pencil and color, observe feather shapes, beak types, and add habitat details to practice observation skills.

Drawing Apps
Step-by-step guide to draw a bird
Step 1
Look at a bird photo or a real bird for one minute and notice its body shape head and tail.
Step 2
Lightly draw a large oval for the body and a smaller circle for the head.
Step 3
Draw a short guideline from the head where the beak will go and a slanted line where the tail will extend.
Step 4
Choose a beak type and draw the beak using the guideline.
Step 5
Sketch an outline of the wing on the side of the body.
Step 6
Add feather details on the wing by drawing curved layered lines like rows of small leaves.
Step 7
Draw the tail feathers using long thin shapes following the tail guideline.
Step 8
Draw two legs and feet under the body with simple straight lines and small toes.
Step 9
Draw an eye and any head markings you noticed.
Step 10
Erase extra guidelines and smooth the shapes to make a clean outline.
Step 11
Trace over the final lines with a black marker or a darker pencil for bolder edges.
Step 12
Choose colors and color the bird paying attention to feather patterns and shades.
Step 13
Draw habitat details like a branch leaves nest or sky around the bird.
Step 14
Write the bird’s name and one thing you observed about its feathers or beak beside your drawing.
Step 15
Share your finished creation on DIY.org.
Help!?
I don't have a black marker or a darker pencil—what can I use to trace my final lines?
Use a fine-tip black pen, dark gel pen, thin permanent marker, or a sharp charcoal pencil to trace over the final lines as the instructions say to 'Trace over the final lines with a black marker or a darker pencil for bolder edges.'
My guidelines smudged or the bird looks lopsided—how can I fix that?
If the light guidelines from the steps 'Lightly draw a large oval...' or the beak/tail guidelines smudge or make the bird lopsided, gently lift marks with a kneaded eraser, redraw the oval and circle more lightly, and use the head-to-beak and tail guideline to realign features before erasing extras and smoothing shapes.
How can I adapt this drawing activity for different age groups?
For younger children, simplify to big ovals, sticker eyes, and coloring only, while older kids can spend the one-minute observation with a real bird photo, add detailed layered feathers, shading, habitat details, and write the bird's name and an observation as directed.
What are some ways to enhance or personalize the finished bird drawing?
After you 'Choose colors and color the bird' and 'Draw habitat details,' enhance the drawing with watercolor washes or textured colored-pencil feathers, make a 3D nest or branch collage, label bird parts, and photograph the result to share on DIY.org.
Watch videos on how to draw a bird
How to draw a bird for kids step by step !!
4 Videos
How to draw a bird for kids step by step !!

Easy Cute Bird Drawing for Beginners 🐦✏️ | Step by Step Hand Sketch Tutorial
How to Draw a Cute Bird | Easy Step by Step Drawing for Beginners

How to draw a birds | Easy bird drawing tutorial | kids drawing
Facts about drawing birds and observational skills
🪶 Many birds molt and renew most of their feathers each year, so feather shapes and patterns can change with age or season.
🐦 Scientists have described over 10,000 bird species—great for learning lots of different body shapes and poses to draw.
🔍 Beak shapes are clues to diet: thick cone bills crack seeds, hooked bills tear meat, and long slender bills reach nectar.
🎨 Bird colors can come from pigments or from tiny feather structures that bend light to make iridescent hues like a peacock's tail.
🌿 Drawing the habitat (trees, water, rocks) helps spot species differences because forests, wetlands, and grasslands host different birds.
How do I guide my child to draw a bird step by step?
What materials do I need to draw a bird with my child?
What ages is bird drawing suitable for?
What are the benefits of drawing birds and observing details?
