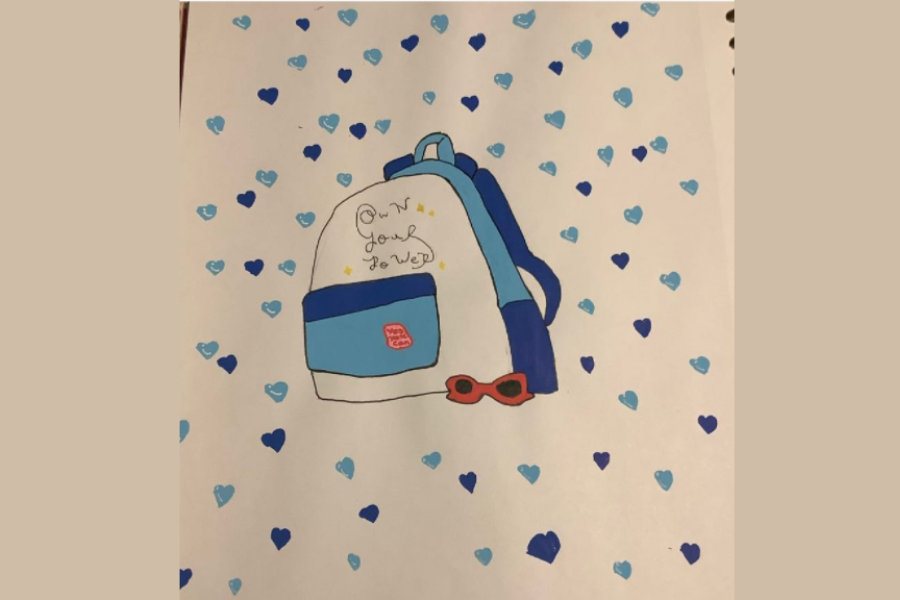
Draw a backpack with DIY Star @HorseRainbow
Draw and decorate a backpack design featuring a DIY star and a rainbow horse motif. Practice sketching, coloring, and simple pattern planning.

Drawing Apps
Step-by-step guide to draw a backpack with DIY Star @HorseRainbow
Step 1
Lay your paper and drawing materials on a clean flat surface.
Step 2
Lightly draw the outline shape of a backpack with your pencil.
Step 3
Draw a front pocket and two straps on the backpack shape.
Step 4
Lightly sketch two guide shapes on the backpack front where the DIY star and the rainbow horse will go.
Step 5
Draw a five-point star inside the left guide.
Step 6
Add small dashed stitch marks around the star to make it look like a sewn patch.
Step 7
Draw a simple horse head or silhouette inside the right guide.
Step 8
Draw flowing mane lines on the horse so each section can be a different rainbow color.
Step 9
Add simple patterns like polka dots stripes or little hearts to the rest of the backpack.
Step 10
Carefully trace the final pencil lines with your black marker to make the design bold.
Step 11
Leave the drawing untouched until the marker ink is completely dry.
Step 12
Gently erase any remaining pencil lines with your eraser.
Step 13
Color the star the horse mane in rainbow order and color the rest of the backpack and patterns with your coloring materials.
Step 14
Take a photo of your finished backpack design and share it on DIY.org.
Help!?
What can I use instead of a black marker if I don't have one?
If you don't have a black marker for the step 'Carefully trace the final pencil lines with your black marker,' use a fine-tip black pen, a thin permanent marker, or a soft graphite pen and test it on scrap paper first.
My ink smudged or pencil erasing smeared the design—how do I avoid that?
Prevent smudging by strictly following 'Leave the drawing untouched until the marker ink is completely dry,' use a quick-drying pigment marker, and only 'Gently erase any remaining pencil lines with your eraser' after confirming the ink is dry.
How can I adapt this backpack drawing activity for different ages?
For younger kids simplify the steps by using stickers for the star and horse and chunky crayons for coloring, while older kids can add detailed patterns, shading, or more complex mane sections when they 'Draw flowing mane lines on the horse.'
How can we make the finished design more special or long-lasting?
To enhance the final outcome, glue a small fabric patch over the stitched star, add glitter glue to the mane after you 'Color the star and the horse mane in rainbow order,' or laminate the drawing and attach the photo to a real backpack before sharing on DIY.org.
Watch videos on how to draw a backpack with DIY Star @HorseRainbow
How to Decorate a Clear Backpack | Back to School Rainbow DIY
4 Videos
How to Decorate a Clear Backpack | Back to School Rainbow DIY
diy adorable backpack tutorial from scratch // new design easy way !!
How to sew a small backpack easily - a detailed tutorial!

DIY Compact Children's School Bag Tutorial | Step-by-Step Guide l Backpack
Facts about drawing and design for kids
🎒 Many school backpacks hold about 20–30 liters — perfect for books and art supplies!
🌈 A rainbow is actually a full circle; from the ground we usually see only the arc.
🐴 Horses have lots of cool coat patterns like pinto and appaloosa that make fun design ideas!
⭐ The five-pointed star is a classic shape you can draw by connecting five points in a simple path.
🎨 Mixing red and yellow paint makes orange — a handy trick for painting bright rainbow colors!
How do I draw and decorate a backpack with a DIY star and rainbow horse motif?
What materials do I need to draw and decorate a backpack with a DIY star and rainbow horse?
What ages is this backpack drawing activity suitable for?
What are the benefits, safety tips, and variations for this star and rainbow horse backpack design?
