Draw 3 thumbnail sketches
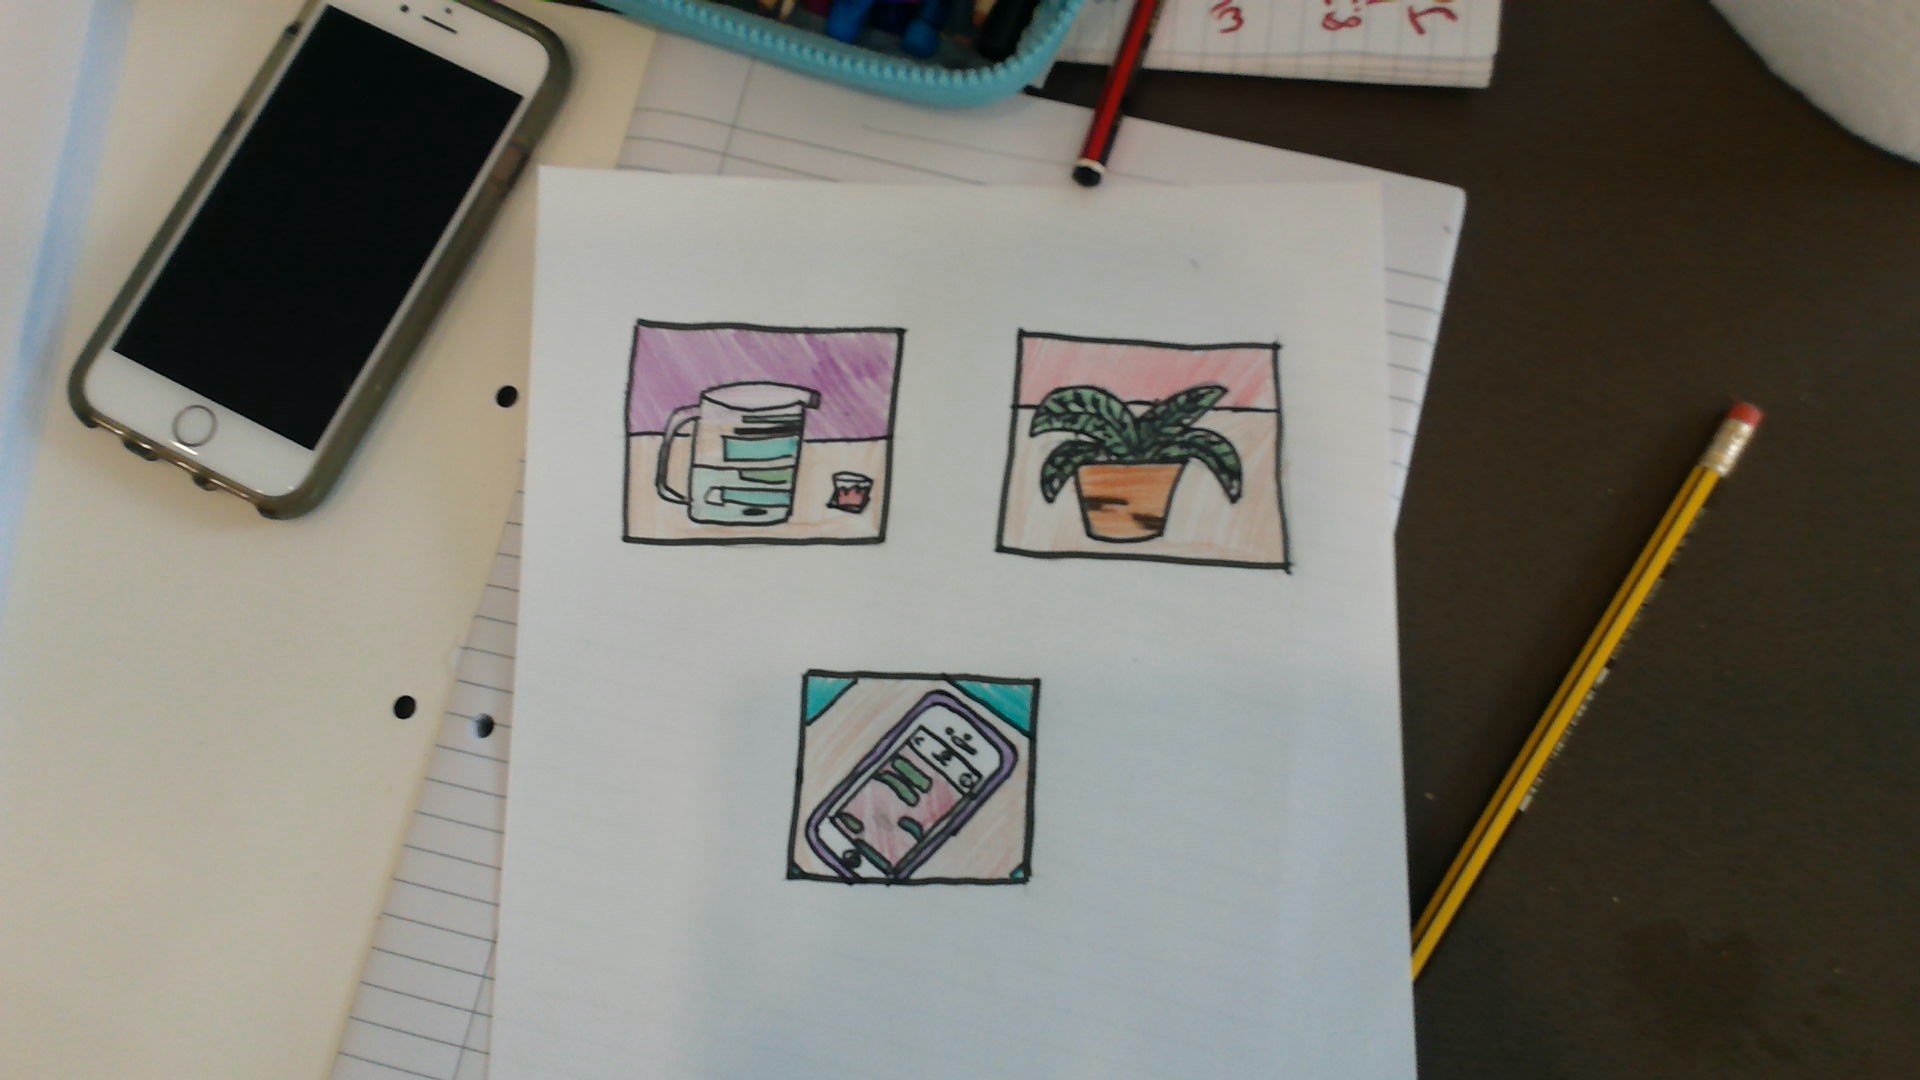
Draw three small thumbnail sketches of different compositions using pencil, eraser, and paper, exploring shape, balance, and quick idea development.

Drawing Apps
Step-by-step guide to draw three thumbnail sketches
Step 1
Gather your paper pencil and eraser and place them on a flat workspace.
Step 2
Draw three small rectangles spaced across the page to make three thumbnail frames.
Step 3
On scrap paper do a one-minute warm-up drawing simple shapes like circles squares and triangles.
Step 4
Think of three different idea words and write one word next to each thumbnail frame.
Step 5
In the first thumbnail draw a quick silhouette using large simple shapes only.
Step 6
In the second thumbnail place the main shape off-center to test balance and negative space.
Step 7
In the third thumbnail add lines or shapes that lead the eye to a single focal point.
Step 8
Add quick light shading to each thumbnail to show depth using simple strokes.
Step 9
Look at all three thumbnails and circle the one you like best.
Step 10
Write one short note beside the circled thumbnail explaining why you picked it.
Step 11
Trace the circled thumbnail onto a clean area or new sheet to make a slightly larger study.
Step 12
Share your three thumbnails and your chosen favorite on DIY.org
Help!?
What can we use if we don't have the paper, pencil, or eraser listed in the instructions?
Use printer paper or a notebook page for 'paper', a pen or colored pencil if you don't have a graphite pencil, and a kneaded or vinyl eraser—or draw very lightly to avoid erasing.
My thumbnails look messy or I can't get a clear focal point; what should we try?
Redraw the three small rectangles a bit larger, do the one-minute warm-up on scrap paper again to loosen your hand, then simplify the first silhouette into large shapes, place the main shape off-center in the second to test balance, and add clear leading lines in the third to guide the eye to the focal point.
How can we adapt this activity for different ages or skill levels?
For younger children make bigger thumbnail frames and use chunky pencils or markers with extra warm-up time, while older kids can make smaller, tighter thumbnails, add the light shading in step 7, and write a more detailed note beside the circled favorite.
How can we extend or personalize the thumbnails after finishing the initial steps?
After you trace the circled thumbnail onto a clean sheet as instructed, develop the study by adding color, texture, collage, or ink lines and then photograph or share your three thumbnails and chosen favorite with the short note on DIY.org.
Watch videos on how to draw three thumbnail sketches
Thumbnail Sketching Made Simple: The Art of Quick, Creative Ideas
4 Videos
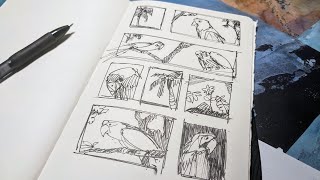
Thumbnail Sketching Made Simple: The Art of Quick, Creative Ideas
Thumbnail Sketching 101: Start Your Art the Right Way
How to Practice Thumbnail Sketching for Beginners | Improve Your Drawing Fast!
Mastering Thumbnail Sketching for Beginners
Facts about thumbnail sketching and composition
✏️ The modern pencil method (graphite in wood) was popularized in the late 1700s — one pencil can make hundreds of quick thumbnails!
🎨 Great artists like Leonardo da Vinci and Vincent van Gogh used small sketches and thumbnails to plan larger works.
⚖️ Using the rule of thirds (imaginary 3x3 grid) often makes a thumbnail composition feel more balanced and interesting.
⏱️ Thumbnails are fast by design — many artists spend 30 seconds to 5 minutes on each to explore lots of ideas quickly.
🧠 Thumbnailing trains your eye to spot strong shapes, negative space, and balance before you commit to a bigger drawing.
How do I guide my child to draw three thumbnail sketches exploring shape and balance?
What materials do I need for thumbnail sketching?
What ages is the thumbnail sketch activity suitable for?
What are the benefits of drawing three thumbnail sketches?
