Dot-Paint a Parrot
Create a colorful parrot using dot painting with cotton swabs and tempera paint, practicing color mixing, pattern making, and fine motor control.

Step-by-step guide to Dot-Paint a Parrot
Easy Parrot Drawing, Painting & Coloring For Kids and Toddlers_ Kids Art
Step 1
Gather all your materials and set them on a flat table.
Step 2
Put the paper in front of you and use the pencil to draw a simple parrot outline with a body wing tail beak and a circle for the eye.
Step 3
Squeeze a small blob of each paint color you want to use onto the palette.
Step 4
Dip one cotton swab into a single paint blob so the tip is loaded with color.
Step 5
Press the swab straight down on the paper inside one parrot area to make a round dot.
Step 6
Repeat stamping with the same color to make a pattern and fill that area with dots.
Step 7
Rinse the used swab in the cup of water to remove paint.
Step 8
Dry the rinsed swab on the paper towel before using it again.
Step 9
Dip a clean swab into a first paint blob to start mixing a new color.
Step 10
Dip that same swab lightly into a second paint blob and swirl on the palette to blend a new shade.
Step 11
Use the mixed color on the swab to add dots to another parrot area like the wing or tail.
Step 12
Let the painting dry flat for at least 30 minutes until the paint is no longer wet.
Step 13
Use the black marker to draw the parrot eye beak outline and add small feather lines after the paint is dry.
Step 14
Share your finished creation on DIY.org
Final steps
You're almost there! Complete all the steps, bring your creation to life, post it, and conquer the challenge!

Help!?
What can we use instead of cotton swabs or a paint palette if we don't have them?
If you don't have cotton swabs use the rounded eraser end of a pencil, small pom-poms, or the tip of a blunt paintbrush to press dots, and substitute a disposable paper plate for the palette when you 'Squeeze a small blob of each paint color'.
My dots are smudging or bleeding—how do I fix it?
If dots smudge when you 'Press the swab straight down' blot excess paint on the paper towel, press more lightly, rinse and fully dry the swab before switching colors, and allow the painting to sit flat longer before adding marker details.
How can I adapt the activity for toddlers, preschoolers, and older kids?
For toddlers make a bolder 'simple parrot outline' and use large pom-poms or marker dots, for preschoolers follow the cotton-swab dotting steps with adult supervision, and for older kids encourage careful color mixing from 'Dip a clean swab into a first paint blob' and add finer layered dot patterns.
How can we personalize or extend the project after finishing the dots?
After the paint dries, personalize by gluing a googly eye instead of using the 'black marker to draw the parrot eye', adding real feathers to the tail, framing the artwork, or photographing and sharing your finished creation on DIY.org.
Watch videos on how to Dot-Paint a Parrot
Parrot Drawing, Coloring & Painting - Easy Step by Step Tutorial for Kids & Toddlers 🦜🎨
4 Videos
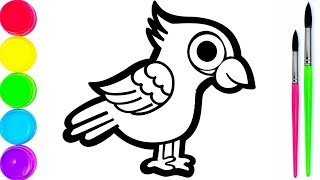
Parrot Drawing, Coloring & Painting - Easy Step by Step Tutorial for Kids & Toddlers 🦜🎨
How to Draw a Colorful Parrot | Easy Drawing for Kids
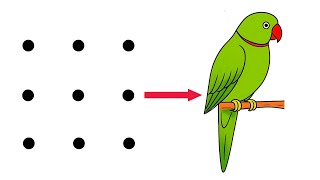
How to draw beautiful bird drawing from 9 dots | colorful parrot drawing easy
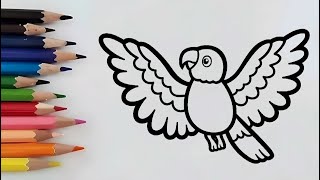
How to Draw a Colorful Parrot (Step by Step)
Facts about painting and color mixing for kids
👆 Dotting with cotton swabs is a fun way to practice fine motor skills and steady hand control.
🌈 Mixing two primary colors (red, yellow, blue) makes a secondary color—dot painting is perfect for experimenting with this.
🎨 Pointillism is an art style made of tiny dots—up close you see dots, from afar the colors blend into pictures.
🦜 Some parrots can live 50–80 years, so they can be lifelong colorful companions!
🖌️ Tempera (and school tempera paints) are water-based and often washable, great for kids’ projects.
How do you dot-paint a parrot?
What materials do I need to dot-paint a parrot?
What ages is dot-painting a parrot suitable for?
What are the benefits and safety tips for dot-painting a parrot?


One subscription, many ways to play and learn.
Only $6.99 after trial. No credit card required