Do stop-motion with objects
Create a short stop motion movie using small objects, plan frames, move items slightly between photos, then compile them into a smooth animated clip.


Step-by-step guide to create a stop-motion movie with objects
Easy Stop Motion Animation: Step by Step for Beginners
Step 1
Pick 1 to 3 small objects and decide on a tiny idea or action for them to do like "walk" or "roll."
Step 2
Find a flat table to use as your stop-motion stage.
Step 3
Lay the plain background paper or cloth on the table and tape its edges down so it stays smooth.
Step 4
Set up steady light so the stage is bright and shadows do not jump around.
Step 5
Place your objects on the stage and press a little sticky tack under them so they can stay put between moves.
Step 6
Secure your device on a steady support like a stack of books or a small tripod so the camera will not move.
Step 7
Open the camera or stop-motion app on your device and get ready to take photos.
Step 8
Take the first photo making sure the whole scene is in the frame.
Step 9
Move your object a tiny bit toward the next pose using very small steps for smooth motion.
Step 10
Take another photo of the new pose.
Step 11
Repeat Step 9 and Step 10 until your objects reach the final pose and your story is complete.
Step 12
Transfer the photos into a stop-motion app or simple video editor on your device.
Step 13
Set the frame rate to about 8 to 12 frames per second so the motion looks smooth.
Step 14
Export the movie from the app or editor to make a single video file.
Step 15
Share your finished stop-motion movie on DIY.org
Help!?
What can I use if I don’t have sticky tack, a tripod, or special background paper?
Use a small roll of clear tape or a dab of household putty under objects instead of sticky tack (Step 5), prop your device on a steady stack of books if you lack a tripod (Step 6), and swap the special background for plain printer paper, poster board, or a folded bedsheet taped flat to the table (Step 3).
My objects keep falling over or the motion looks jerky—what should I check?
Check that the background paper is taped flat (Step 3), press sticky tack or tape under each object to steady them (Step 5), lock the camera on a solid support so it never shifts (Step 6), use continuous bright lighting to prevent jumping shadows (Step 4), and make much smaller moves between photos for smoother motion (Steps 9–10).
How can I adapt the activity for a 4-year-old versus a 12-year-old?
For a 4-year-old, choose just one object and do larger, simpler moves with a parent steadying the device (Step 1 and Step 6–10), while a 12-year-old can plan a short storyboard, use 2–3 objects, take more frames, and set the frame rate near 12 fps in the editor (Steps 1, 9–12).
How can we extend or personalize the stop-motion to make it more creative?
Add hand-drawn or cut-out scenery taped behind the stage (Step 3), introduce more characters and tiny props held with sticky tack for micro-movements (Step 5), record voiceovers or add music and titles in the stop-motion app before exporting (Steps 11–13), and finish by sharing the polished film on DIY.org (final step).
Watch videos on how to create a stop-motion movie with objects
How to Make a Stop-Motion Animation | Tate Kids
4 Videos
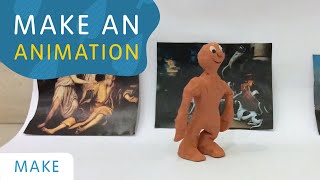
How to Make a Stop-Motion Animation | Tate Kids
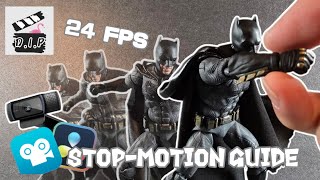
How to start your first Stop Motion Animation | Beginners Guide To Stop Motion | Stop-Motion Fight
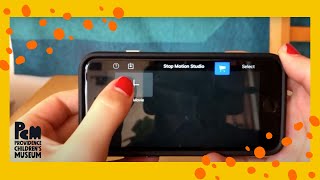
Stop Motion Animation | Kid's Activities
How to Make Stop Motion Animations: Essential Tools & Tips for Beginners
Facts about stop-motion animation
🎬 Stop-motion animation goes back to the late 1800s when inventors used tiny models to make objects appear to move on their own.
⏱️ For smooth stop-motion you typically use 12–24 photos per second — 12 fps is okay for quick clips, 24 fps looks very fluid.
📸 Many stop-motion apps have an onion-skinning feature that overlays the previous frame so you can line up tiny movements.
🧩 Small shifts matter: moving an object just a few millimetres between frames can create convincingly smooth motion.
⏳ Big stop-motion projects take time — feature-length films often take years because every second requires many separate photos.
How do you make a short stop-motion movie using small objects?
What materials do I need to do stop-motion with toys and objects?
What ages is stop-motion with objects suitable for?
What are the benefits of making stop-motion movies with kids?
