Do Kanji Calligraphy for Peace
Practice kanji calligraphy by writing the characters for peace (平和) with a brush or brush pen, learning stroke order and creating peaceful artwork.


Step-by-step guide to do kanji calligraphy for peace
Step 1
Clear a flat workspace and lay down a paper towel to protect the table.
Step 2
Gather all the materials from the list and put them within easy reach.
Step 3
Sit comfortably at your workspace so your arm can move freely.
Step 4
Hold the brush or brush pen with a light grip between your thumb and fingers.
Step 5
Look up and study stroke order diagrams for the kanji 平 and 和.
Step 6
Use the pencil and ruler to lightly draw simple guidelines or a grid on your final paper.
Step 7
Pour a small amount of ink into the dish or prepare your brush pen so the tip is ready.
Step 8
Practice basic brush strokes on scrap paper until the lines feel smooth and steady.
Step 9
Practice writing the character 平 on scrap paper following the stroke order you studied.
Step 10
Carefully write 平 on your final paper using steady strokes and the guidelines.
Step 11
Practice writing the character 和 on scrap paper following the correct stroke order.
Step 12
Write 和 next to 平 on your final paper to create the word for peace.
Step 13
Let the ink dry completely before you touch the paper.
Step 14
Sign your name or add a small seal with pencil or stamp to finish your artwork.
Step 15
Share your finished creation on DIY.org
Help!?
What can I use instead of sumi ink, a calligraphy brush, or an ink dish if those are hard to find?
If you can't find sumi ink or an ink dish, use a black water-based brush pen or dilute washable black acrylic or India ink in a shallow cup and substitute a soft paintbrush for the traditional brush when you prepare your ink or brush pen.
My strokes look blotchy or the ink keeps bleeding on the final paper—what should I try?
If strokes are blotchy or the ink bleeds when writing 平 and 和 on your final paper, blot excess ink on scrap paper before writing, switch to heavier-weight paper, and make lighter pencil guidelines so they won't show after the ink dries.
How can I adapt this activity for younger kids or make it more challenging for older kids?
For younger children, use a brush pen, larger paper, and pre-drawn stroke-order guides for 平 and 和, while older kids can practice with a traditional brush, real ink in a dish, and stricter stroke-order study before writing on the final paper.
How can we extend or personalize the kanji calligraphy project after writing 平 and 和?
To personalize the artwork, add a light watercolor wash behind 平 and 和, draw a decorative border with the pencil and ruler, and finish by signing or adding a small seal before sharing on DIY.org.
Watch videos on how to do kanji calligraphy for peace
Japanese Calligraphy | Learn One Kanji Every Day for JLPT N5: what
3 Videos
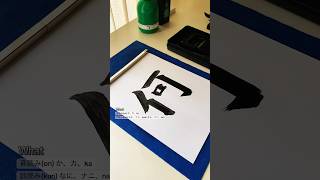
Japanese Calligraphy | Learn One Kanji Every Day for JLPT N5: what
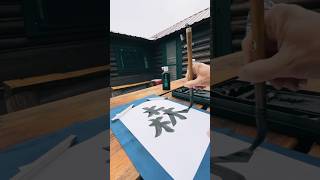
Learn Beautiful Japanese Calligraphy - Forest Kanji Made Simple!
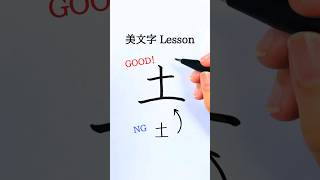
How to Write the Kanji "土" | Beautiful Handwriting Lesson ✨ Japanese Calligraphy #calligraphy #美文字
Facts about Japanese calligraphy (shodo)
🖌️ Shodō (Japanese calligraphy) uses the Four Treasures — brush, ink, paper, and inkstone — to write each character with care.
📚 There are about 2,136 Jōyō kanji used in daily life; learning common ones like 平 and 和 is a great place to start.
🧘 The characters 平 (flat/even) + 和 (harmony) combine to form 平和, the Japanese word for “peace.”
🗓️ Kakizome is the Japanese New Year's tradition of doing your first calligraphy of the year — people often write wishes like 'peace'.
🎨 Sumi ink traditionally comes from grinding a solid inkstick on an inkstone; more water makes lighter, softer brushstrokes.
How do you do Kanji calligraphy for peace (writing 平和)?
What materials do I need for Kanji calligraphy (writing 平和)?
What ages is Kanji calligraphy for peace (平和) suitable for?
What are the benefits of doing Kanji calligraphy for peace?
