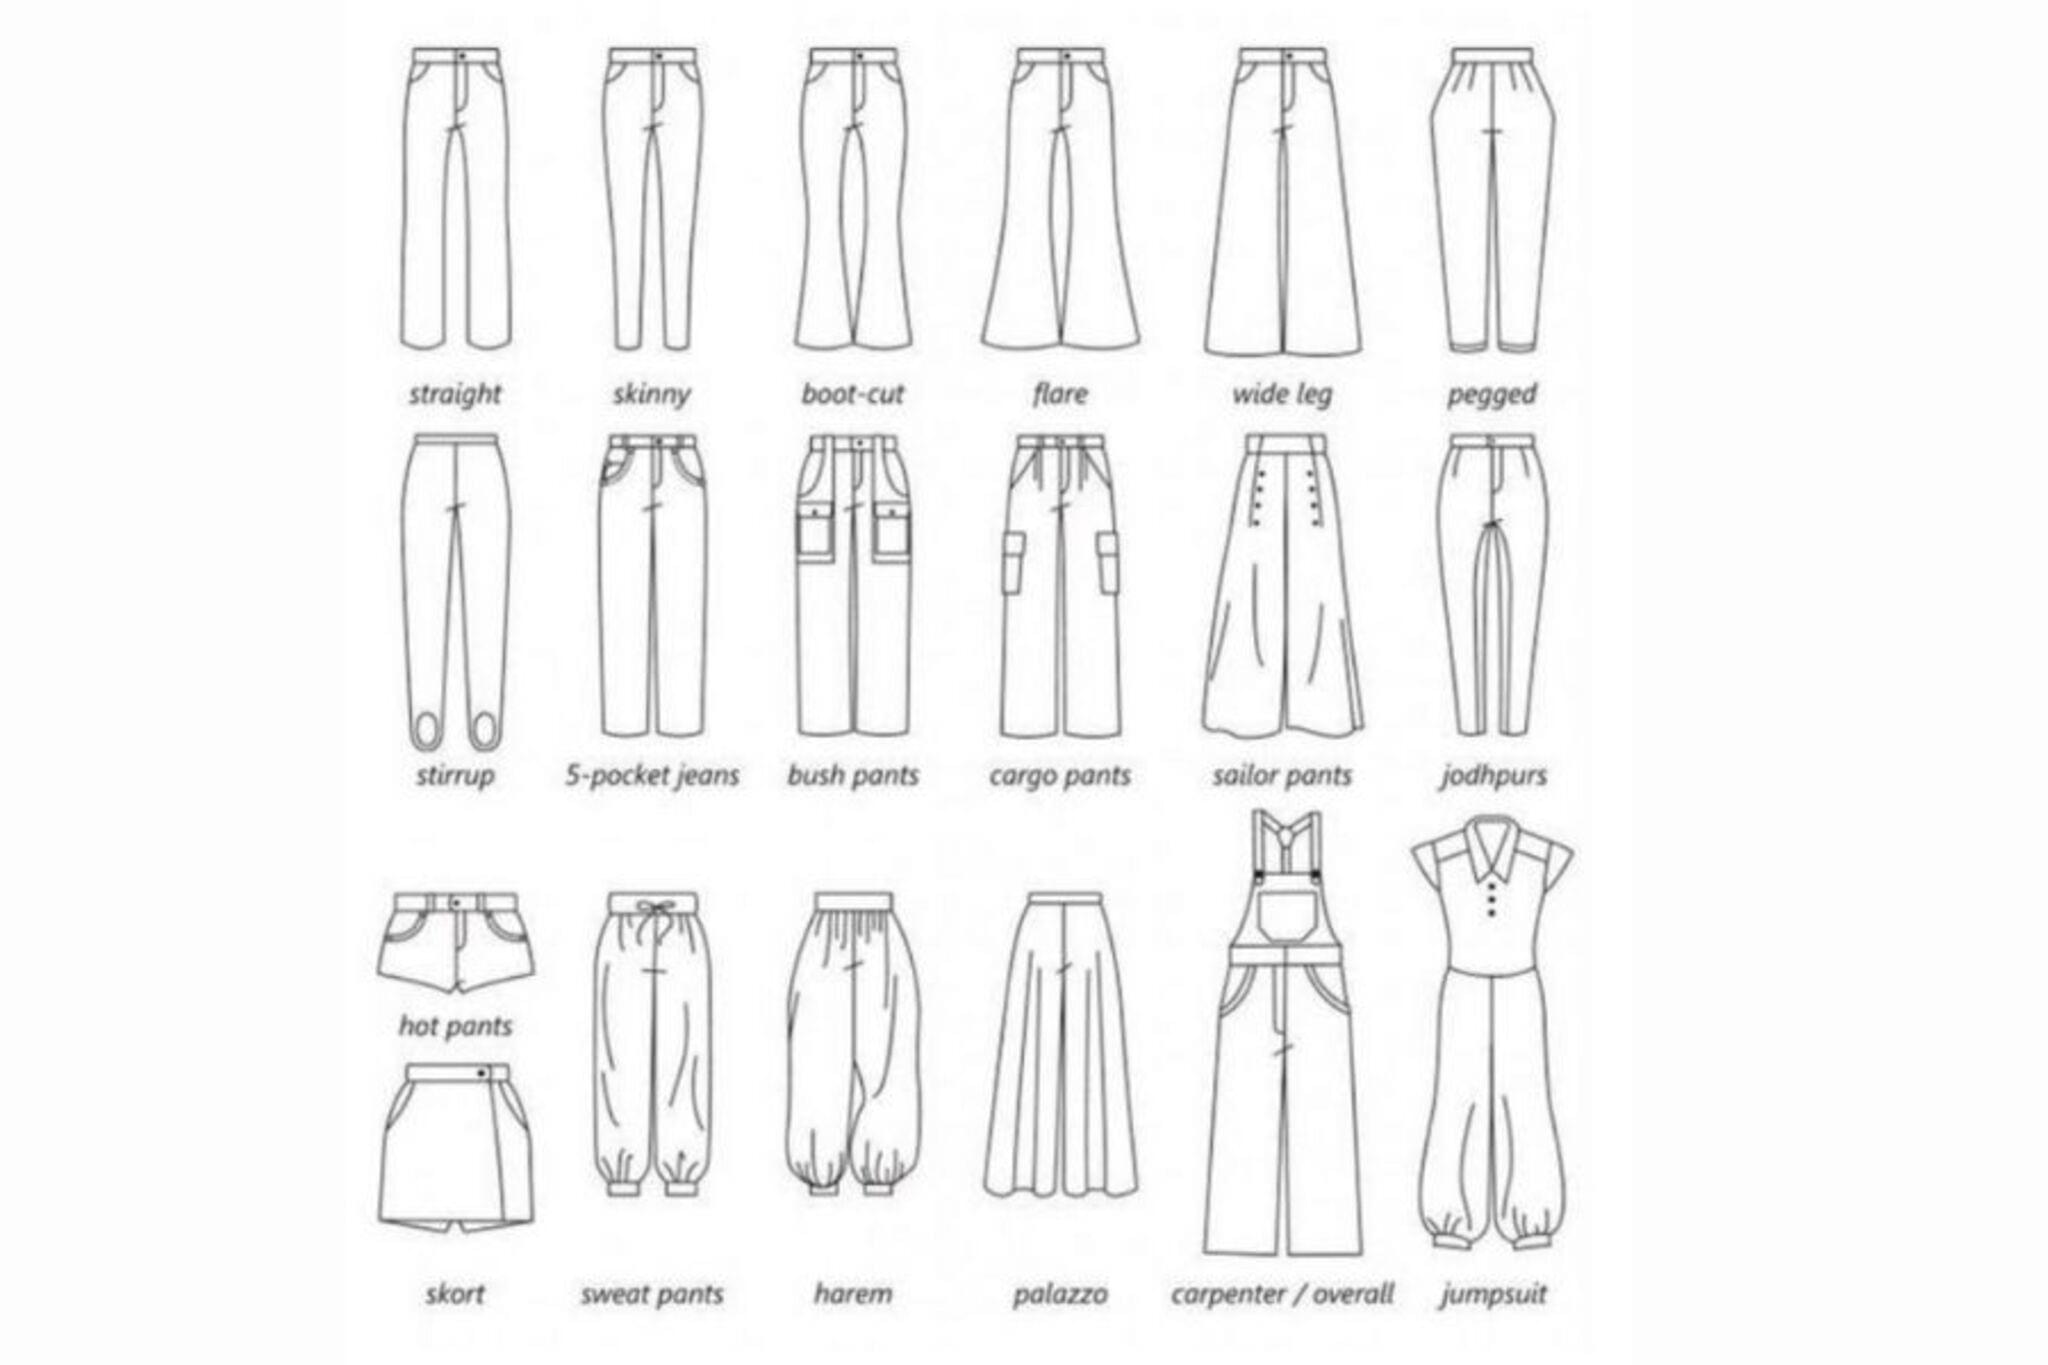
Design Pants of All Kinds
Design and create different pants styles using paper patterns, fabric scraps, and decorations; practice measuring, cutting, and simple sewing or gluing skills.


Step-by-step guide to Design Pants of All Kinds
Kids Pants Tutorial with FREE Pattern!
Step 1
Gather all Materials Needed and set them on a clear workspace.
Step 2
Measure waist circumference where the pants will sit using the measuring tape.
Step 3
Measure the desired pant length from waist to where you want the pant leg to end.
Step 4
Draw a simple paper pattern using your measurements and add a 1 cm seam allowance around the edges.
Step 5
Cut out the paper pattern with scissors.
Step 6
Lay the paper pattern on a fabric scrap and pin it in place.
Step 7
Trace around the pinned pattern onto the fabric with your pencil or fabric marker.
Step 8
Cut the fabric pieces out along the traced lines with safety scissors.
Step 9
Place the front and back fabric pieces right sides together and pin the side and inner leg edges.
Step 10
Sew or glue the pinned side seams and inner leg seams with about a 1 cm seam allowance.
Step 11
Fold the top edge down about 2 cm to make a waistband channel and pin it leaving a small gap to insert the elastic.
Step 12
Cut an elastic band to fit your waist comfortably minus about 2 cm so it will stretch.
Step 13
Thread the elastic through the waistband channel and secure the elastic ends and close the gap by sewing or gluing.
Step 14
Decorate your pants with buttons ribbons stickers using thread or glue and let any glue dry.
Step 15
Share a photo of your finished pants on DIY.org.
Help!?
What can we use instead of an elastic band or fabric scrap if those are hard to find?
If you don't have an elastic band, thread a ribbon, shoelace, or trimmed knit headband through the waistband channel in Step 11 and reuse an old T-shirt, pillowcase, or tablecloth as the fabric scrap called for in Step 5.
My seams are puckering or the pieces don't line up when I sew—how can I fix that?
If the front and back pieces misalign in Step 9 or seams pucker, confirm you added the 1 cm seam allowance in Step 3, pin every few centimetres (or use clips), sew slowly from pin to pin, and press seams flat before finishing.
How can I adapt this project for different ages or skill levels?
For young children have an adult pre-cut fabric in Step 8 and use fabric glue in Step 9 and Step 11, while older kids can draft more detailed patterns in Step 3, add pockets or a zipper before sewing in Step 9, and hand-sew decorative buttons in Step 12.
What are simple ways to personalize or improve the finished pants?
To personalize your pants, mix and match fabric scraps by tracing extra paper pattern pieces in Step 3 for patchwork, topstitch around the waistband after Step 11, and add buttons, ribbons, or stickers from Step 12 for decoration.
Watch videos on how to Design Pants of All Kinds
Make Pants that FIT from Scratch - Trouser Block Tutorial | LYDIA NAOMI
4 Videos
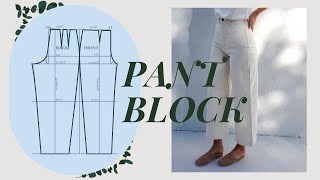
Make Pants that FIT from Scratch - Trouser Block Tutorial | LYDIA NAOMI
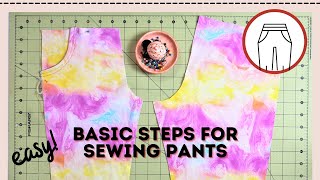
How to cut and sew together SIMPLE pants - BASIC STEPS!
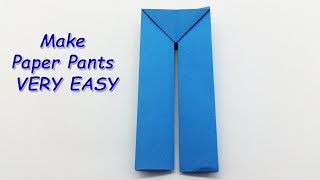
How to Make Paper Pants - Easy Origami Crafts - Best Paper Pant making tutorial
Basic pants tutorial for beginners (Gathered waist + pockets)
Facts about basic sewing and pattern making for kids
👖 The oldest known trousers are over 3,000 years old and were made in ancient China for riding horses.
✂️ Sewing patterns act like blueprints — they help you cut the same pieces of fabric again and again for a perfect fit.
📏 Even a small measurement change (like 1/4 inch) can make pants fit much differently, so measuring carefully really helps!
🧵 You can make pants with hand-sewing, a sewing machine, or no-sew glues and stitches — lots of kid-friendly options.
♻️ Turning fabric scraps into new pants is a fun way to upcycle and make one-of-a-kind designs while reducing waste.
How do I guide my child to design and create different pants styles at home?
What materials do I need for the Design Pants of All Kinds activity?
What ages is the Design Pants of All Kinds activity suitable for?
What are the benefits of doing the Design Pants of All Kinds activity with children?
