Design Clothing
Design and decorate a T-shirt using fabric markers, stencils, and simple sewing or gluing techniques; explore color, pattern, and measurement.


Step-by-step guide to design clothing: decorate a T-shirt
Fashion Design for Kids, Teachers and Parents
Step 1
Lay your T-shirt flat on a clean table and smooth out wrinkles so it becomes a neat blank canvas.
Step 2
Slide a piece of cardboard inside the shirt under the front design area to protect the back from marker or glue.
Step 3
Use the ruler to measure and mark the center and the edges of your design area with light pencil or fabric chalk.
Step 4
Sketch your design on paper using stencils and the ruler until you are happy with the size and layout.
Step 5
Test a fabric marker on a scrap piece of fabric to check the color and how much it bleeds.
Step 6
Position a stencil on the shirt where you measured and trace the outline lightly with pencil or fabric chalk.
Step 7
Color in the traced shapes with fabric markers using the colors and patterns you planned.
Step 8
Arrange fabric scraps or patches on the shirt where you want extra texture or fun shapes.
Step 9
With adult help use fabric glue or a needle and thread to attach the scraps or patches securely to the shirt.
Step 10
Let all ink and glue dry completely following the product instructions before touching or wearing the shirt.
Step 11
Share your finished T-shirt creation on DIY.org
Final steps
You're almost there! Complete all the steps, bring your creation to life, post it, and conquer the challenge!

Help!?
What can I use if I don't have fabric markers, fabric glue, or cardboard?
If you don't have fabric markers, substitute acrylic paint applied with a foam brush or a permanent marker tested on a scrap (Step 5), use a needle and thread instead of fabric glue to attach scraps (Steps 8–9), and replace the cardboard in Step 2 with a plastic folder, poster board, or thin cutting board to protect the back.
My stencil keeps slipping and the marker colors bleed—how do I fix that?
Secure stencils with low-tack tape before tracing in Step 6, place the cardboard under the shirt as instructed in Step 2, test marker pressure and bleed on a scrap per Step 5, and let layers dry between color applications to avoid smudging.
How can I change the activity for different ages?
For toddlers, use large pre-cut stencils and let them color with fabric markers and glue pre-cut scraps (Steps 6–9) with adult help; for elementary kids, have them sketch with the ruler and trace stencils themselves (Steps 3–6); and for teens, encourage precise measuring, more detailed sketches, and sewing patches from Step 9 or using fabric paints for complex effects.
What are simple ways to improve or personalize the finished T-shirt?
After ink and glue are fully dry per Step 9, heat-set marker designs if the product allows, reinforce or decorate patch edges by sewing (Step 9), add embroidery or iron-on embellishments for texture, and then share the final creation on DIY.org as in Step 10.
Watch videos on how to design clothing and decorate a T-shirt
How To Make Your Own Dress and Dress Pattern For Beginners | Sew Anastasia
4 Videos
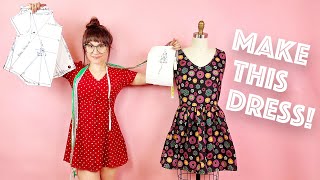
How To Make Your Own Dress and Dress Pattern For Beginners | Sew Anastasia
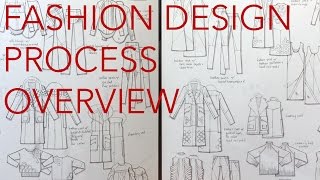
Fashion Design Tutorial 1: Design Process: Overview
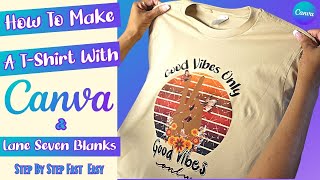
How to make a Graphic T-Shirt using Canva & bring your designs to life! Easy steps Start to Finish!
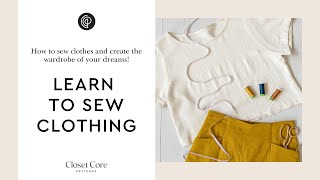
Learn How to Sew Your Own Clothes: From First Stitch to Finished Garment
Facts about textile crafts and basic sewing
✂️ Stenciling is an ancient technique — people used stencils to repeat patterns on walls and pottery thousands of years ago.
🧵 Archaeologists have found sewing needles made of bone that are over 20,000 years old, so people have been tailoring clothes for a very long time!
📏 Fashion designers use measurement tools and flat patterns to turn body measurements into 2D templates that become garments.
🎨 Many fabric markers are water-based and washable, but some are permanent — always check the label before decorating!
👕 The modern T-shirt rose to pop-culture fame in the 1950s when actors started wearing them as casual outfits on screen.
How do I help my child design and decorate a T-shirt step-by-step?
What materials do I need to design and decorate a T-shirt?
What ages is this T-shirt design activity suitable for?
What are the benefits of designing and decorating T-shirts?


One subscription, many ways to play and learn.
Only $6.99 after trial. No credit card required