Design an interface
Design a simple paper app interface using paper, markers, sticky notes, and buttons to plan screens, test navigation, and improve user-friendly layouts.


Step-by-step guide to design a simple paper app interface
How to Make Dory⎪My 100th Tutorial
Step 1
Gather all your materials onto a clear workspace so everything is ready to use.
Step 2
Pick one simple app idea like a pet care app a weather app or a game so you know what you are designing.
Step 3
Draw a rectangle on a sheet of paper to look like a phone or tablet frame to hold your screens.
Step 4
Sketch the home screen inside the frame by drawing big shapes for icons and a title area.
Step 5
Write a short label for each icon using a marker so each button has a name.
Step 6
Write the name of each additional screen on its own sticky note and stick them beside the main paper.
Step 7
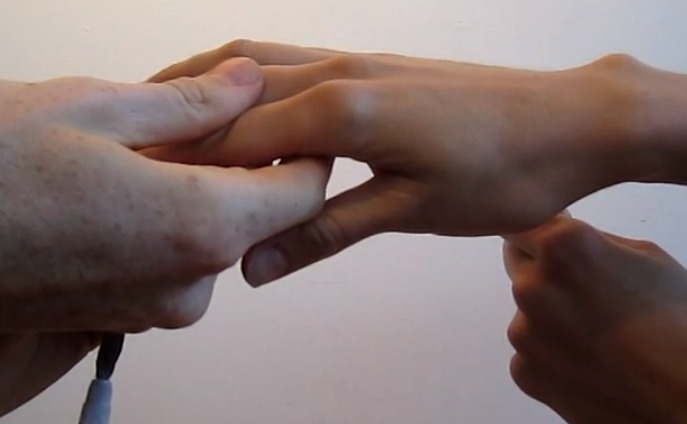
Tape a small button where each tappable icon is on the home screen so you can press real buttons.
Step 8
Use your marker to draw arrows from each icon to the sticky-note screen that it should open so the paths are clear.
Step 9
Press a button and move to the sticky-note screen it points to to pretend you are using the app.
Step 10
Watch how easy or tricky the navigation feels and write one thing to change on a sticky note.
Step 11
Make one improvement like moving a button relabeling an icon or changing the layout based on your note.
Step 12
Color and neaten your screens to make the app look friendly and easy to read.
Step 13
Write a one-sentence description of your app on a sticky note so people know what it does.
Step 14
Share your finished paper app and its description on DIY.org so others can see your design.
Help!?
What can we use instead of sticky notes if we don't have any?
Use small index cards or cut pieces of printer paper and tape them beside the main paper as substitutes for the 'Write the name of each additional screen on its own sticky note' step.
If the taped buttons fall off or are hard to press, what should we do?
Replace the taped buttons with larger shapes cut from cardboard or use bottle caps glued to the home-screen where the instructions say 'Tape a small button where each tappable icon is' so the buttons stay put and are easier to press.
How can we adapt this interface design activity for younger or older kids?
For younger kids (ages 4–6), pre-draw the frame and provide cut-out icon shapes to stick and label, while older kids (10+) should add extra sticky-note screens, perform the 'Press a button and move to the sticky-note screen' test, and iterate on improvements as the instructions suggest.
How can we extend or personalize the finished paper app?
After you 'Color and neaten your screens,' add personalized features like drawing a mascot, attaching a small sound button for feedback, or creating alternative layouts to test before you 'Share your finished paper app and its description on DIY.org.'
Watch videos on how to design a simple paper app interface
Cool Math Lessons for Kids
4 Videos
Cool Math Lessons for Kids
Guided Tutorial: Purpose and Overview

Kindergarten Kids Learning Videos Compilation
Simple Machines Video for Kids Kindergarten,Preschoolers,Toddlers
Facts about paper prototyping and basic user interface design
📝 You can make a clickable paper prototype in 5–10 minutes using paper, markers, and sticky notes.
🧪 Designers use paper prototypes to spot usability problems early — it’s fast and cheap to change ideas.
🎨 Drawing screens by hand helps your brain try bolder, more creative ideas than starting on a computer.
🔀 Sticky notes and buttons can simulate screen transitions so friends can test navigation like real apps.
👧👦 Kids as young as 6–8 can give useful feedback on layouts and navigation — they notice what’s confusing!
How do you design a simple paper app interface with a child?
What materials do I need to design a paper app interface with a child?
What ages is designing a paper app interface suitable for?
What are the benefits, safety tips, and variations for this paper app design activity?
