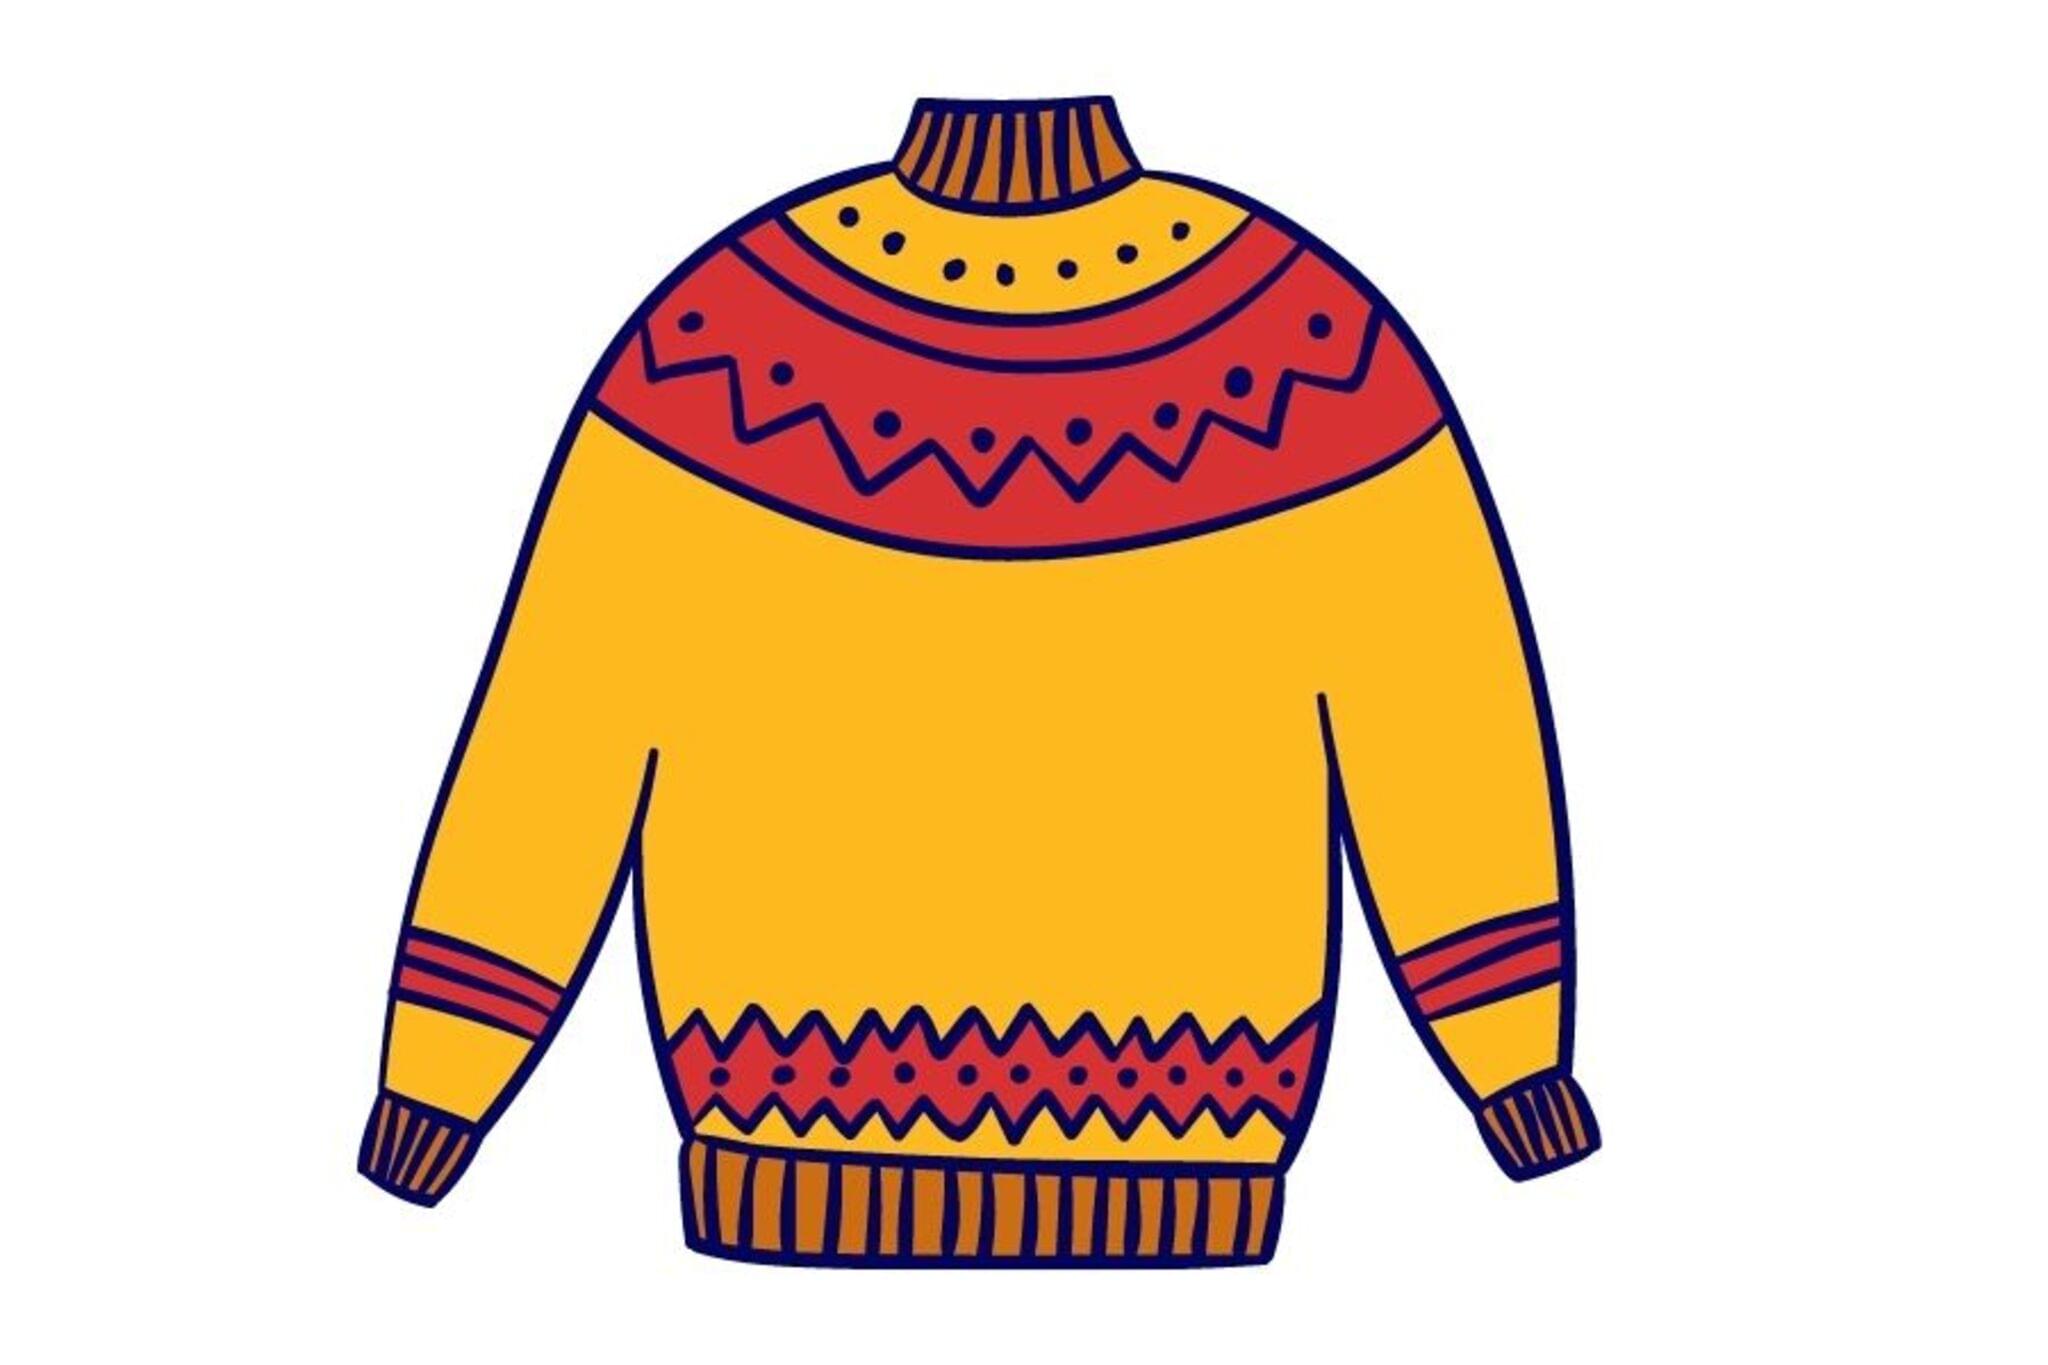
Design An Awesome Sweater
Design and decorate your own awesome cozy sweater using fabric paint, patches, and simple sewing with adult help; plan patterns and personalize it.


Step-by-step guide to design an awesome sweater
DIY Personalized Sweater - How to Embroider with Yarn (UPDATED Tutorial)
Step 1
Lay your plain sweater flat on a clean table and smooth out any wrinkles.
Step 2
Slide the small piece of cardboard inside the sweater to stop paint from soaking through.
Step 3
Plan your sweater design on paper by drawing shapes and choosing the colors you want to use.
Step 4
Lightly draw the design on the sweater with a fabric marker or tailor's chalk as a guide.
Step 5
Use a paintbrush or sponge to apply fabric paint and fill in the large color areas.
Step 6
Use fabric markers to add small details like dots stripes or lettering on top of the paint.
Step 7
Let the paint dry flat for at least 2 hours or until it is dry to the touch following the paint package directions.
Step 8
If you have iron-on patches have an adult press them on using the patch instructions and a hot iron.
Step 9
With an adult sew on any sew-on patches or appliqués using straight pins to hold them and a needle and thread.
Step 10
Share your finished awesome sweater on DIY.org.
Help!?
What can we use if fabric paint, a fabric marker, or the small piece of cardboard are hard to find?
Use acrylic paint mixed with a textile medium or permanent paint pens instead of fabric paint, permanent markers or tailor's chalk in place of a fabric marker, and a piece of heavy cardstock, a plastic cutting board, or folded freezer paper inside the sweater to stop paint soaking through.
My colors are bleeding together when I paint—how do I fix or prevent that?
Prevent bleeding by lightly drawing outlines first with a fabric marker or tailor's chalk, letting each painted area dry fully as instructed (at least 2 hours or per paint directions), and using painter's tape or freezer-paper stencils to keep edges sharp when you apply paint with a brush or sponge.
How can I adapt the steps for different ages of children?
For younger kids, skip the hot iron and sewing steps and let them decorate with fabric markers, stickers, and simple painted shapes while an adult inserts the cardboard, and for older kids add detailed brushwork, sew-on appliqués, and follow the iron-on patch instructions with adult supervision.
What are easy ways to enhance or personalize the finished sweater?
Layer fabric paint with fabric markers for fine details, add sew-on patches or embroidery for texture, heat-set or use a fabric medium to improve durability per the paint instructions, and personalize further with lettering before sharing the finished awesome sweater on DIY.org.
Watch videos on how to design an awesome sweater
5 MUST-TRY Crochet Sweater Patterns for Beginners!
4 Videos
5 MUST-TRY Crochet Sweater Patterns for Beginners!

Fashion Design for Kids, Teachers and Parents
Easy crochet cardigan sweater for girls 4-6 years + more sizes
Knitting and Designing a Colorwork Sweater From Start to Finish
Facts about sewing and fabric crafts for kids
🧥 Sweaters are also called jumpers or pullovers in different countries — same cozy idea, different name!
🎨 Fabric paint often needs heat-setting (with an iron or dryer) to become permanent on fabric.
🪡 Simple stitches like the running stitch and whipstitch are perfect for sewing on patches with adult help.
🔥 Many ready-made patches have iron-on backs so you can stick them on first, then stitch them for extra strength.
🌍 Decorating clothing is an ancient tradition — people worldwide used embroidery and patches to show culture, stories, and identity.
How do I design and decorate an awesome sweater with fabric paint and patches?
What materials do I need to design and decorate a cozy sweater?
What ages is sweater-decorating suitable for?
What are the benefits, safety tips, and fun variations for this sweater project?
