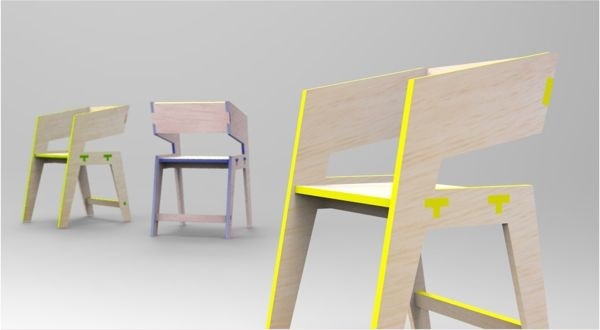
Design a chair
Design and build a simple cardboard chair prototype using cardboard, tape, glue, and measurements. Test stability and comfort while learning basic design principles.


Step-by-step guide to design and build a cardboard chair prototype
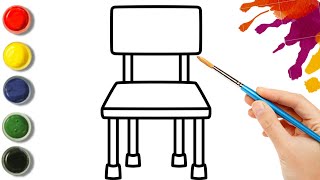
Chair Drawing Tutorial for Kids | Easy Art Guide | @ArtKidsFinger
Step 1
Clear a flat workspace and lay out your materials so everything is easy to reach.
Step 2
Decide how big your chair should be and draw a simple front and side sketch showing seat width and seat height.
Step 3
Use your ruler and pencil to measure and mark a rectangle for the seat and a rectangle for the backrest on the cardboard.
Step 4
Measure and draw four leg pieces and four triangular gussets (small right triangles) on the cardboard for reinforcement.
Step 5
Carefully cut out all the marked pieces from the cardboard using scissors and ask an adult for help if you use a craft knife.
Step 6
Lightly score any fold lines on pieces where you want neat bends so the cardboard folds cleanly.
Step 7
Apply glue to the top edges of each leg and press each leg to a corner on the underside of the seat; hold each leg in place until the glue begins to set.
Step 8
Glue one triangular gusset between each leg and the seat underside to strengthen the joint and let the glue dry.
Step 9
Apply glue to the bottom edge of the backrest and press it to the rear edge of the seat; hold until set.
Step 10
Glue two small support strips from the rear underside of the seat up to the backrest to brace the backrest and let them dry.
Step 11
Reinforce all glued joints with tape around the outside for extra strength.
Step 12
Gently press down on the seat with your hands to check for wobble and fix any loose joints with more tape or glue.
Step 13
Put a stack of books or light weights on the seat to test how much weight it holds without bending.
Step 14
Ask an adult to check the chair and help you try sitting on it only if it held the book test and the adult says it is safe.
Step 15
Take a photo or write about your cardboard chair and share your finished creation on DIY.org.
Help!?
What can I use if I don't have corrugated cardboard, strong glue, or tape?
Substitute by stacking and gluing several layers of thin cardboard to make a thicker seat and backrest, use white craft glue or hot glue with adult help to attach the legs and gussets, and replace tape with duct or cloth tape wrapped around the outside of glued joints for reinforcement.
My chair wobbles or a leg comes loose—what should I do?
If the seat wobbles or a leg comes loose after drying, reapply glue to the top edge of the leg, add an extra triangular gusset between that leg and the seat underside, hold or clamp until the glue sets, and wrap tape around the outside joint as the instructions recommend.
How can I adapt the project for different ages?
For younger kids have an adult pre-cut the seat, backrest, legs, and gussets and let them draw, score simple fold lines, glue, and decorate, while older kids can measure and sketch precise seat width and height, score neat bends, test weight with book stacks, and use a craft knife with supervision for cleaner cuts.
How can I make the cardboard chair stronger or more personal?
Strengthen and personalize the chair by doubling the seat layer before cutting, adding extra support strips from the rear underside to the backrest, reinforcing all glued joints with tape, and decorating the seat and backrest with paint or fabric before taking a photo to share.
Watch videos on how to design and build a cardboard chair prototype
HOW TO MAKE A SIMPLE FOLDING LADDER CHAIR VERY EASILY STEP BY STEP
4 Videos
HOW TO MAKE A SIMPLE FOLDING LADDER CHAIR VERY EASILY STEP BY STEP
🪑 Chair Drawing | Easy Step by Step Sketch for Beginners
How to Draw a Wooden Chair for Kids | Easy Step-by-Step Drawing & Coloring
Simple Chair Drawing For Kids | Easy Step By Step Drawing | Waji Drawing Art
Facts about cardboard prototyping and basic structural design
🪑 Chairs date back thousands of years — ancient Egyptian nobles used chairs as status symbols.
📦 Corrugated cardboard has a fluted inner layer that makes it light yet surprisingly strong for building prototypes.
📐 Ergonomics teaches designers to measure seat height, depth, and back angle to make chairs comfy for people.
🧪 Designers usually make multiple prototypes — testing helps catch stability and comfort problems early.
📏 A typical adult chair seat height is about 43–48 cm (17–19 in), a useful target when measuring your design.
How do I help my child design and build a simple cardboard chair prototype?
What materials do I need to build a cardboard chair prototype with my child?
What ages is designing and building a cardboard chair suitable for?
Is building a cardboard chair safe and how should we test it?
