Decorate a tree
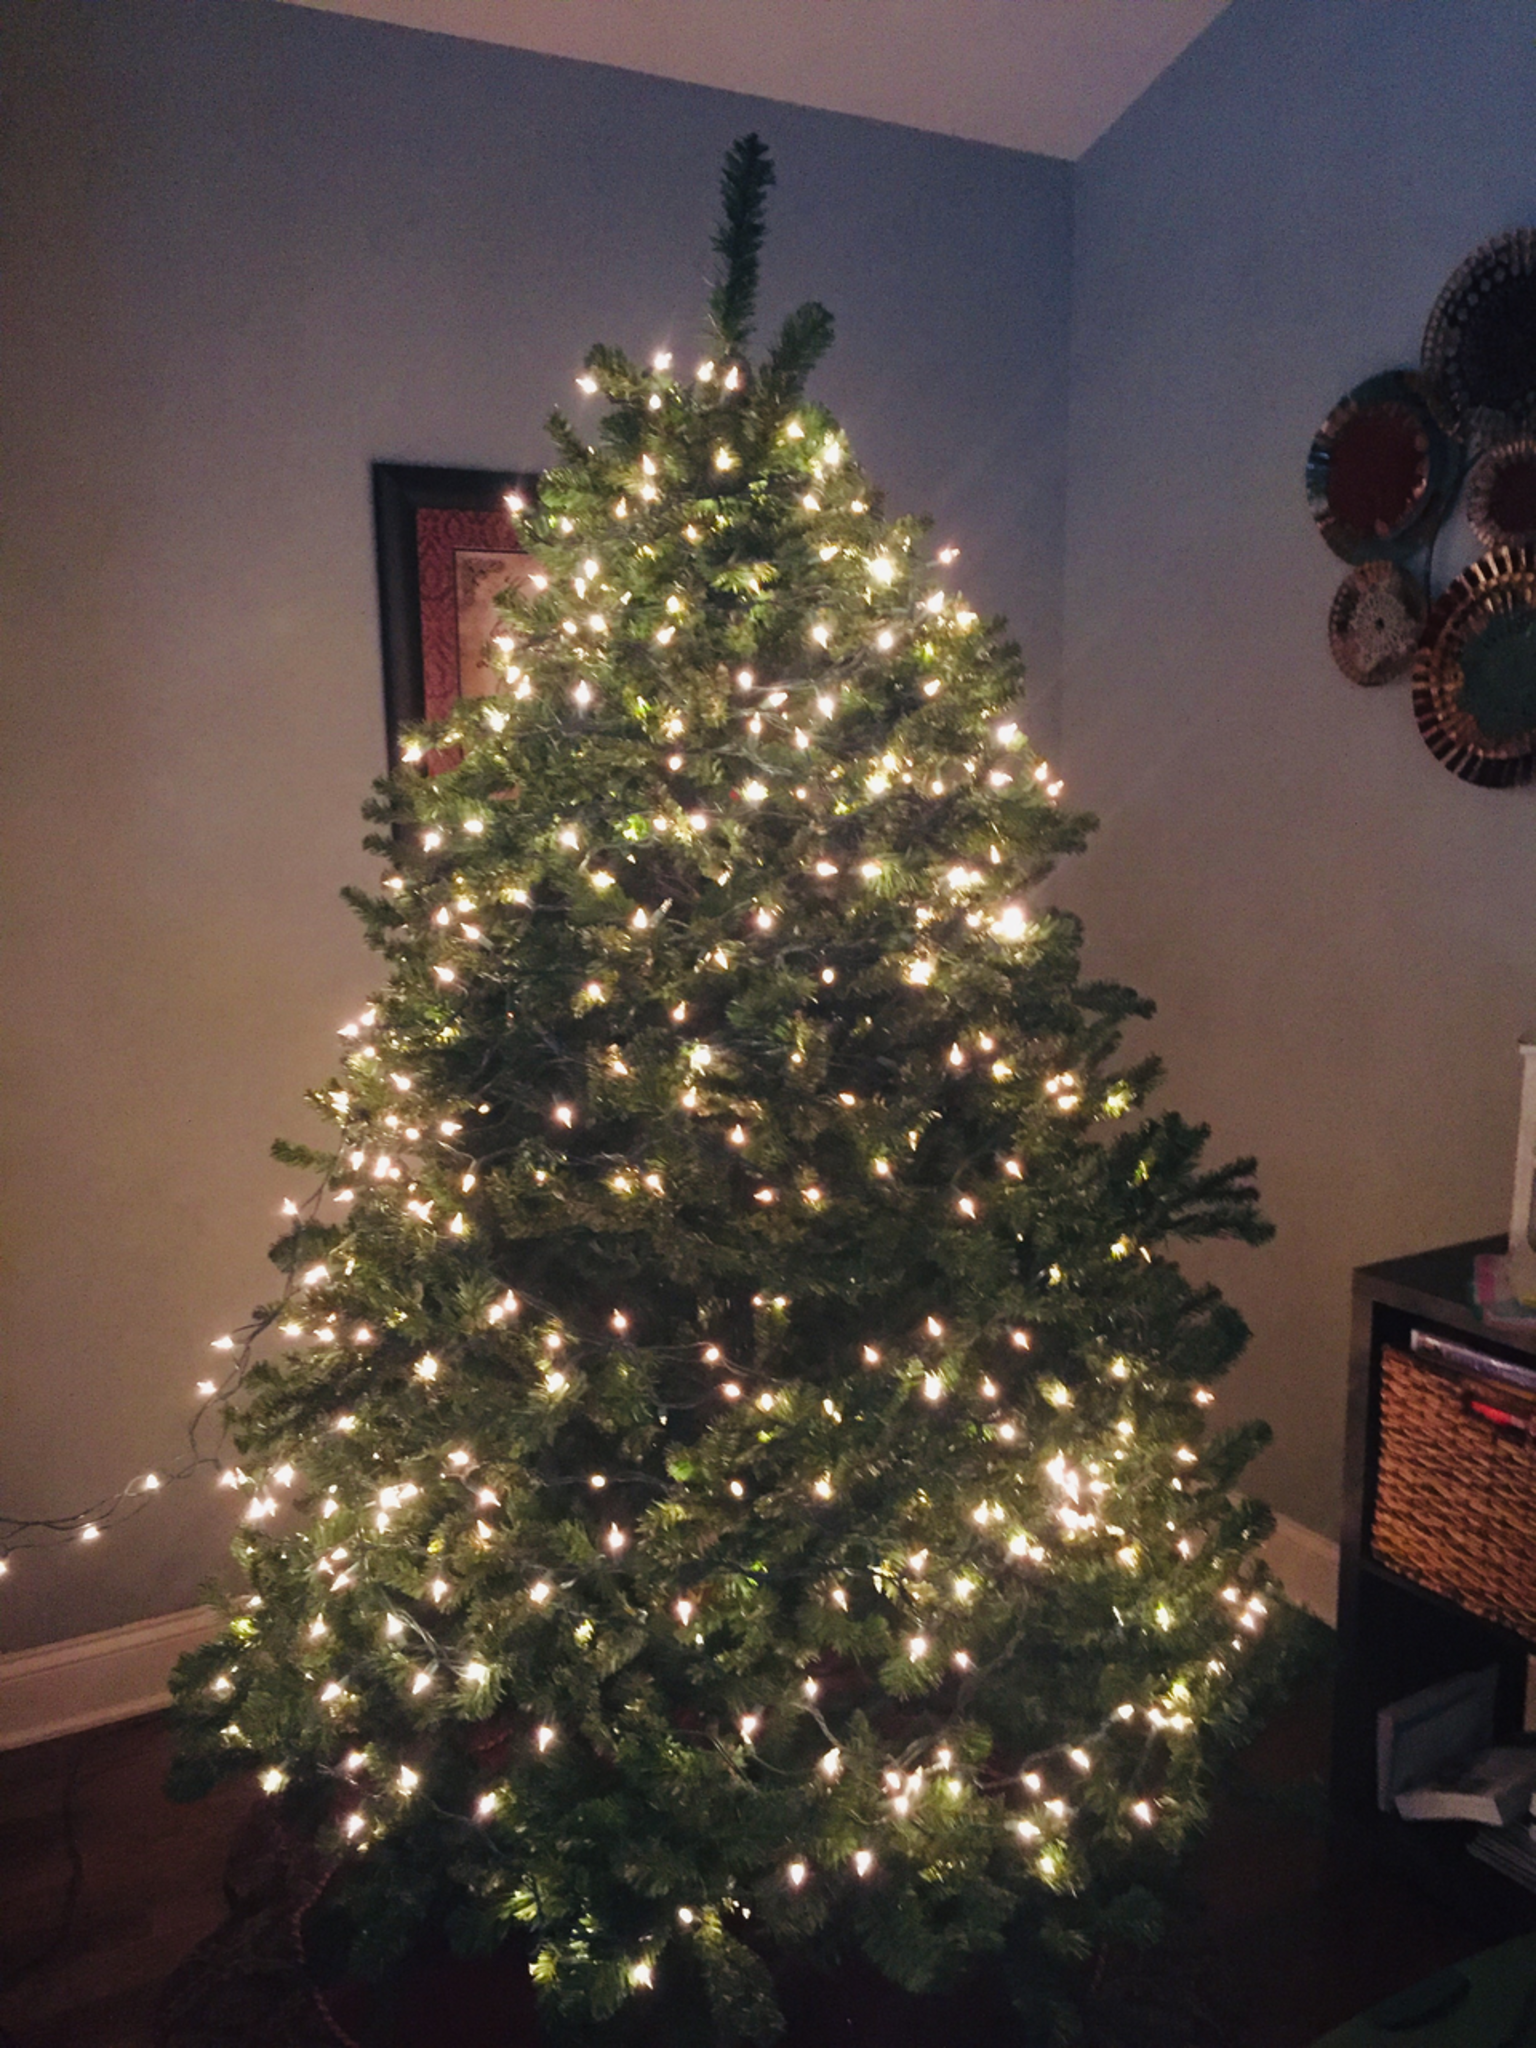
Decorate a small indoor or outdoor tree using homemade paper ornaments, natural decorations, safe string lights, and recycled materials to practice creativity and planning.


Step-by-step guide to decorate a tree
Teach Kids How to Decorate a Christmas Tree | Christmas Procedure Writing & Literacy Skills
Step 1
Place your small tree or sturdy branch where you want to decorate.
Step 2
Gather all your materials in one spot so they are easy to reach.
Step 3
Go outside and collect natural decorations like pinecones leaves and acorns.
Step 4
Fold a sheet of paper and draw simple ornament shapes like hearts stars or circles.
Step 5
Cut out the ornament shapes carefully with scissors.
Step 6
Decorate each paper ornament using colouring materials and glue or tape on recycled bits.
Step 7
Poke a small hole at the top of each paper ornament for hanging.
Step 8
Thread string through each hole and tie a loop to make a hanger.
Step 9
Tie loops of string onto pinecones leaves or other natural decorations to make them hangable.
Step 10
Make a few recycled decorations by assembling cardboard bottle caps fabric scraps or other bits with glue or tape.
Step 11
Carefully wrap safe battery string lights around the tree starting at the bottom and moving up.
Step 12
Ask an adult to check the lights and position the battery pack safely before turning them on.
Step 13
Share your finished creation on DIY.org
Help!?
If I can't find battery string lights, what can we use instead to light the tree?
If you don't have battery string lights, substitute solar-powered fairy lights, clip-on LED lights, or reflective paper and glow sticks and still follow the instruction to wrap lights or decorations from the bottom up around the tree.
My paper ornaments keep tearing when I poke a hole—how can we fix that?
Reinforce the top of each paper ornament before step 'Poke a small hole...' by adding a small square of tape or a paper washer (or use a hole punch) so the string you thread won't rip the paper.
How can we adapt this activity for younger or older kids?
For younger children, have an adult pre-cut the shapes and supervise gluing and tying loops onto pinecones, while older kids can design more detailed recycled decorations using glue, sewing fabric scraps, or complex ornament shapes.
What are easy ways to personalize or extend the project after we've finished decorating?
Personalize by writing names and dates on each paper ornament, add scented elements like cinnamon to pinecones, varnish or laminate recycled bottle-cap crafts for durability, or create a themed set to share on DIY.org as suggested.
Watch videos on how to decorate a tree
How to Decorate a Christmas Tree🎄! Learn with Baby JJ! #cocomelon #shorts
4 Videos
How to Decorate a Christmas Tree🎄! Learn with Baby JJ! #cocomelon #shorts
8 Steps to Decorating a Christmas Tree Like a Designer

A Guide to Christmas Tree Decorating I Traditional Aqua & Champagne Tree Tutorial
How to Decorate a Christmas Tree Step by Step! Easy & thrifty tips! | The DIY Mommy
Facts about eco-friendly crafts for kids
🎄 The tradition of decorating evergreen trees for winter festivals dates back to 16th-century Germany — long before modern store-bought ornaments.
♻️ Recycling one ton of paper can save roughly 17 mature trees, so turning old magazines into ornaments helps the planet.
✂️ Papercraft techniques (folding, cutting, gluing) can produce hundreds of unique ornaments from just a few scraps.
🌿 Pine cones and many natural decorations change with humidity — pine cones often close when wet and reopen when dry, so let them dry before decorating.
💡 LED string lights use up to about 80% less energy and run much cooler than incandescent bulbs, making them safer for kid-friendly trees.
How do I help my child decorate a small indoor or outdoor tree with homemade paper ornaments?
What materials do I need to decorate a small tree with paper ornaments, natural decorations, and recycled materials?
What ages is decorating a small tree with homemade and natural decorations suitable for?
What safety tips should I follow when decorating a small indoor or outdoor tree with children?


