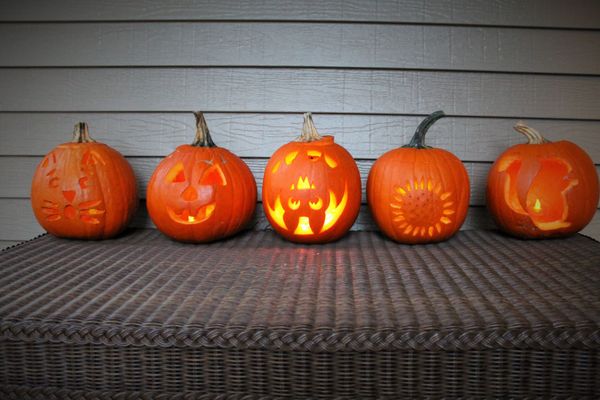
Decorate a pumpkin
Decorate a pumpkin using paint, stickers, and safe craft supplies to design faces or patterns while learning color mixing and creativity.


Step-by-step guide to decorate a pumpkin
Easy Pumpkin Painting Hack with an Apple | Fun Fall Craft for Kids #halloween
Step 1
Spread the newspaper on your table to protect it from paint.
Step 2
Put on your apron or old shirt so your clothes stay clean.
Step 3
Squeeze small amounts of each paint color onto the paper plate to make a palette.
Step 4
Use a clean brush to mix two colors on the plate to make a new color and see what happens.
Step 5
Paint a base coat or big shapes on your pumpkin using broad brush strokes.
Step 6
Let the painted areas dry for about 10 minutes before adding more paint.
Step 7
Paint smaller details like eyes mouths or patterns with a smaller brush.
Step 8
Peel and press stickers onto the pumpkin to add fun shapes and designs.
Step 9
Use the glue stick to attach googly eyes or foam shapes where you want them.
Step 10
Rinse your paintbrushes in the cup of water and wipe them on the paper towel.
Step 11
Take a photo and share your finished pumpkin on DIY.org.
Final steps
You're almost there! Complete all the steps, bring your creation to life, post it, and conquer the challenge!


Help!?
What can we use if craft paint, a paper plate palette, or googly eyes are hard to find?
Use washable tempera or acrylic markers instead of craft paint, a clean yogurt lid or stiff paper as the paper plate palette for mixing, and substitute cut paper eyes or drawn eyes attached with the glue stick in place of googly eyes.
My paint is smudging or the colors look muddy—what should I do?
Apply thinner base coats with broad brush strokes, let each painted area dry the full 10 minutes before adding more paint or details, and rinse your brush in the cup of water and wipe on the paper towel when switching colors.
How can I adapt this pumpkin decorating activity for younger or older kids?
For toddlers, pre-paint a simple base coat and let them press stickers, foam shapes, or glue-on eyes with the glue stick, while older kids can mix two colors on the paper plate palette and use the smaller brush to paint detailed eyes, mouths, and patterns.
How can we extend or personalize the pumpkin beyond the basic steps?
Add glitter or sequins attached with the glue stick over dried paint, glue on extra foam shapes, optionally seal the painted pumpkin with a clear spray after drying, and then take a photo to share your finished pumpkin on DIY.org.
Watch videos on how to decorate a pumpkin
Halloween Mini Pumpkin Painting Ideas | Welcome to Nana's
Facts about pumpkin crafts for kids
🧴 Many kids' paints are water‑based and non‑toxic and will wash from skin and clothes when wet—always check the label before using.
🌈 Mixing complementary colors (like blue and orange) often yields browns or grays, great for creating shadows and texture.
🎨 Mixing two primary colors makes a secondary color (red+blue = purple, blue+yellow = green, red+yellow = orange) — perfect for playful experiments.
🎃 Pumpkins are actually fruits in the gourd family—relatives of cucumbers and melons.
👻 The jack‑o'‑lantern tradition traces back to an Irish folktale about “Stingy Jack” and old harvest customs.
How do I decorate a pumpkin using paint, stickers, and safe craft supplies?
What materials do I need to decorate a pumpkin safely?
What ages is pumpkin decorating suitable for?
What are the safety tips and benefits of decorating pumpkins, and are there fun variations?


Make things. Learn new skills. Share safely.
DIY is a creative community where kids draw, build, explore ideas, and share what they make, all in a safe, moderated space.
Only $0 after trial. No credit card required


