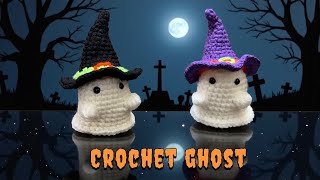
Crochet a ghost
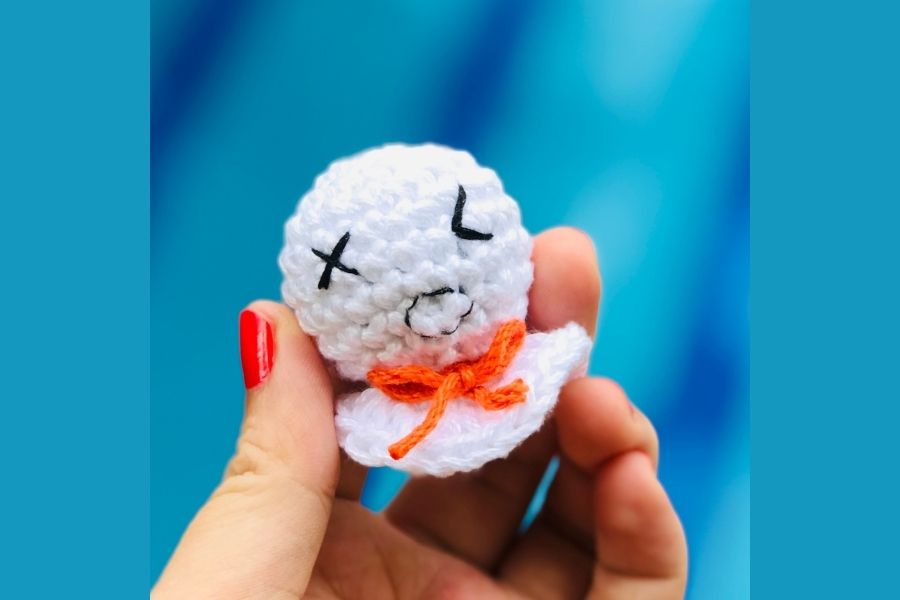
Crochet a small friendly ghost using basic single crochet stitches, yarn, and a hook; stuff lightly and add embroidered or felt features.


Step-by-step guide to crochet a ghost
Step 1
Make a magic ring with your yarn so you have a small loop to work into.
Step 2
Hold your loop and crochet 6 single crochet stitches into the magic ring.
Step 3
Pull the tail to close the magic ring until the center is tight.
Step 4
Crochet 2 single crochets into each stitch around to make 12 stitches total.
Step 5
Crochet 1 single crochet then 1 increase and repeat that pattern around to make 18 stitches total.
Step 6
Crochet one single crochet in each stitch around for three full rounds to build the ghost body height.
Step 7
Crochet one single crochet then one decrease and repeat that pattern around to reduce the stitch count.
Step 8
Crochet decreases around again until you have about six stitches left for a small top opening.
Step 9
Stuff the ghost lightly through the opening so it feels soft but still squishy.
Step 10
Cut the yarn leaving a long tail then thread the tail through your yarn needle.
Step 11
Use the needle and tail to pull through the remaining stitches to close the hole and weave in the end; then embroider simple eyes and a smile with black thread or glue small felt pieces for the face.
Step 12
Share your finished friendly ghost on DIY.org.
Help!?
What can we use if we don't have stuffing, a yarn needle, or felt for the face?
For stuffing in the 'Stuff the ghost lightly' step use clean scrap fabric, crumpled tissue, or polyfill alternatives, and if you don't have a yarn needle use a large-eyed tapestry or darning needle to 'weave in the end', while eyes can be drawn with a marker, glued-on buttons, or safety eyes instead of felt.
My magic ring keeps leaving a hole or my stitch counts are off—how do I fix that?
Tighten the center by pulling the tail in the 'Pull the tail to close the magic ring' step, place a stitch marker at the start of each round to avoid losing your place during the 'Crochet increases/decreases' steps, and recount stitches after each round to correct increases or decreases immediately.
How can I adapt this ghost project for different ages or skill levels?
For younger children use bulky yarn and a larger hook and skip embroidering by gluing felt eyes as in the 'embroider simple eyes' step, while older or more experienced kids can follow the full pattern, add extra rounds or stitch textures during the 'one single crochet in each stitch around' section, or experiment with smaller hooks for a tighter fabric.
How can we personalize or extend the finished ghost beyond the basic pattern?
After you 'weave in the end' and finish the face, personalize it by sewing a small yarn chain at the top to hang it, adding a crocheted hat or scarf before stuffing, embroidering rosy cheeks or eyelashes instead of a simple smile, or stuffing with scented bits and then 'Share your finished friendly ghost on DIY.org'.
Watch videos on how to crochet a ghost
Simple Crochet Ghost 👻 | Step by Step Beginner Tutorial
4 Videos
Simple Crochet Ghost 👻 | Step by Step Beginner Tutorial
How to Crochet a Ghost Amigurumi (Easy & Quick) | Cute Halloween Crochet Pattern
How to Crochet a Little Ghost in Hat 👻 | Halloween Crochet Tutorial 🎃 Cute Amigurumi Decoration
Easy Crochet Ghost Tutorial | Step-by-Step Amigurumi Ghost for Halloween Decor
Facts about crocheting for kids
🧶 'Amigurumi' is a Japanese word for knitted or crocheted stuffed toys — perfect for tiny friendly ghosts!
👻 Ghost-shaped toys are a classic Halloween craft and also make cute year-round decorations.
🪝 The single crochet stitch makes a tight, dense fabric that's ideal for stuffed toys so the stuffing doesn't show.
🪡 Embroidering facial features or using felt is safer than small plastic eyes for toys intended for little kids.
🧵 Small crochet toys are great for using leftover yarn scraps — quick, eco-friendly, and budget-friendly.
How do I crochet a small friendly ghost?
What materials do I need to crochet a ghost?
What ages is this crochet activity suitable for?
What are the benefits of crocheting a small ghost?
