Create Your Quilling Masterpiece
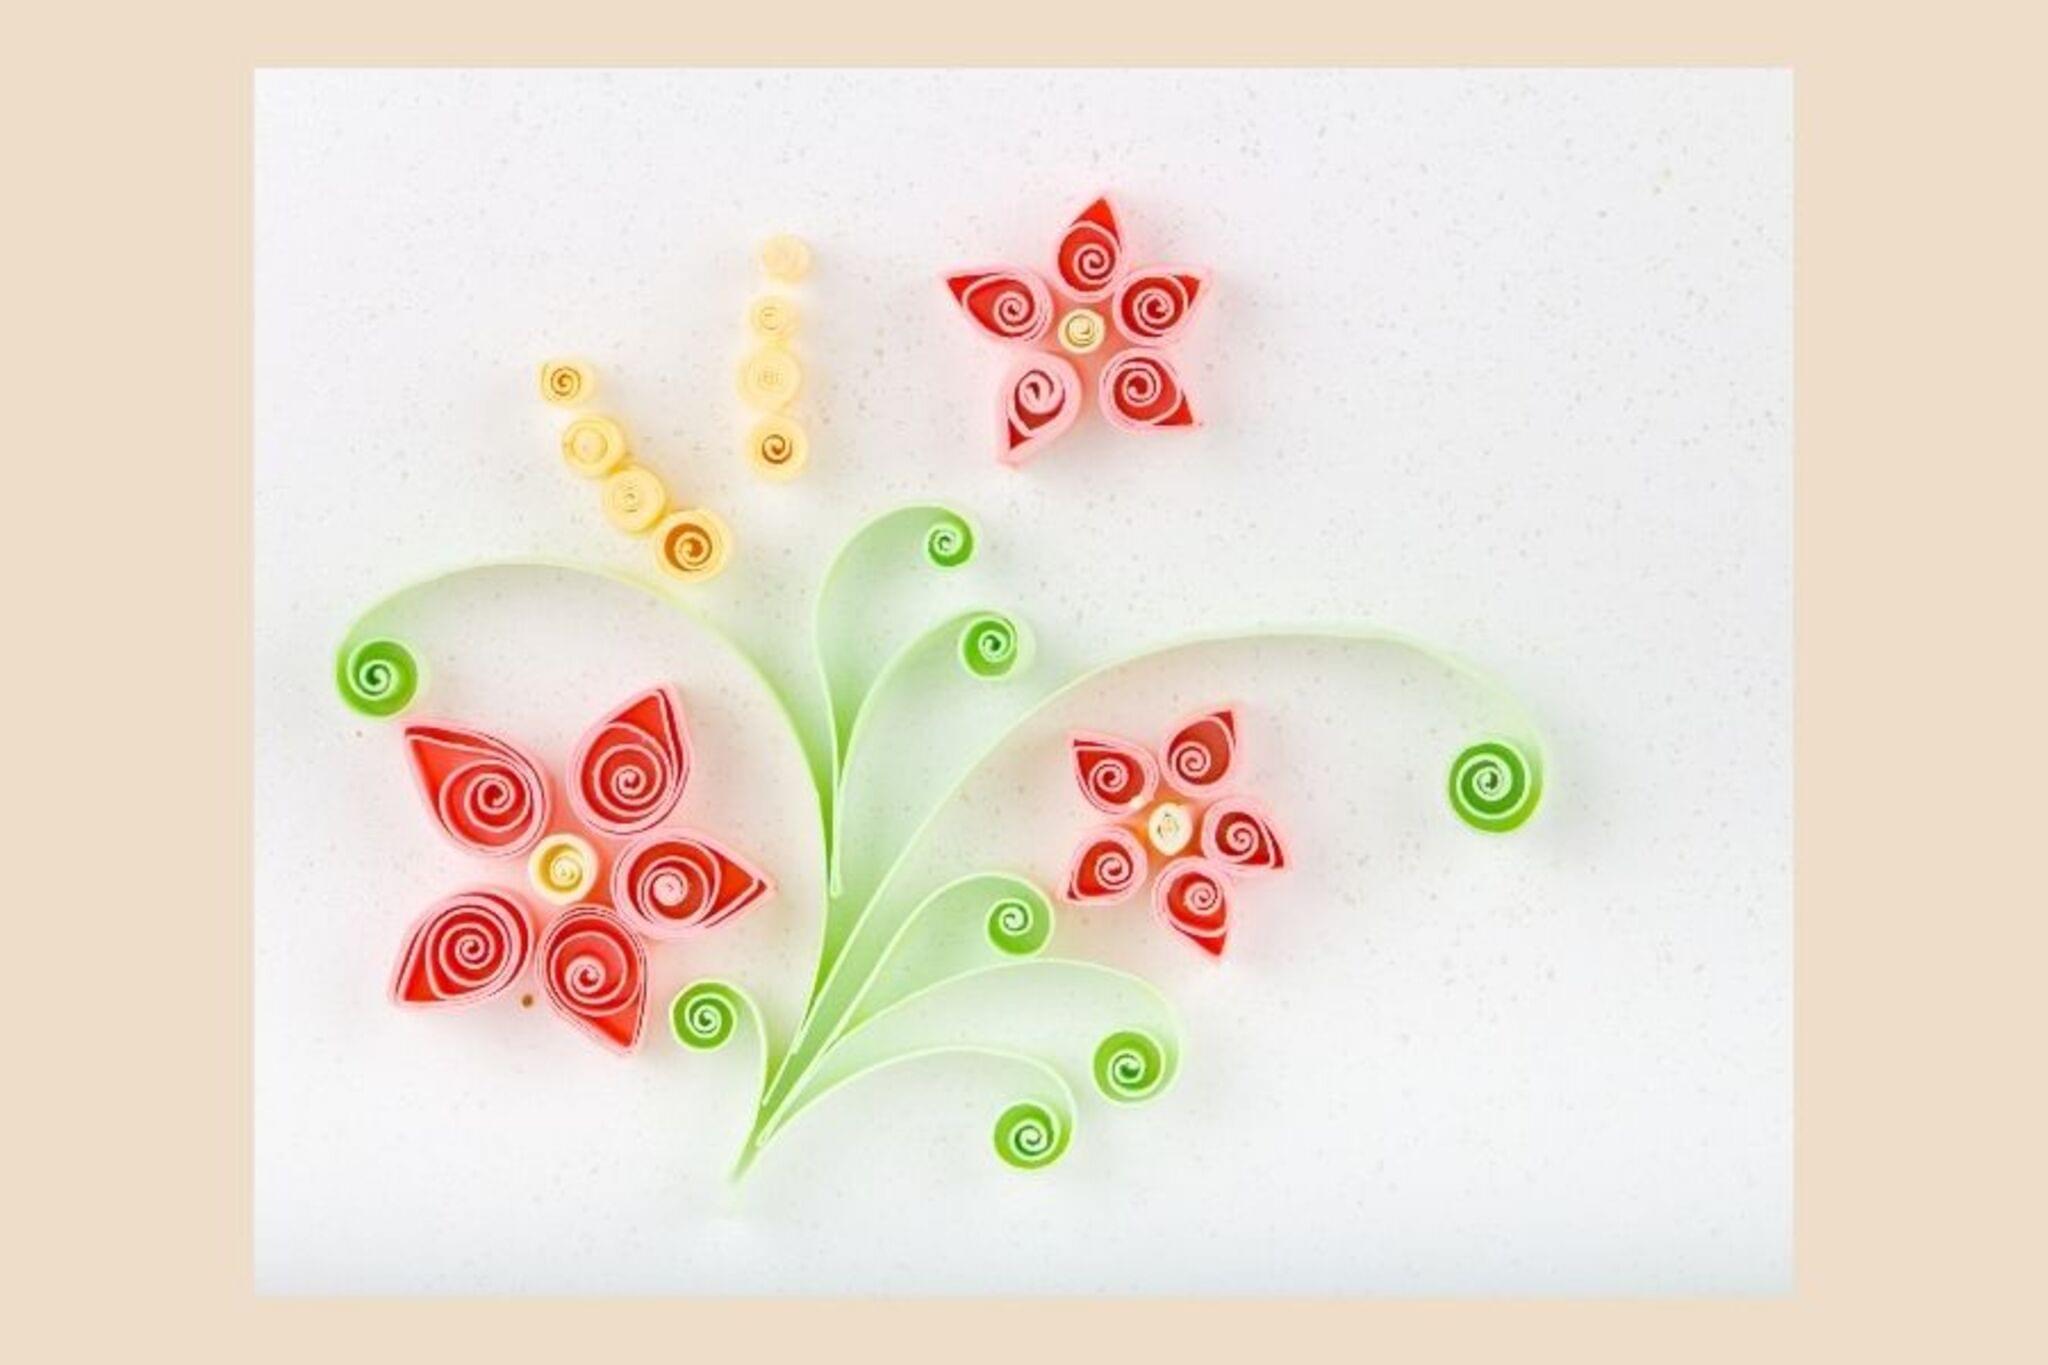
Make a colorful quilled paper masterpiece—roll and shape strips to form flowers, animals, or patterns, then glue them onto a cardstock base.


Step-by-step guide to create your quilling masterpiece
Learn Beautiful Quilling Art | Step-by-Step Flower Design Guide
Step 1
Pick a subject for your masterpiece and lightly draw a simple outline on the cardstock with your pencil.
Step 2
Cut the colored paper into strips about 1 cm wide and 20 cm long using the scissors.
Step 3
Insert the end of one paper strip into the quilling tool or wrap the end around a toothpick and roll tightly to make a tight coil.
Step 4
Slide the tight coil off the tool and let it loosen a little so it becomes a loose coil.
Step 5
Put a tiny dab of glue on the loose coil’s end and press it down to secure the coil.
Step 6
Pinch the secured coil at one point to make a teardrop shape or pinch two opposite points to make a leaf shape.
Step 7
Repeat the rolling gluing and shaping steps to make many coils and shapes in different colors for your design.
Step 8
Arrange all your quilled shapes on the drawn outline without gluing to check the placement.
Step 9
Put a small dot of glue on the back of one quilled shape at a time.
Step 10
Press each glued quilled shape onto the cardstock in its planned spot and hold briefly to set.
Step 11
Let the glue dry completely so all pieces are secure.
Step 12
Share your finished quilling masterpiece on DIY.org
Help!?
What can we use instead of a quilling tool or cardstock if we can't find them?
If you don't have a quilling tool you can wrap the paper around a toothpick as described in step 3, and if you lack cardstock use heavy construction paper or glued-together printer paper for the base while saving true cardstock for the most stable result.
My coils keep unrolling or fall apart when I try to glue them — what should I do?
If coils keep unrolling after step 4, roll tighter in step 3, put a slightly larger dab of glue on the loose coil's end in step 5, and press and hold each glued shape longer when attaching in step 10 so the glue sets fully.
How can this activity be changed for younger kids or for older kids who want more challenge?
For younger children have an adult pre-cut the 1 cm strips in step 2 and let them make simple loose coils and place them in step 8, while older kids can cut thinner strips, create more pinch shapes in step 6, and draw a detailed subject outline in step 1.
What are some creative ways to extend or personalize our quilling masterpiece when it's finished?
To enhance the design add layered coils for depth, glue on tiny beads or sequins to specific quilled shapes during steps 9–10, experiment with different strip widths from step 2 for texture, and frame the finished cardstock before sharing on DIY.org in step 11.
Watch videos on how to create your quilling masterpiece
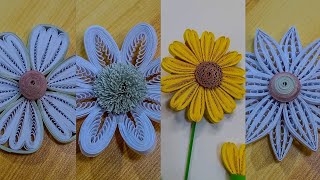
Make 6 Easy flowers. Quilling for Beginners. Step by Step DIY Tutorial. Flowers for Cards and Crafts
4 Videos
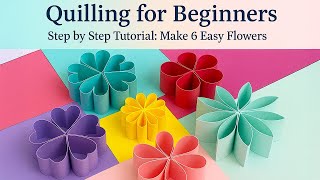
Make 6 Easy flowers. Quilling for Beginners. Step by Step DIY Tutorial. Flowers for Cards and Crafts
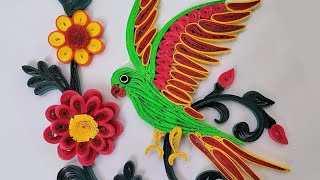
Beautiful Parrot Quilling Art Tutorial | Easy DIY Paper Quilling for Beginners
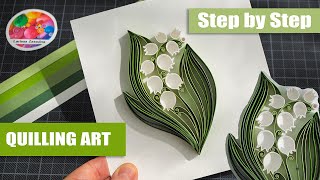
Lily of the valley. Step by step for beginners/Quilling paper art/ Tutorial/ Handmade. How to make.
HOW TO MAKE STUNNING PAPER QUILLING FLOWER DESIGNS | DIY CRAFT INSPIRATION 🌸
Facts about quilling and paper crafts
🌀 Quilling has been practiced for hundreds of years — 18th-century European crafters and religious communities rolled paper to decorate boxes and frames.
🌸 You can make a whole quilled flower from a single strip of paper by rolling it into a coil and pinching or shaping the petals.
📏 Quilling strips commonly come in widths from about 1/8" to 1/2" (≈3–12 mm); beginners often start with 3–5 mm strips.
🎨 Layering quilled shapes creates 3D effects and shadows, turning flat cardstock into popping, textured artwork.
♻️ Quilling is great for upcycling — leftover magazines, scrap paper, and colored packaging can become beautiful designs.
How do you make a quilled paper masterpiece step by step?
What materials do I need to make quilling with kids?
What ages is quilling suitable for children?
Is quilling safe for kids and what precautions should I take?
