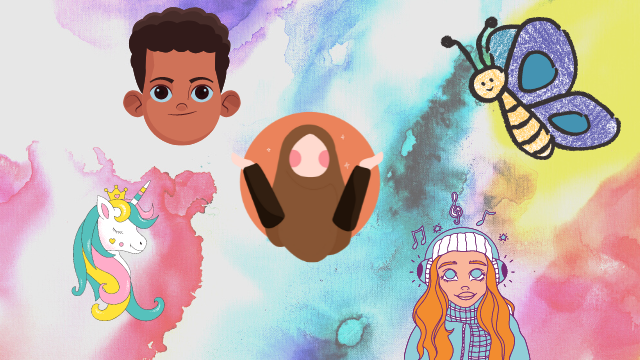
Create the Ultimate DIY PFP
Design and create your own unique profile picture using drawing, collage, stickers, and simple photo editing to express personality and learn composition and color.


Step-by-step guide to create the ultimate DIY PFP
Step 1
Pick a personality or theme for your PFP like superhero happy animal or space explorer.
Step 2
Choose a main shape and composition for your PFP such as a close-up face a circle or a simple icon.
Step 3
Lightly sketch your main idea on the paper so you have a guide to follow.
Step 4
Choose a color scheme of two or three colors that match your theme.
Step 5
Gather the collage pieces stickers and printed images you want to include.
Step 6
Cut out the collage pieces you selected using scissors.
Step 7
Arrange the cutouts on your sketch without gluing until you like the layout.
Step 8
Glue each cutout onto the paper in the order you like.
Step 9
Add drawn details with your pencil or colouring materials to blend collage and drawing.
Step 10
Colour the background or main shapes to make your PFP pop.
Step 11
Add stickers and small decorations to highlight your favorite features.
Step 12
Erase any stray pencil lines and tidy the edges of your artwork.
Step 13
Take a clear photo of your finished art using a phone or tablet.
Step 14
Open a simple photo editor and crop the photo into a square or circle.
Step 15
Share your finished creation on DIY.org
Help!?
What can we use instead of printed images, special stickers, or fancy collage paper if we can't find them?
If you don't have printed images or stickers, cut shapes from old magazines, cereal boxes, greeting cards, or fabric scraps and use colored paper or markers for extra details, securing them with a glue stick or clear tape in place of liquid glue.
My cutouts keep wrinkling or moving when I glue them—how can I fix that?
To prevent wrinkling or slipping during step 8, glue larger background pieces first, press each cutout from the center outward with a ruler or clean finger, and weight the artwork under a book until fully dry.
How should we change the activity for younger kids or older kids?
For younger children, provide pre-cut shapes and stickers and let them glue and color with thick crayons instead of sketching and cutting, while older kids can plan a detailed color scheme (step 4), add fine drawn details (step 9), and crop the photo precisely in the editor (step 13) before sharing.
What are simple ways to make the PFP more unique or advanced after finishing the basic steps?
Personalize your PFP by adding texture with glued fabric or foil, drawing metallic highlights with gel pens, creating a hand-drawn border before photographing (step 12), or making a short GIF from several slight pose variations and then cropping in the photo editor (step 13) before sharing on DIY.org.
Watch videos on how to create the ultimate DIY PFP
18 INTERESTING DIY PICTURE FRAME IDEAS
3 Videos
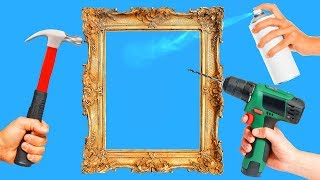
18 INTERESTING DIY PICTURE FRAME IDEAS
Mind-Blowing DIY Crafts Your Kids Will Actually Love
Make Your Own Animated Profile Picture in Canva (Easy!)
Facts about graphic design and mixed-media art for kids
👤 Most profile pictures are seen very small — design with a clear focal point (like a face or bold icon) so it reads at tiny sizes.
🧩 Collage was popularized by Pablo Picasso and Georges Braque and lets you mix paper, photos, and textures for playful results.
🌈 Color choices change mood: warm colors (reds, oranges) feel energetic, while cool colors (blues, greens) feel calm.
🖼️ Composition tricks like the rule of thirds or centering help make a PFP feel balanced and eye-catching.
✂️ High contrast, bold outlines, and simple shapes make avatars recognizable across platforms and tiny icons.
How do I make an Ultimate DIY PFP with my child step-by-step?
What materials do I need to create a DIY profile picture (PFP) at home?
What ages is the DIY PFP activity suitable for?
What are the benefits of making a DIY PFP, and any safety tips?
