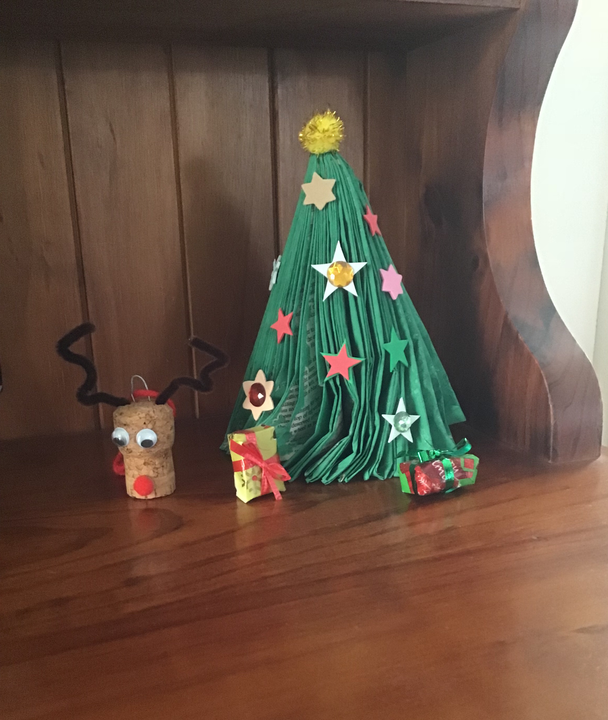
Create something new out of junk
Collect recycled boxes, bottle caps, straws, and tape to design and build a creative junk-sculpture or simple moving toy, learning reuse and basic engineering.


Step-by-step guide to create something new out of junk
20 DIY Crafts using Recycled Materials - School Hacks, Decor and Gift Ideas from waste Materials
Step 1
Clear a table and lay down scrap paper so you have a tidy, protected workspace.
Step 2
Gather all the materials from the list and bring them to your workspace.
Step 3
Decide whether you will build a creative sculpture or a simple moving toy and make a quick sketch of your idea.
Step 4
Use scissors to cut the boxes into the shapes you need like panels bases or towers.
Step 5
Arrange the cut box pieces on your workspace to test how the parts will fit together.
Step 6
Attach the box pieces together with tape or glue to make the main body of your sculpture or toy.
Step 7
If you want a moving toy ask an adult to help make a small hole in the center of two bottle caps.
Step 8
Thread a straw through the holes in the two bottle caps to create a wheel-and-axle set.
Step 9
Trim the straw with scissors so the axle matches the width of your toy base.
Step 10
Tape the straw axle under your toy base so the bottle caps can spin as wheels.
Step 11
Decorate your sculpture or toy with colouring materials and any extra recycled bits to make it unique.
Step 12
Share your finished creation on DIY.org
Final steps
You're almost there! Complete all the steps, bring your creation to life, post it, and conquer the challenge!


Help!?
What can we use instead of plastic straws or bottle caps if they aren't available?
Use a wooden skewer, pencil, or a metal kebab stick as the axle in steps 7–9 and swap jar lids, large buttons, or round craft wood discs for the bottle-cap wheels, securing them with tape or glue from step 6.
Why won't my wheels spin or why does the toy wobble, and how can I fix it?
If wheels won't spin or the toy wobbles, ask an adult to make sure the holes in the caps are centered and the axle (straw or skewer) is trimmed to the base width in step 9, then reinforce the mounting area with extra cardboard and tape from step 6.
How can I adapt this activity for different ages, like toddlers versus older kids?
For toddlers (3–5) pre-cut the box pieces in step 4 and let them glue and decorate in steps 6 and 11 with stickers, while older kids (8–12+) can do the full build including adult-assisted holes in step 7, a detailed sketch in step 3, and more precise wheel alignment in steps 8–9.
How can we enhance or personalize our sculpture or moving toy after finishing the basic build?
Enhance it by painting and adding recycled decorations from step 11, creating movable joints with split pins, or (with adult help) attaching a small motor and battery pack to turn the straw axle for a powered moving toy.
Watch videos on how to create something new out of junk
DIY Recycled Crafts: How to Make Projects with Fabric and Cardboard | 5 Easy Upcycling Ideas
Facts about recycling and upcycling for kids
♻️ Only about 9% of all plastic ever produced has been recycled — that's why reusing and upcycling matter!
🔧 A rubber-band motor or a stiff straw axle with bottle-cap wheels can make a toy car move without batteries.
🖼️ Artists like Marcel Duchamp and Pablo Picasso helped popularize found-object and assemblage art by turning everyday junk into artworks.
🛞 Simple parts like bottle caps, straws, and boxes can be repurposed as wheels, axles, and bodies for moving toys.
🌎 Upcycling can cut waste and save energy compared with making new products from raw materials.
How do I help my child build a junk-sculpture or simple moving toy from recycled materials?
What materials do I need to create a junk-sculpture or moving toy with my child?
What ages is a recycled junk-building activity suitable for?
What are the benefits and safety tips for making toys from recycled junk?


One subscription, many ways to play and learn.
Only $0 after trial. No credit card required


