Create Illusion Art
Create simple optical illusion drawings using paper, pencils, rulers, and color to explore perspective, shading, and how the eye perceives depth and motion.

Drawing Apps
Step-by-step guide to create illusion art
Art For Kids Optical Illusions Step by Step Art Tutorial for Young Artists
Step 1
Gather your materials and find a flat clean workspace to draw on.
Step 2
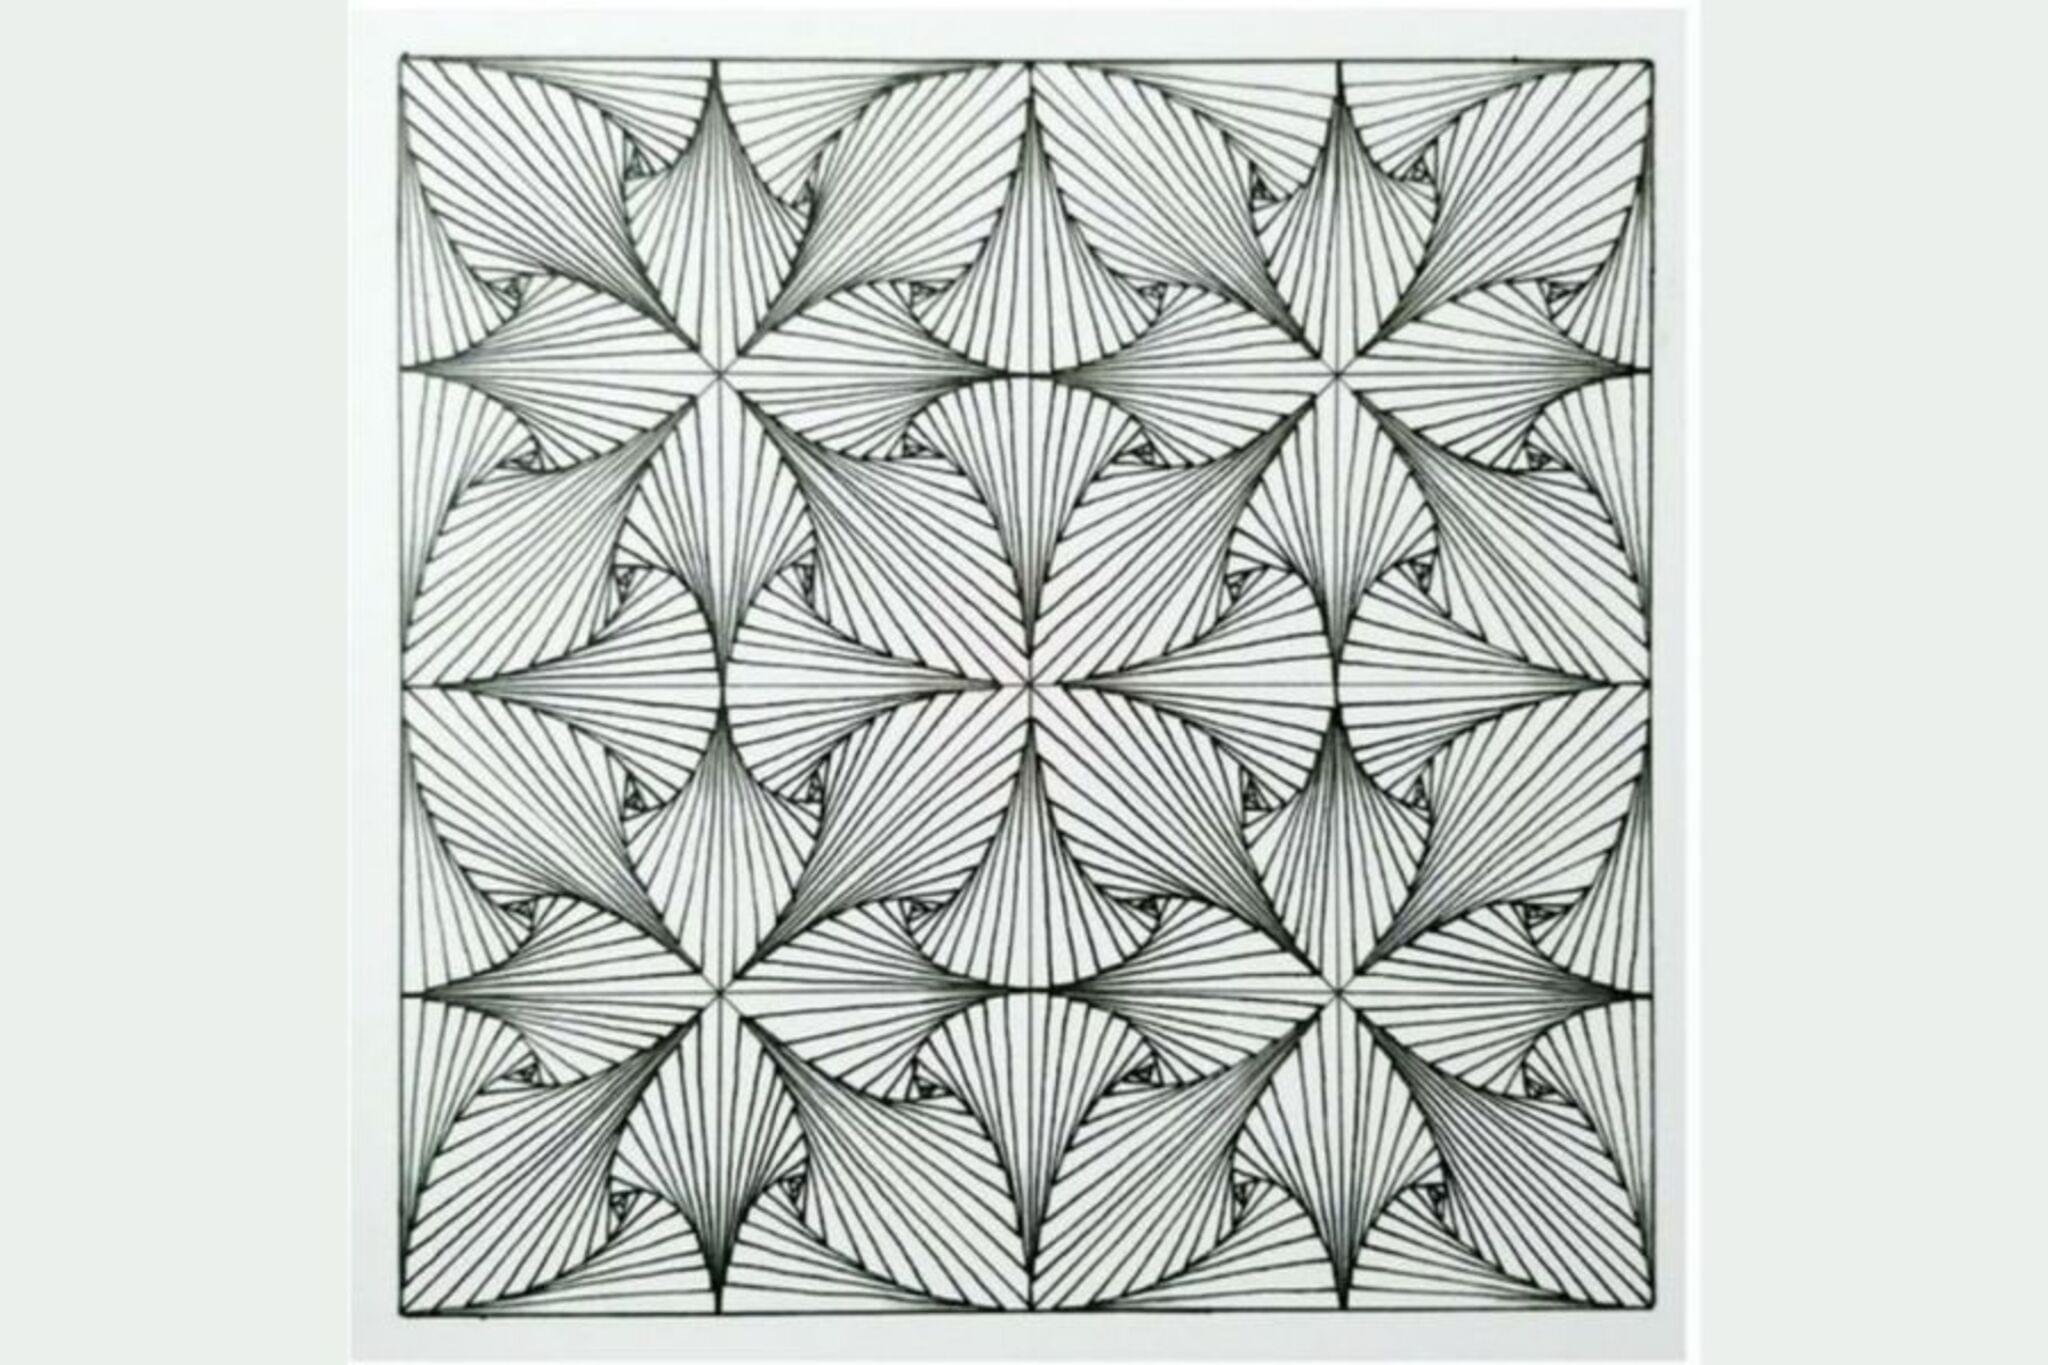
Pick one illusion idea to draw like a floating cube a 3D hole an impossible triangle a staircase or wavy motion lines.
Step 3
Lightly mark a tiny dot where you want a vanishing point or center of your illusion.
Step 4
Use your ruler and pencil to draw the main shapes or guide lines for your chosen illusion.
Step 5
Erase any stray guide marks that you do not need anymore.
Step 6
Darken the final outline of your shapes with your pencil or a black marker.
Step 7
Decide which way the light is coming from and draw light-to-dark shading guidelines on each face or area.
Step 8
Shade each area with different pencil pressure to create lighter and darker sides and make depth appear.
Step 9
Add extra curved or repeating lines around your shapes to create the feeling of motion or to push parts forward or backward.
Step 10
Use coloring materials or a black marker to fill in colors and deepen shadows to make the illusion pop.
Step 11
Take a photo of your finished illusion art and share it on DIY.org.
Help!?
What can we use if we don't have a ruler, black marker, or a phone to photograph the final piece?
If you don't have a ruler use a straight edge like a book or credit card when you 'Use your ruler and pencil to draw the main shapes', swap the black marker for a dark pen or crayon to 'Darken the final outline', and use a parent's phone or a simple camera to 'Take a photo of your finished illusion art'.
My illusion still looks flat—what step might I be missing and how can I fix it?
If your artwork looks flat, revisit 'Decide which way the light is coming from' and 'Shade each area' by darkening faces away from the light with heavier pencil pressure and blending with a tissue or cotton swab, then 'Erase any stray guide marks' so shadows read cleanly.
How can I change this activity for younger or older kids?
For younger kids simplify 'Pick one illusion idea' to a single cube or hole and let them trace a printed template and use crayons for 'Use coloring materials', while older kids can add multiple vanishing points at the 'Lightly mark a tiny dot' step and use cross-hatching and layered shading during 'Shade each area' to increase realism.
What are creative ways to extend or personalize the illusion art after finishing the basic steps?
To extend the activity, combine several drawings with different vanishing points into a mural, add patterned backgrounds during 'Add extra curved or repeating lines', or photograph progressive color/shading stages from 'Use coloring materials' to create a time-lapse or stop-motion to upload to DIY.org.
Watch videos on how to create illusion art
Fun Optical Illusions Art for Kids 🎭
4 Videos

Fun Optical Illusions Art for Kids 🎭
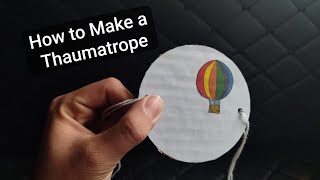
How to make a Thaumatrope for kids (Amazing optical illusion) | Amin DIY and Crafts
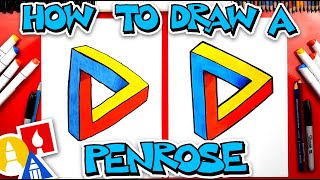
How To Draw A Penrose Triangle - Optical Illusion
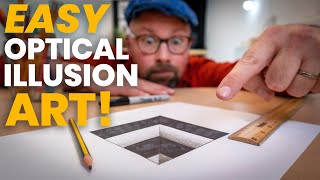
How to make Optical Illusion Art that tricks eyes! A simple art lesson that develops drawing skills.
Facts about optical illusions and perspective drawing
👀 Optical illusions prove your brain sometimes fills in missing info—so what you see can be a clever trick, not the whole truth.
🎨 Op art (short for optical art) surged in the 1960s and uses repeating patterns to make flat images look like they're moving.
📐 Just three rules—horizon line, vanishing point, and converging lines—can turn a flat drawing into convincing 3D perspective.
🧠 Shading and highlights tell the brain where light is coming from, so adding just one shadow can make an object 'pop' off the page.
🔁 Anamorphic drawings look scrambled until viewed from a special angle or reflected in a curved mirror, revealing a hidden picture.
How do you create simple optical illusion drawings with children?
What materials do I need to make illusion art with kids?
What ages is illusion art suitable for?
What are the benefits and safe variations of illusion art for families?
