Create hair for a LEGO® person
Make hair for a LEGO person using yarn, felt, or soft clay; cut, shape, and attach pieces to style a unique minifigure hairstyle.


Step-by-step guide to make hair for a LEGO person
Step 1
Lay your scrap paper on the table and place your LEGO minifigure and all materials on it.
Step 2
Decide whether you will make hair from yarn or felt or soft clay.
Step 3
If you chose yarn cut several strands about twice as long as you want the finished hair to be.
Step 4
If you chose felt cut a hair shape that will sit on top of the minifigure head.
Step 5
If you chose soft clay press or roll the clay into a thin cap or sheet that can cover the head.
Step 6
Place the prepared hair pieces gently on the minifigure head to check how they fit.
Step 7
Trim any extra length or edges so the hair fits the head the way you want.
Step 8
Attach the hair to the head with a tiny dab of craft glue for yarn or felt or press the clay firmly onto the head so it sticks.
Step 9
Shape and style the hair into the look you want using scissors a toothpick or your fingers.
Step 10
Let the glue or clay dry completely before touching the hair again.
Step 11
Share a photo of your finished LEGO person with its new hair on DIY.org
Help!?
What can we use if yarn, felt, or soft clay are hard to find?
Use thin strips cut from an old sock, tissue paper, or aluminum foil shaped into a cap and follow the same steps: cut or shape, place on the head, trim, and attach with a tiny dab of craft glue or press to stick.
My hair pieces keep falling off—what should I try?
After you place the prepared hair pieces on the minifigure head as instructed, secure yarn or felt with a tiny dab of craft glue under the edges or press clay firmly and hold until it sticks, then let it dry completely before touching.
How can I adapt the steps for different ages?
For toddlers have an adult lay scrap paper and pre-cut a felt hair shape and glue it on, while older kids can cut yarn strands twice as long, roll clay into a thin cap, and use scissors and a toothpick to shape and style as described.
How can we extend or personalize the LEGO hair project?
Before attaching, mix and layer different colored yarns or felt, add tiny beads or ribbons to the strands, or paint and varnish soft clay after it dries to create custom textures and colors, then share a photo on DIY.org.
Watch videos on how to make hair for a LEGO person
How to make long Rapunzel hair Easy DIY Craft for Lego minidoll
4 Videos
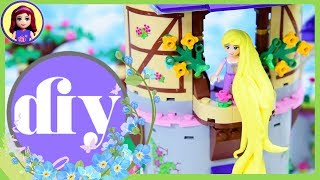
How to make long Rapunzel hair Easy DIY Craft for Lego minidoll
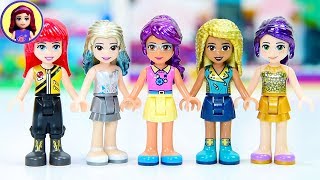
The Metallic Series - Lego Friends Hair Makeover Craft DIY
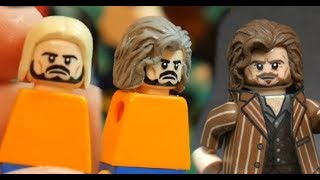
SCULPTING HAIR | Lego Minifigure Tutorial
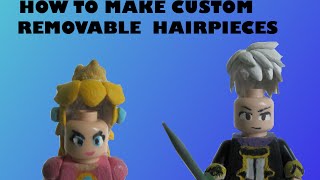
How To Make Custom LEGO Hair Removeable (Tutorial #2)
Facts about LEGO and toy customization
🧱 LEGO minifigures were introduced in 1978 and have been produced in the billions — tiny heads, huge personalities!
🧵 Yarn comes in many textures (smooth, fuzzy, sparkly) so swapping yarn types instantly changes a mini-hair vibe.
✂️ Felt is made by matting fibers together, so it doesn't fray when cut — perfect for tiny, neat hair shapes.
🧪 Polymer (soft) clay bakes in a home oven to harden, letting you sculpt lasting micro-hairstyles and accessories.
🎨 A small hair tweak — bangs, a ponytail, or a mohawk — can totally change a minifigure's character and story.
How do you make hair for a LEGO person?
What materials do I need to make LEGO minifigure hair?
What ages is making LEGO hair suitable for?
What are the benefits and safety tips for making LEGO hair, plus variations?
