Create Doodle Tulip Art!
Make a colorful doodle tulip artwork using paper, pencils, markers, and pattern techniques; practice shapes, symmetry, and creative coloring while experimenting with different designs.


Step-by-step guide to create doodle tulip art
How to Draw a Tulip Flower - Easy Step-by-Step Tutorial for Kids!
Step 1
Gather your materials and sit at a flat workspace.
Step 2
Fold the paper in half vertically to make a light center crease.
Step 3
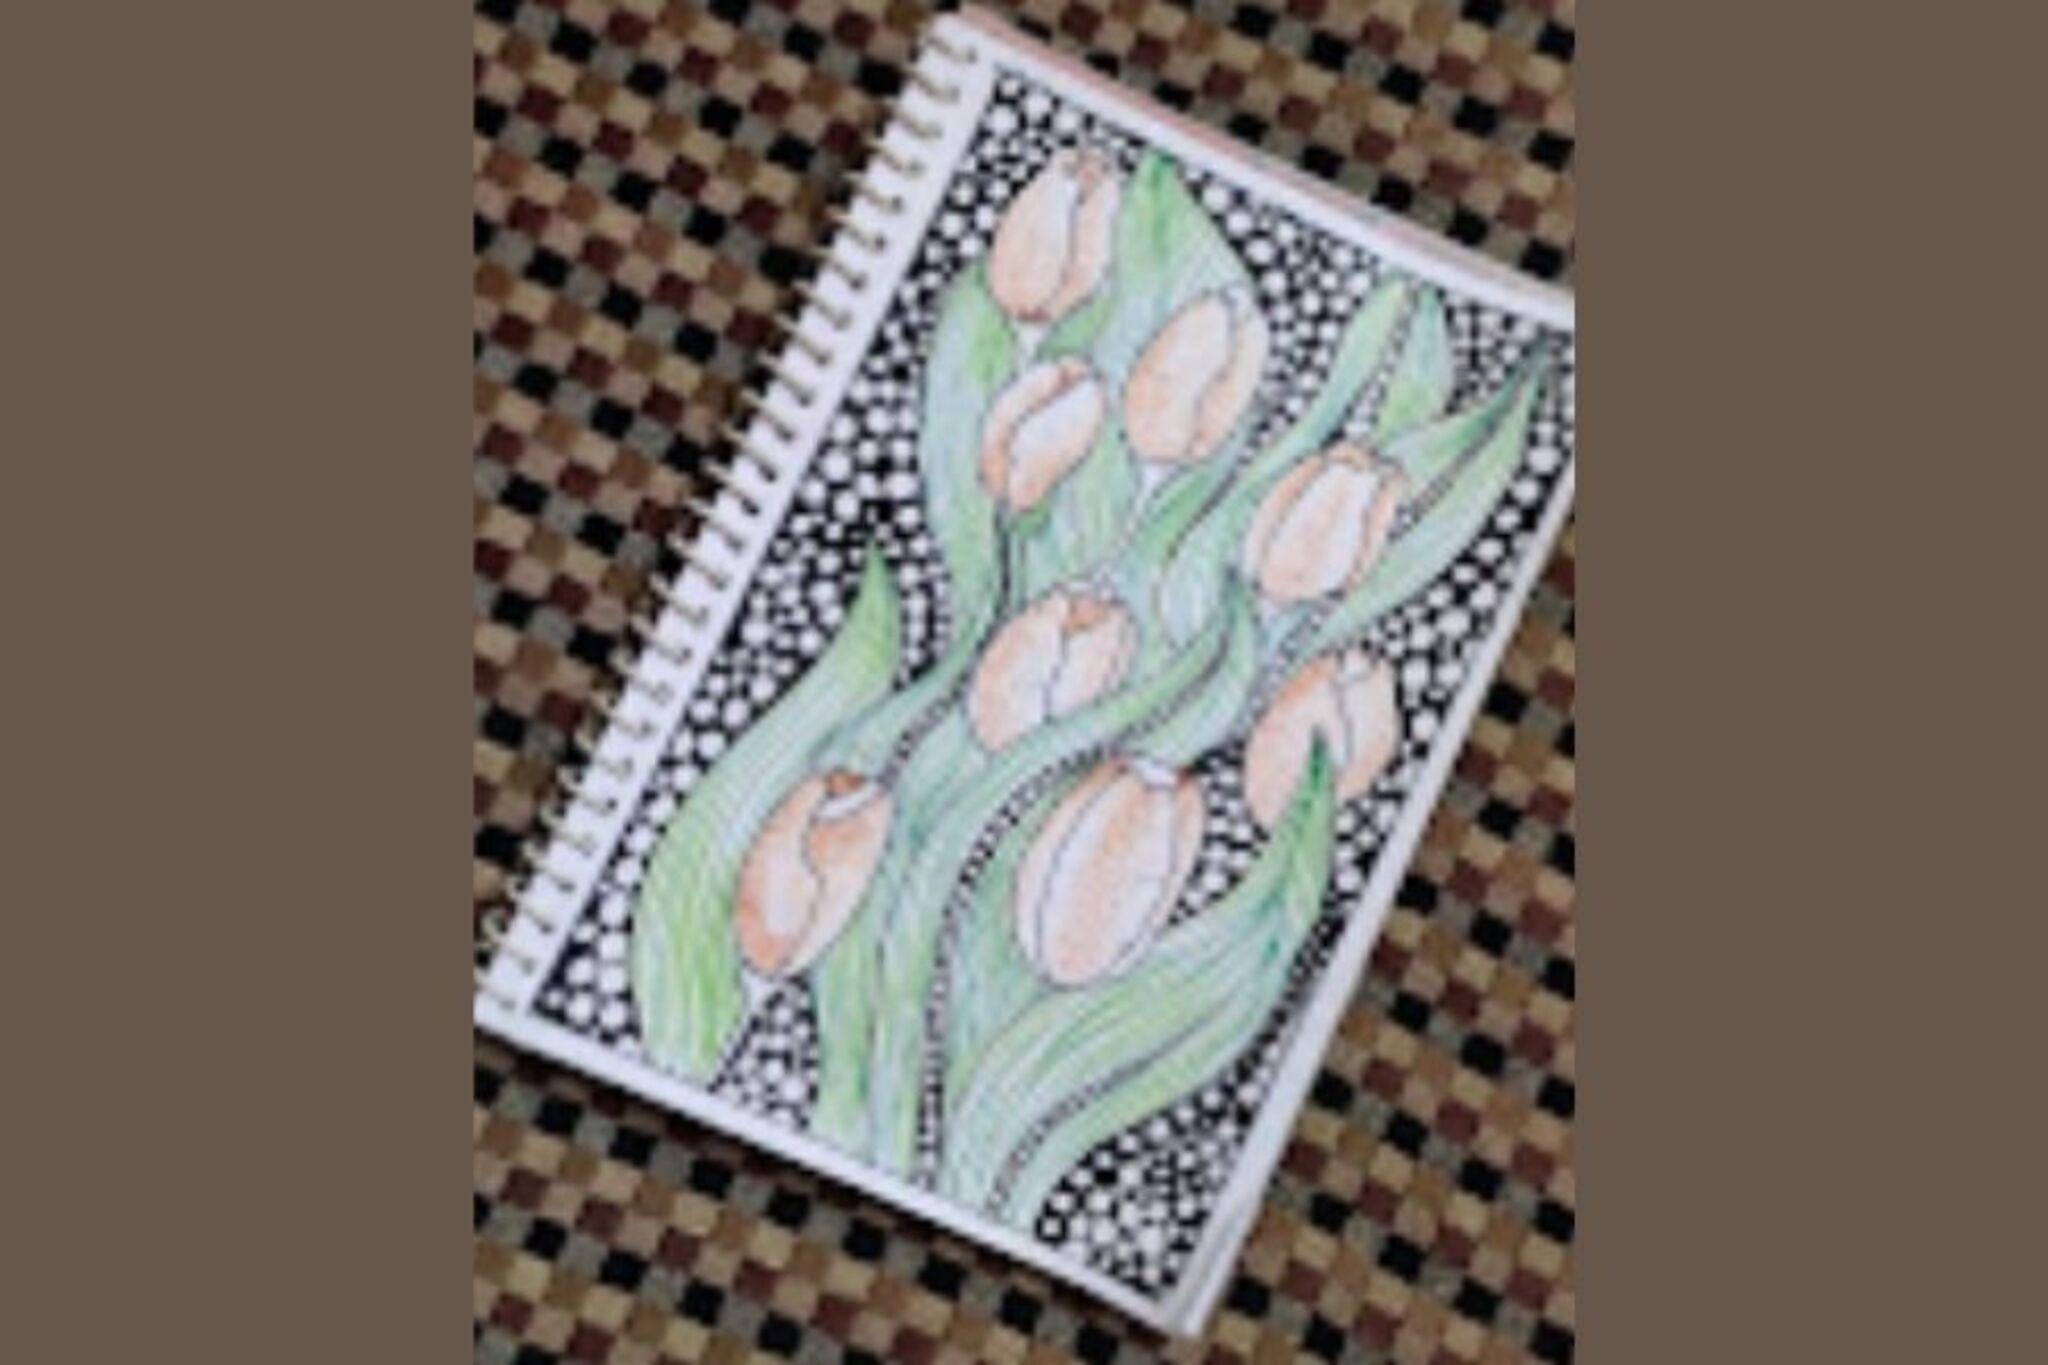
Open the paper and use your pencil to draw a straight stem along the center crease.
Step 4
Draw a tulip bulb shape at the top of the stem using rounded petal curves.
Step 5
Draw one leaf on each side of the stem so they look mirrored.
Step 6
Lightly sketch lines inside the petals and leaves to divide them into smaller pattern areas.
Step 7
Draw fun doodle patterns (dots stripes waves zigzags) inside each section on the left side of the tulip.
Step 8
Copy the same doodle patterns onto the matching sections on the right side to make them symmetrical.
Step 9
Trace all your final pencil lines with the black marker.
Step 10
Let the marker ink dry completely.
Step 11
Erase the remaining pencil marks gently.
Step 12
Color each patterned area using your coloring materials and try different color combos for contrast.
Step 13
Take a photo of your doodle tulip artwork and share your finished creation on DIY.org.
Final steps
You're almost there! Complete all the steps, bring your creation to life, post it, and conquer the challenge!

Help!?
What can I use if I don’t have a black marker or a camera for steps 9 and 13?
If you don't have a black marker for tracing in step 9, use a dark ballpoint pen or fine-tip permanent marker, and if you lack a camera for step 13, photograph your artwork with a smartphone or scan it using a scanner app.
My right side doesn't match the left when copying doodle patterns in step 8—how can I fix it?
Refold the paper along the light center crease from step 2 and either hold it up to a window to trace the left-side patterns through the paper or lightly press the left patterns as a guide before inking in step 9.
How can I adapt this activity for different ages?
For preschoolers simplify steps 3–7 by drawing the stem, bulb, and large sections for them to color with crayons, for elementary kids follow the full steps including matching patterns in step 8, and for older kids add intricate doodles and mixed-media coloring in steps 11–12.
How can we enhance or personalize our doodle tulip after finishing the basic project?
Add a patterned background or border before tracing in step 9, use metallic gel pens or collage elements when coloring in step 12, write a title or your name, and then take a styled photo to share on DIY.org in step 13.
Watch videos on how to create doodle tulip art
Easy Tulip Doodle for Beginners 🌷 | Relaxing Floral Drawing Tutorial
4 Videos
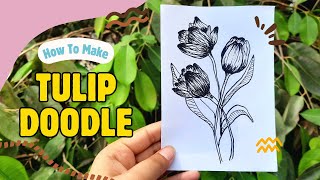
Easy Tulip Doodle for Beginners 🌷 | Relaxing Floral Drawing Tutorial
How to draw tulips easy🌷 Step by step drawing for kids
Beautiful Tulip Flower Drawing | Easy & Colorful Flower Art for Kids

How To Draw A Cartoon Tulip
Facts about drawing and pattern techniques for kids
✏️ Doodling can boost focus and memory — studies show people who doodle sometimes recall more details.
📄 Easy repeating patterns — stripes, polka dots, and tessellations — turn simple paper into a vibrant doodle backdrop.
🔁 Symmetry (like mirroring shapes) is a simple design trick that makes doodles look balanced and pleasing.
🎨 The human eye can distinguish roughly 10 million colors, so mixing markers and pencils gives you tons of tulip looks.
🌷 Tulips sparked “Tulip Mania” in 17th-century Netherlands — some bulbs once sold for more than a house!
How do I make Doodle Tulip Art?
What materials do I need for Doodle Tulip Art?
What ages is Doodle Tulip Art suitable for?
What are the benefits and variations of Doodle Tulip Art?


One subscription, many ways to play and learn.
Only $6.99 after trial. No credit card required