Create Cool Cartoon Robots
Build colorful cartoon robot models from recycled cardboard, paper, and craft supplies; decorate with markers, practicing cutting, gluing, and inventing fun robot personalities.


Step-by-step guide to create cool cartoon robots
How To Draw A Robot Using Shapes
Step 1
Gather all materials and clear a flat workspace where you can build.
Step 2
Draw a big rectangle or square for the robot body on a piece of cardboard.
Step 3
Cut out the robot body shape carefully with scissors.
Step 4
Draw smaller shapes for the head arms legs and antennas on paper or cardboard.
Step 5
Cut out the smaller shapes for the head arms legs and antennas.
Step 6
Fold or crease any pieces you want to make 3D like a boxy body or a folded head.
Step 7
Glue or tape the head arms and legs onto the body to assemble the robot.
Step 8
Push pipe cleaners in as bendy arms or tape bottle caps as wheels to add movable parts.
Step 9
Stick on googly eyes or stickers and glue on buttons or small recyclables for details.
Step 10
Decorate your robot with markers crayons or colored pencils to add patterns and color.
Step 11
Write a name and three funny or brave traits for your robot on a small paper tag.
Step 12
Attach the name tag to your robot using tape or glue.
Step 13
Share your finished robot on DIY.org
Help!?
What can we use instead of cardboard, pipe cleaners, or googly eyes if we can't find them?
Use a cereal box or poster board for the robot body, twist ties or straws instead of pipe cleaners for bendy arms, and buttons or drawn eyes in place of googly eyes.
My child is having trouble cutting the cardboard shape and making the 3D folds—how can we fix that?
Have an adult score the rectangle or square body lines with a craft knife before folding and use strong tape to reinforce creases so the glued head, arms, and folded boxy body stay secure.
How can we adapt this activity for preschoolers and for older kids who want more challenge?
For preschoolers, pre-cut the body and smaller shapes and let them stick on googly eyes, stickers, and color with crayons, while older kids can cut and fold their own cardboard, add hinged joints with brads, and make movable bottle-cap wheels attached with pipe cleaners.
What's a fun way to extend or personalize the robot after decorating and attaching the name tag?
Extend the project by gluing a fabric cape to the cardboard body, fitting a coin-cell LED into the folded head for glowing eyes with adult help, and writing a backstory on the name tag to share on DIY.org.
Watch videos on how to create cool cartoon robots
How To Draw A Spring Robot: Fun Art Lesson For Kids Of All Ages
4 Videos
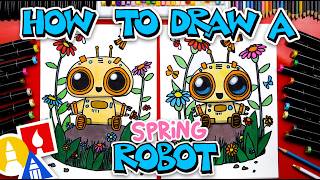
How To Draw A Spring Robot: Fun Art Lesson For Kids Of All Ages

How To Draw A Cartoon Robot
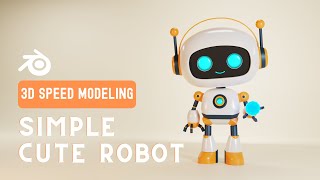
Create a Cute Robot Character in Blender | Easy Beginner Tutorial
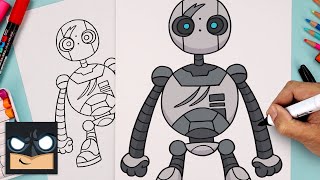
How To Draw the Wild Robot
Facts about recycled crafts for kids
🤖 The word "robot" comes from the Czech word "robota," meaning forced labor — it first appeared in a 1920 play!
♻️ Cardboard is one of the easiest and most commonly recycled materials — recycled boxes can become new boxes again and again.
📦 Corrugated cardboard is strong because of its fluted middle layer, which makes excellent "robot armor" for sturdy DIY models.
✂️ Practicing safe cutting and gluing builds fine motor skills and confidence — perfect for adding tiny robot details.
🎨 Giving your robot a silly job, favorite snack, or secret power helps kids invent personalities and tell fun stories about their creations.
How do I make a cool cartoon robot from recycled cardboard?
What materials do I need to build colorful cartoon robot models?
What ages is this cardboard robot craft suitable for?
What are the benefits of making cartoon robots from recycled materials?
