Create Art Out of Old Cups and Plates!
Turn old cups and plates into colorful mosaics, sculptures, or wind chimes using safe cutting, painting, gluing, and designing to learn creativity and recycling.


Step-by-step guide to create art out of old cups and plates
Step 1
Gather all your materials and set up a clear workspace where you can make a little mess.
Step 2
Wash and dry your cups and plates so they are clean and ready to work with.
Step 3
Put on safety gloves and goggles to protect your hands and eyes.
Step 4
Ask an adult to help you carefully break the cups and plates into pieces you like.
Step 5
Sort the broken pieces by color shape and size into little piles so it is easy to find what you need.
Step 6
Smooth any very sharp edges of the pieces with sandpaper while an adult watches and helps.
Step 7
Decide whether you will make a mosaic sculpture or a wind chime so you know the steps to follow next.
Step 8
If you chose a wind chime ask an adult to drill small holes in some pieces and attach string so the pieces can hang.
Step 9
Arrange your pieces on your base or in a hanging layout to create a design you love.
Step 10
If you are making a mosaic or sculpture apply glue to one area of the base where you want to start.
Step 11
Press your pieces onto the glued areas one at a time following your design and let the glue set.
Step 12
Paint any details or add extra decorations to your project and let the paint dry completely.
Step 13
Brush or spray a clear sealant over your finished project to protect it and let the sealant dry.
Step 14
Tidy your workspace and put away tools and leftover pieces safely with an adult.
Step 15
Share a photo of your finished creation on DIY.org so everyone can see your recycled art!
Final steps
You're almost there! Complete all the steps, bring your creation to life, post it, and conquer the challenge!

Help!?
What can we use instead of safety gloves, goggles, sandpaper, or a drill if those items are hard to find?
If you don't have the recommended safety gloves or goggles from the instructions, use thick gardening or leather gloves and close-fitting safety glasses or a face shield for step 3, smooth sharp edges with an emery board or nail file instead of sandpaper in step 5, and replace adult-drilled holes in step 8 by using jewelry eye pins, pre-drilled wooden beads, or glueing pieces to pre-drilled spacers for a wind chime.
What should we do if pieces crack when drilling or the tiles won't stick to the base?
To prevent cracking during step 8 have an adult drill slowly with a ceramic/glass bit and a little water or use pre-drilled spacers, and if pieces don't adhere in step 11 wash and dry them again (step 2), use a stronger epoxy or mosaic adhesive and hold pieces with tape or weights until the glue sets.
How can we change the activity for younger children or make it more challenging for older kids?
For younger kids skip breaking and drilling in steps 4 and 8 and let them arrange and glue pre-broken safe-edged tiles or whole cups/plates in step 9 while supervising step 3, and for older kids allow them to do the breaking (step 4), sanding (step 5), drilling (step 8), and design a more complex mosaic or sculpture in steps 9–11.
How can we enhance or personalize our finished mosaic sculpture or wind chime?
After pressing pieces in step 11 consider grouting the gaps for a finished look, add beads or LED fairy lights to the wind chime strings before sealing in step 13, paint custom details in step 12, and then photograph your sealed project to share on DIY.org in step 15.
Watch videos on how to create art out of old cups and plates
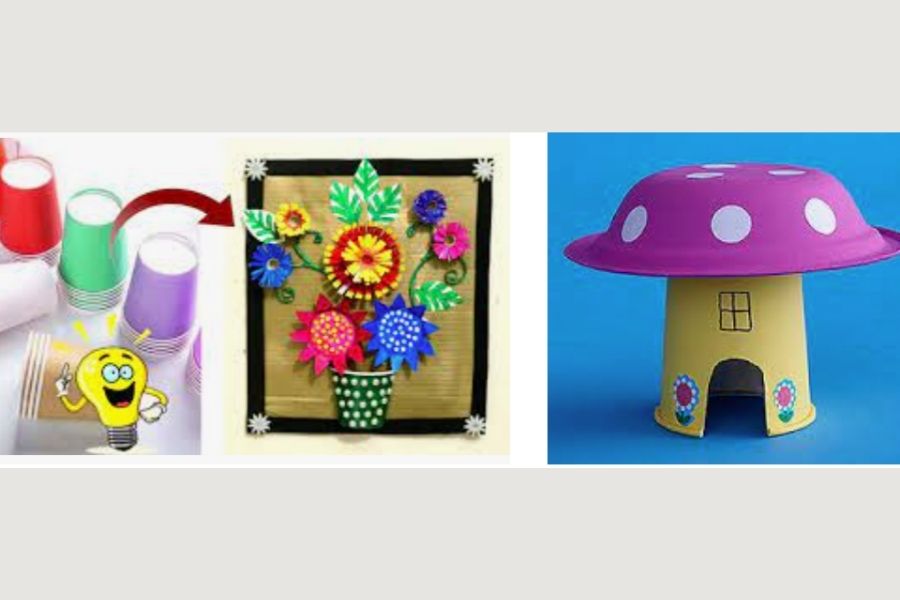
15 Best Paper or Plastic Cup Craft Ideas for kids | Plastic Cup Craft ideas | Best out of waste.
4 Videos
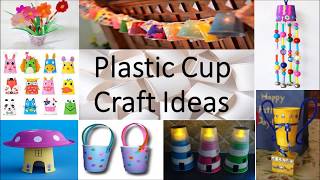
15 Best Paper or Plastic Cup Craft Ideas for kids | Plastic Cup Craft ideas | Best out of waste.
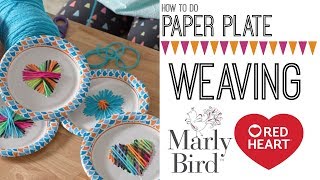
DIY Kids Craft Paper Plate Weaving and String Art
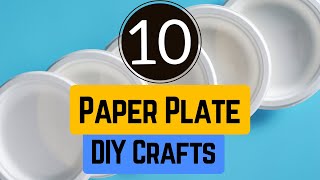
10 Paper Plate Crafts - Easy Budget Friendly Crafts for Kids

10 COOL CRAFTS WITH PLASTIC AND PAPER CUPS AND GLASS
Facts about upcycling and recycled crafts for kids
♻️ Upcycling turns old stuff into new treasures, keeping materials out of the trash while sparking creative ideas.
✨ Kintsugi is the Japanese art of repairing broken pottery with gold lacquer to celebrate an object's history, not hide it.
🧩 Mosaics are pictures made from tiny pieces of tile or pottery — some ancient mosaics are over 2,000 years old!
🎐 Wind chimes have been hung from roofs and porches for centuries to catch breezes and make gentle music.
🎨 With kid-safe paint and glue, a chipped cup or plate can become a colorful mosaic tile, a shiny ornament, or a musical chime.
How do I make mosaics, sculptures, or wind chimes from old cups and plates?
What materials do I need to create art from old cups and plates?
What ages is creating art from old cups and plates suitable for?
What are the benefits of making art from old cups and plates?


One subscription, many ways to play and learn.
Only $6.99 after trial. No credit card required