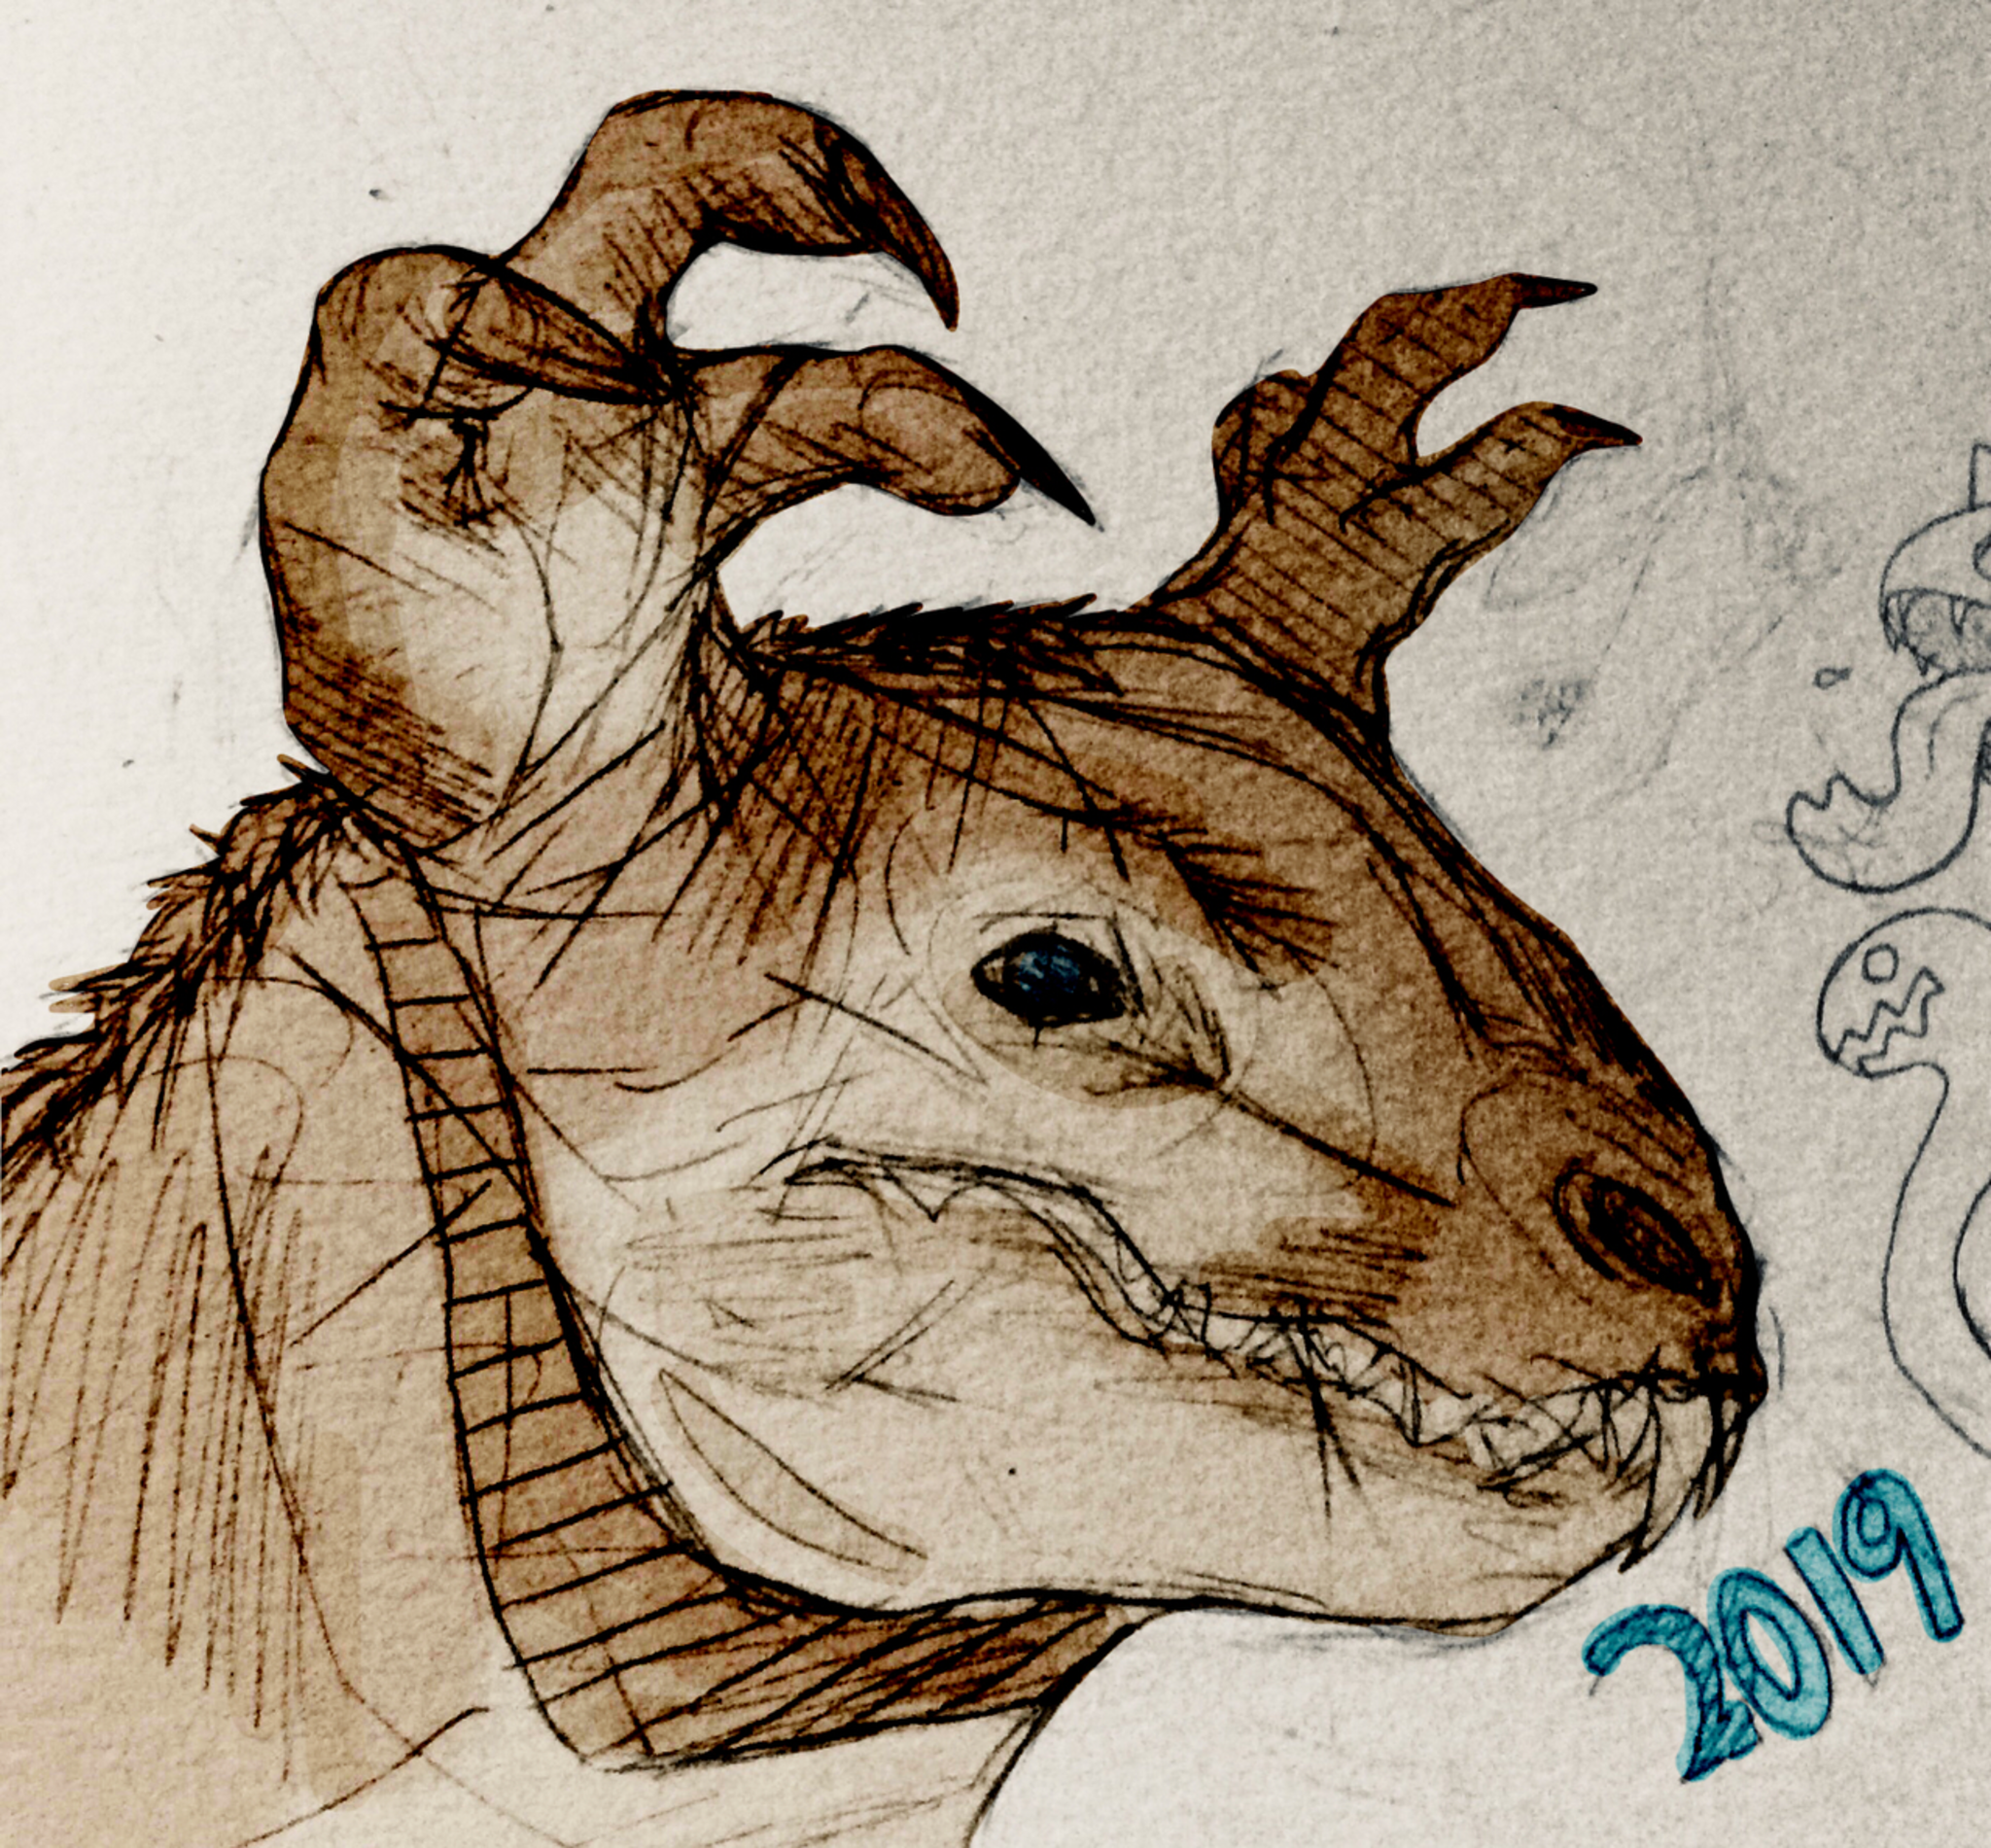
Create and describe a creature
Create and build a creature model from clay, fabric, and recycled materials, then write about its habitat, diet, and special abilities.


Step-by-step guide to create and describe a creature
Kids' Imaginary Friends Come to Life | Kids Design | HiHo Kids
Step 1
Gather all the Materials Needed and clear a flat workspace.
Step 2
Decide where your creature lives by choosing land water or air.
Step 3
Sketch a simple outline of your creature on paper.
Step 4
Use modeling clay to form the main body shape of your creature.
Step 5
Press or glue fabric scraps onto the clay to make fur wings or fins.
Step 6
Add recycled materials to create details like eyes legs shells or antennas.
Step 7
Trim any extra fabric or recycled pieces with safety scissors as needed.
Step 8
Smooth and refine the shapes and joints with your fingers.
Step 9
Let the clay set or dry completely on a flat surface.
Step 10
Decorate the dry creature with markers or crayons for color and patterns.
Step 11
Make a habitat base from cardboard or paper to match where your creature lives.
Step 12
Glue your creature onto the habitat base and add small scenery pieces.
Step 13
Write one short sentence that describes your creature's habitat on the paper.
Step 14
Write one short sentence that describes your creature's diet and one short sentence that describes one special ability.
Step 15
Share your finished creature model and its habitat diet and special ability description on DIY.org.
Help!?
What can we use if modeling clay or fabric scraps are hard to find?
If modeling clay or fabric scraps are unavailable, use air‑dry clay, play‑dough, or homemade salt dough for the body and cut old t-shirts or paper to press or glue onto the clay as fur, wings, or fins.
The fabric and recycled bits keep falling off or the clay cracks while drying—what should we try?
Press or glue fabric scraps onto the clay firmly, score the attachment points or add toothpicks for support, smooth joints with your fingers, and let the clay set flat to reduce cracking and falling pieces.
How can we adapt the steps for different ages?
For younger kids use large pre‑cut recycled pieces, play‑dough for forming the main body, and adult help with safety scissors and glue, while older kids can add wire armatures, finer sculpting, and more detailed cardboard habitat scenery.
What are simple ways to extend or personalize the creature and its habitat?
After you decorate the dry creature with markers or crayons, personalize it further by painting with acrylics, gluing natural textures like sand or leaves onto the cardboard base, adding movable limbs with wire, or writing a longer backstory before sharing on DIY.org.
Watch videos on how to create and describe a creature
How to Write an Imaginative Narrative for Kids Episode 2: Brainstorming
4 Videos
How to Write an Imaginative Narrative for Kids Episode 2: Brainstorming
How to Write an Imaginative Narrative for Kids Episode 1: What is it?
How to Write an Imaginative Narrative for Kids Episode 3: Planning Your Story
How To Draw Funny Monster Silhouettes
Facts about creature design and habitats
🏺 Unfired clay can be rewetted and reused many times — potters often recycle scraps into new sculptures.
♻️ Recycling aluminum saves about 95% of the energy compared to making new aluminum — small scraps can make a big difference.
🏞️ A species' habitat must provide food, water, shelter, and space — think of these four when inventing your creature's home.
🍽️ Diet shapes abilities: a blue whale can eat up to 4 tons of krill a day — what would your creature need to survive?
🎨 Artists use a technique called "assemblage" to build sculptures from mixed materials like fabric, clay, and found objects.
How do you create and describe a creature model from clay, fabric, and recycled materials?
What materials do I need to build and describe a creature model?
What ages is this creature-building and writing activity suitable for?
What are the benefits and safety tips for making and describing a creature model?
