Create a Triptych
Make a three-panel triptych painting or collage using paper, cardboard, paints, and glue; plan a story across panels and experiment with color and composition.


Step-by-step guide to create a triptych
DIY Easy Triptych Tutorial for Kids 🎨🖼️ - Fun and Simple Art Project!
Step 1
Decide on a simple story or theme and write one short sentence that tells what happens from left to right.
Step 2
Measure and mark three equal rectangles on the cardboard using the ruler and pencil.
Step 3
Cut out the three cardboard panels carefully along your marks.
Step 4
Place the three panels side by side with a little space between them so you can see how the story will flow.
Step 5
Lightly sketch the main shapes or characters across the three panels with your pencil to plan the composition.
Step 6
Pick 3 or 4 paint colours for your palette and test them on a scrap piece of paper.
Step 7
Paint the background on each panel to create the mood for your story and let the paint dry a little.
Step 8
Paint the main figures and shapes on each panel so the story moves from the left panel to the right.
Step 9
Cut interesting images or textures from scrap paper or magazines and glue them onto the panels to add collage details.
Step 10
Use colouring materials or a thin brush to add outlines and small details that make your story clearer.
Step 11
Let all the glue and paint dry completely before you touch the panels again.
Step 12
Attach the three panels together with tape or glue along the edges so they hang as one triptych.
Step 13
Share your finished triptych on DIY.org
Help!?
What can we use instead of thick cardboard, acrylic paint, or white glue if we can't find them?
Use flattened cereal boxes or sturdy pasteboard for the panels (steps 2–3), washable tempera or poster paint for your palette (step 6), and a glue stick or double-sided tape to attach collage pieces in step 8.
My cuts are jagged and paint smudges when I add collage — how can I fix these problems?
For neater cuts in step 3, score along the ruler first or have an adult use a craft knife, and to avoid smudges let the background paint dry fully (step 6) before adding collage in step 8 or use a quick-drying glue stick.
How can I adapt this triptych activity for preschoolers or for older kids who want more challenge?
For preschoolers, pre-cut three large panels and limit to two paint colours and big shapes (steps 2, 5–7), while older kids can plan complex compositions, add fine-detail outlines with a thin brush (step 10), and experiment with layered mixed-media collage (step 8).
What are some ways to personalize or extend the triptych after attaching the panels?
After joining the panels (step 11), personalize by writing a short caption that tells the story (step 1), varnish for durability, add hanging string or frames, or glue small found objects into the collage areas (step 8) before sharing on DIY.org (step 12).
Watch videos on how to create a triptych
Art History Projects for Kids: Make a Medieval Triptych
4 Videos
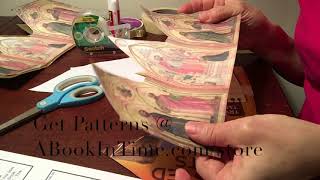
Art History Projects for Kids: Make a Medieval Triptych
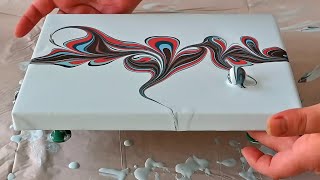
(652) TRIPTYCH painting with MARBLES ~ EASY Fluid art for BEGINNERS ~ Triptych painting tutorial
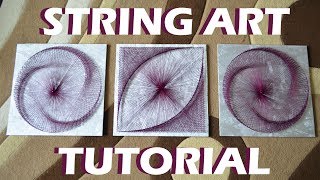
STRING ART TRIPTYCH | TUTORIAL | DIY | timelapse
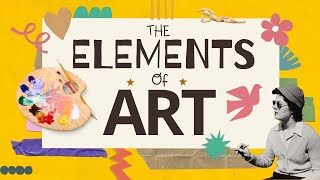
The 7 Elements of Art Explained: A Fun and Easy Guide for Kids! 🎨
Facts about painting and collage techniques for kids
🖼️ The word 'triptych' comes from Greek—tri (three) + ptychē (fold)—and medieval altarpieces often used the three-panel format.
🎨 Collage exploded onto the art scene in the early 1900s thanks to Pablo Picasso and Georges Braque, who pasted everyday paper into paintings.
🧩 A triptych can act like a visual story with a beginning, middle, and end—artists use each panel to guide the viewer through time or action.
🌈 Mix two primary paints to get a secondary color: red+blue=purple, blue+yellow=green, yellow+red=orange—try tiny test swatches to discover surprises!
✂️ Cardboard and paper are lightweight, cheap, and great for layering—seal them with a thin coat of diluted glue or gesso before painting to reduce warping.
How do I create a three-panel triptych with my child?
What materials do I need to make a triptych painting or collage?
What ages is a triptych art project suitable for?
What are the benefits of making a triptych, and what safety tips should I follow?
