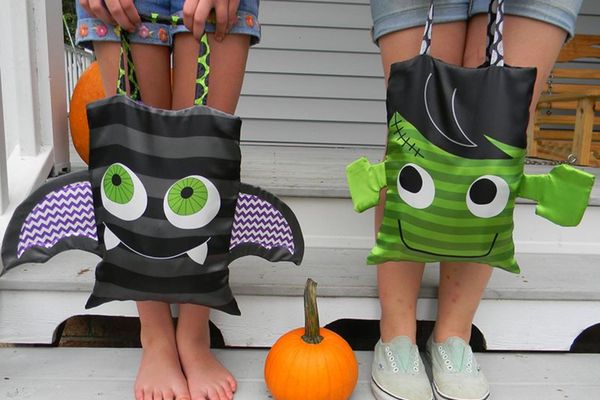
Create a trick-or-treat bag
Make a personalized trick-or-treat bag from fabric or paper, decorate it safely with paints and reflective tape, and practice sewing or taping handles.


Step-by-step guide to create a trick-or-treat bag
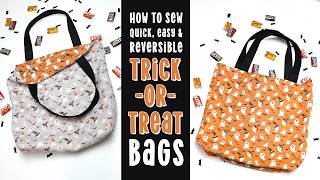
How to Make EASY Trick or Treat Bags!
Step 1
Pick whether you will use fabric or paper and spread it flat on your workspace.
Step 2
Measure and mark a rectangle about 12 inches wide by 15 inches tall with your ruler and pencil.
Step 3
Cut out the marked rectangle carefully with safety scissors.
Step 4
Fold the rectangle in half with the short edges aligned to form the bag shape.
Step 5
Sew the two side edges from the bottom up to one inch from the top using needle and thread with an adult helping you.
Step 6
If you prefer not to sew close the two side edges instead with strong tape or fabric glue leaving the top open.
Step 7
Turn the bag right side out so the seam is hidden inside.
Step 8
Paint a fun design and write your name on the bag using the paints and brush or sponge.
Step 9
Let the paint dry completely before you touch the bag.
Step 10
Cut the reflective tape into several short strips for safety patches.
Step 11
Stick the reflective tape strips to the front and back of the bag where they will show when you walk.
Step 12
Cut two handle pieces from ribbon or fabric about 16 inches long each.
Step 13
Mark with your pencil where each handle end will attach on the top edges of the bag.
Step 14
Attach each handle by sewing the ends securely to the inside top edge or by taping the ends inside with strong tape.
Step 15
Share a photo of your finished trick-or-treat bag on DIY.org
Help!?
What can I substitute if I don't have fabric, reflective tape, or a needle and thread?
If you don't have fabric, use a sturdy paper grocery bag or heavyweight cardstock cut to the 12×15 rectangle, swap reflective tape for silver duct tape or glued-on aluminum foil strips, and replace needle-and-thread sewing in step 5 with strong tape or fabric glue as the instructions suggest.
My seams or handles keep coming apart—how can I fix that?
If the side seams split or handles rip after sewing or taping (steps 5 and 13–14), reinforce the seams with extra backstitches or overlapping strips of strong tape/fabric glue and secure each handle end with a small square of scrap fabric sewn or taped over the attachment point to spread the stress.
How can I adapt the project for younger children or older kids?
For younger children, an adult should pre-measure and pre-cut the 12×15 rectangle and do the sewing while the child paints and sticks reflective tape, while older kids can handle measuring, cutting, sewing the side edges, and add detailed painted designs or stenciled names (steps 1–8, 10–12).
What are fun ways to enhance or personalize the trick-or-treat bag?
To enhance and personalize the bag, sew in a lining before closing the side edges, add a small sewn pocket for treats, use glow-in-the-dark paint along with the reflective tape for extra nighttime visibility, and decorate with fabric markers or sew-on patches before sharing your finished photo (steps 5, 7, 10–12, 15).
Watch videos on how to create a trick-or-treat bag
How to Sew a Trick-or-Treat Bag - Halloween Sewing Project
3 Videos
How to Sew a Trick-or-Treat Bag - Halloween Sewing Project
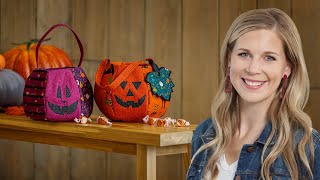
How to Make Little Witch Trick or Treat Baskets - Free Project Tutorial
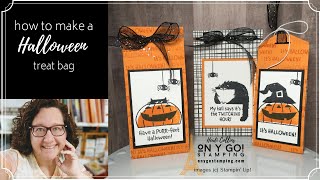
Easy DIY Halloween Treat Bags for your Trick-or-Treaters
Facts about Halloween safety and sewing for kids
🎃 Halloween's trick-or-treat tradition grew into a community activity in the U.S. after WWII when suburbs expanded and neighborhoods promoted safe door-to-door treats.
🍬 By the 1950s, candy companies and local groups encouraged trick-or-treating, helping it become the widespread Halloween tradition it is today.
🧵 You can sew a sturdy bag handle using just basic stitches—running stitch for quick seams and backstitch for strong, secure joins.
⚠️ Adding strips of reflective tape makes a bag far easier for drivers to spot at night because the tape reflects car headlights back to the source.
🎨 Many fabric paints become permanent after heat-setting with an iron or tumble dryer so decorations stay colorful through washes.
How do I make a personalized trick-or-treat bag at home?
What materials do I need to create a safe trick-or-treat bag?
What ages is making a trick-or-treat bag suitable for?
What safety tips, benefits, and fun variations should I consider?
