Create a Sprite
Design and draw a colorful sprite character on paper or digitally, then animate simple movements like walking or jumping to learn basic game art.

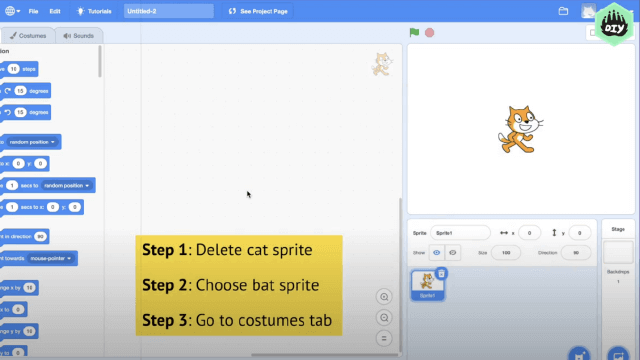

Step-by-step guide to create a sprite character
Step 1
Think of a fun character and pick a simple action like walking or jumping and give it a name.
Step 2
Decide how many frames you want your animation to have from 2 to 6 frames.
Step 3
Use the ruler to draw side-by-side square grids on the paper with one grid for each frame.
Step 4
Lightly sketch your sprite in the first grid showing the starting pose.
Step 5
Sketch the next grid with a small change to the pose like one leg or arm moved.
Step 6
Sketch the remaining frames with the next small changes so the movement will flow smoothly.
Step 7
Trace clean outlines over every frame with the fine black marker.
Step 8
Color each frame using simple flat colors for the sprite.
Step 9
Erase any leftover pencil marks so each frame looks neat.
Step 10
Test your animation by flipping the paper strip quickly or sliding your eyes across the frames to see the movement.
Step 11
Make tiny edits to the frames to smooth the motion if anything looks jumpy.
Step 12
Share your finished sprite and a short description of your animation on DIY.org
Help!?
What can I use if I don't have a fine black marker or a ruler?
Use a ballpoint pen or thin felt-tip to trace clean outlines and a straight edge like a paperback book or a piece of cardboard to draw the side-by-side square grids.
My animation looks jumpy when I flip the paper—what should I check or fix?
Check that each grid is the same size from the ruler step, that each pose change between frames is very small as you sketched in the middle steps, and erase stray pencil marks before retracing so the motion smooths out.
How can I adapt this activity for different ages?
For younger kids use only 2–3 large grids, a pre-drawn starting pose, and chunky crayons for coloring, while older kids can do 5–6 frames, add finer in-between sketches, and carefully trace with the fine black marker.
What are simple ways to extend or personalize the sprite after finishing the flip test?
Add a colored background to each frame, bind the strip into a flipbook or scan the frames to make a GIF, and then share your finished sprite with a short description on DIY.org as instructed.
Watch videos on how to create a sprite character
Pixel Art Class - Create More Engaging Character Sprites
4 Videos
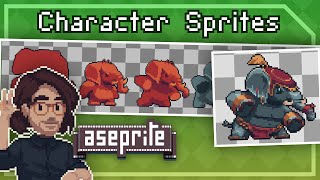
Pixel Art Class - Create More Engaging Character Sprites

Game Lab: Animating with Sprites
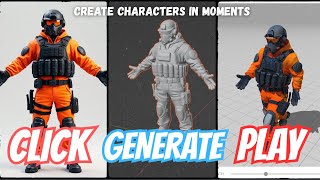
The Easiest Way to Make 2D Sprites for Your Retro FPS Game!
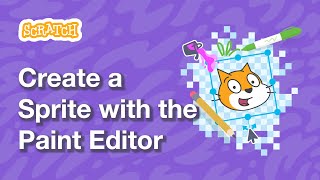
Create a Sprite with the Scratch Paint Editor | Tutorial
Facts about game art and sprite animation
🕹️ Early video games used sprites — tiny images that moved on screen — to create characters before 3D graphics existed.
🎨 Pixel artists often work at tiny resolutions (like 16×16 or 32×32) and choose just a few colors to keep sprites clear and readable.
🏃 A simple walking animation can be made with just 2–4 frames, while smoother motion often uses 8–12 frames per walk cycle.
🧩 Developers pack animation frames into a sprite sheet so games can draw animations quickly and use less memory.
🖼️ Scaling pixel art by whole-number multiples (2×, 3×) keeps pixels crisp — fractional scaling usually causes blur.
How do you design and animate a sprite character?
What materials do I need to make and animate a sprite?
What ages is sprite design and animation suitable for?
What are the benefits of designing and animating sprites?
