Create A Spring Summer Landscape
Paint and build a spring-to-summer landscape using watercolors, collage, and recycled materials; learn about seasonal colors, layering, perspective, and simple composition.


Step-by-step guide to create a spring-to-summer landscape
How To Draw A Spring Landscape
Step 1
Choose three spring colors and three summer colors from your watercolors.
Step 2
Put the chosen paints out on your palette or plate.
Step 3
Fill your brush and lightly wet the top half of the watercolor paper with clean water.
Step 4
Paint a smooth left to right sky gradient starting with spring colors on the left and blending into summer colors on the right.
Step 5
Let the painted sky dry completely.
Step 6
Lightly draw a horizon line and simple shapes for hills trees and flowers with a pencil.
Step 7
Paint the ground shapes using different green mixes to show spring on one side and summer on the other.
Step 8
Cut or tear recycled materials into shapes for trees flowers houses or other landscape pieces.
Step 9
Arrange the cut collage pieces on your paper without gluing to plan the layout.
Step 10
Glue the background collage pieces onto the paper.
Step 11
Glue the middle ground and foreground collage pieces onto the paper.
Step 12
Use watercolors or coloring materials to add details textures shadows and highlights to the scene.
Step 13
Glue small 3D recycled bits like fabric scraps or bottle caps to add texture.
Step 14
Sign your name on the artwork.
Step 15
Share your finished creation on DIY.org.
Final steps
You're almost there! Complete all the steps, bring your creation to life, post it, and conquer the challenge!

Help!?
What can we use if we don't have watercolor paper or a paint palette?
Use heavyweight mixed-media paper or thick cardstock instead of watercolor paper and a clean paper plate or ceramic saucer as your palette, and if you don't have watercolors substitute diluted washable tempera or food coloring.
My sky gradient looks streaky or the colors won't blend—how can we fix it?
Follow step 3 by lightly wetting the top half with clean water, load less pigment on your brush and paint left-to-right in overlapping strokes while tilting the paper and using a clean damp brush to soften joins, then let the painted sky dry completely as directed in step 5 before drawing the horizon.
How can I change the activity for different ages?
For toddlers and preschoolers use larger pre-cut recycled collage pieces and a glue stick instead of tiny 3D bits like bottle caps, for elementary kids have them mix spring and summer greens in step 7, and for teens add detailed watercolor textures in step 11 or create layered pop-up collage elements.
How can we enhance or personalize our spring-summer landscape after finishing the basic steps?
After signing your name on the artwork, glue extra 3D recycled bits like fabric scraps and bottle caps for texture, add highlights with colored pencils or metallic paint, make a cardboard frame, and photograph the piece to share on DIY.org.
Watch videos on how to create a spring-to-summer landscape
Springtime watercolor landscape/step-by-step tutorial
4 Videos
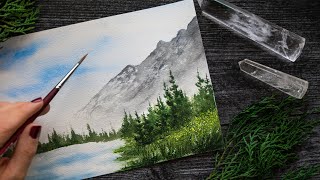
Springtime watercolor landscape/step-by-step tutorial
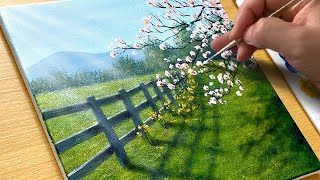
Easy Way to Paint a Spring Scene / Acrylic Painting for Beginners
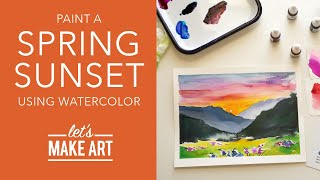
Let's Paint a Spring Sunset 🖼 | Landscape Watercolor Art Tutorial by Sarah Cray of Let's Make Art
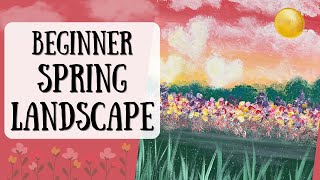
How to Paint a Spring Landscape | Step by Step Acrylic Painting Tutorial for Beginners
Facts about mixed-media landscape art for kids
♻️ Recycling one ton of paper can save about 17 mature trees, so using recycled materials in art helps the planet a lot.
🖼️ Collage leapt into modern art when Picasso and Braque started pasting real materials into paintings in the early 1900s.
🌸 Spring palettes lean toward soft pastels (think cherry blossoms), while summer palettes are richer and more saturated—perfect for transforming a scene.
🔭 To make depth in a landscape: draw far objects smaller, place them higher on the page, and use lighter or cooler colors for distance.
🎨 Watercolors are made from pigment + gum arabic and often dry slightly lighter than they look when wet, so artists plan ahead!
How do I make a spring-to-summer landscape using watercolors, collage, and recycled materials?
What materials do I need to create a spring-to-summer landscape with watercolors and collage?
What ages is this create-a-spring-to-summer-landscape activity suitable for?
What are the benefits of painting a spring-to-summer landscape, and are there safe variations?


One subscription, many ways to play and learn.
Only $6.99 after trial. No credit card required