Create a LEGO® landscape
Design and build a LEGO landscape on a baseplate, creating terrain, trees, rivers, and buildings while planning layout and experimenting with scale and color.


Step-by-step guide to create a LEGO® landscape
Step 1
Gather all your LEGO pieces and the planning paper onto a clear flat workspace.
Step 2
Place the LEGO baseplate on the workspace with the side you like facing up.
Step 3
Use the pencil and craft paper to draw a simple map showing where you want hills rivers trees and buildings.
Step 4
Choose a scale like one stud equals one meter and write that scale on your map.
Step 5
Mark the river forest and building zones on the baseplate by placing small flat plates as outlines.
Step 6
Stack plates and bricks to build one or two hills in the terrain zone.
Step 7
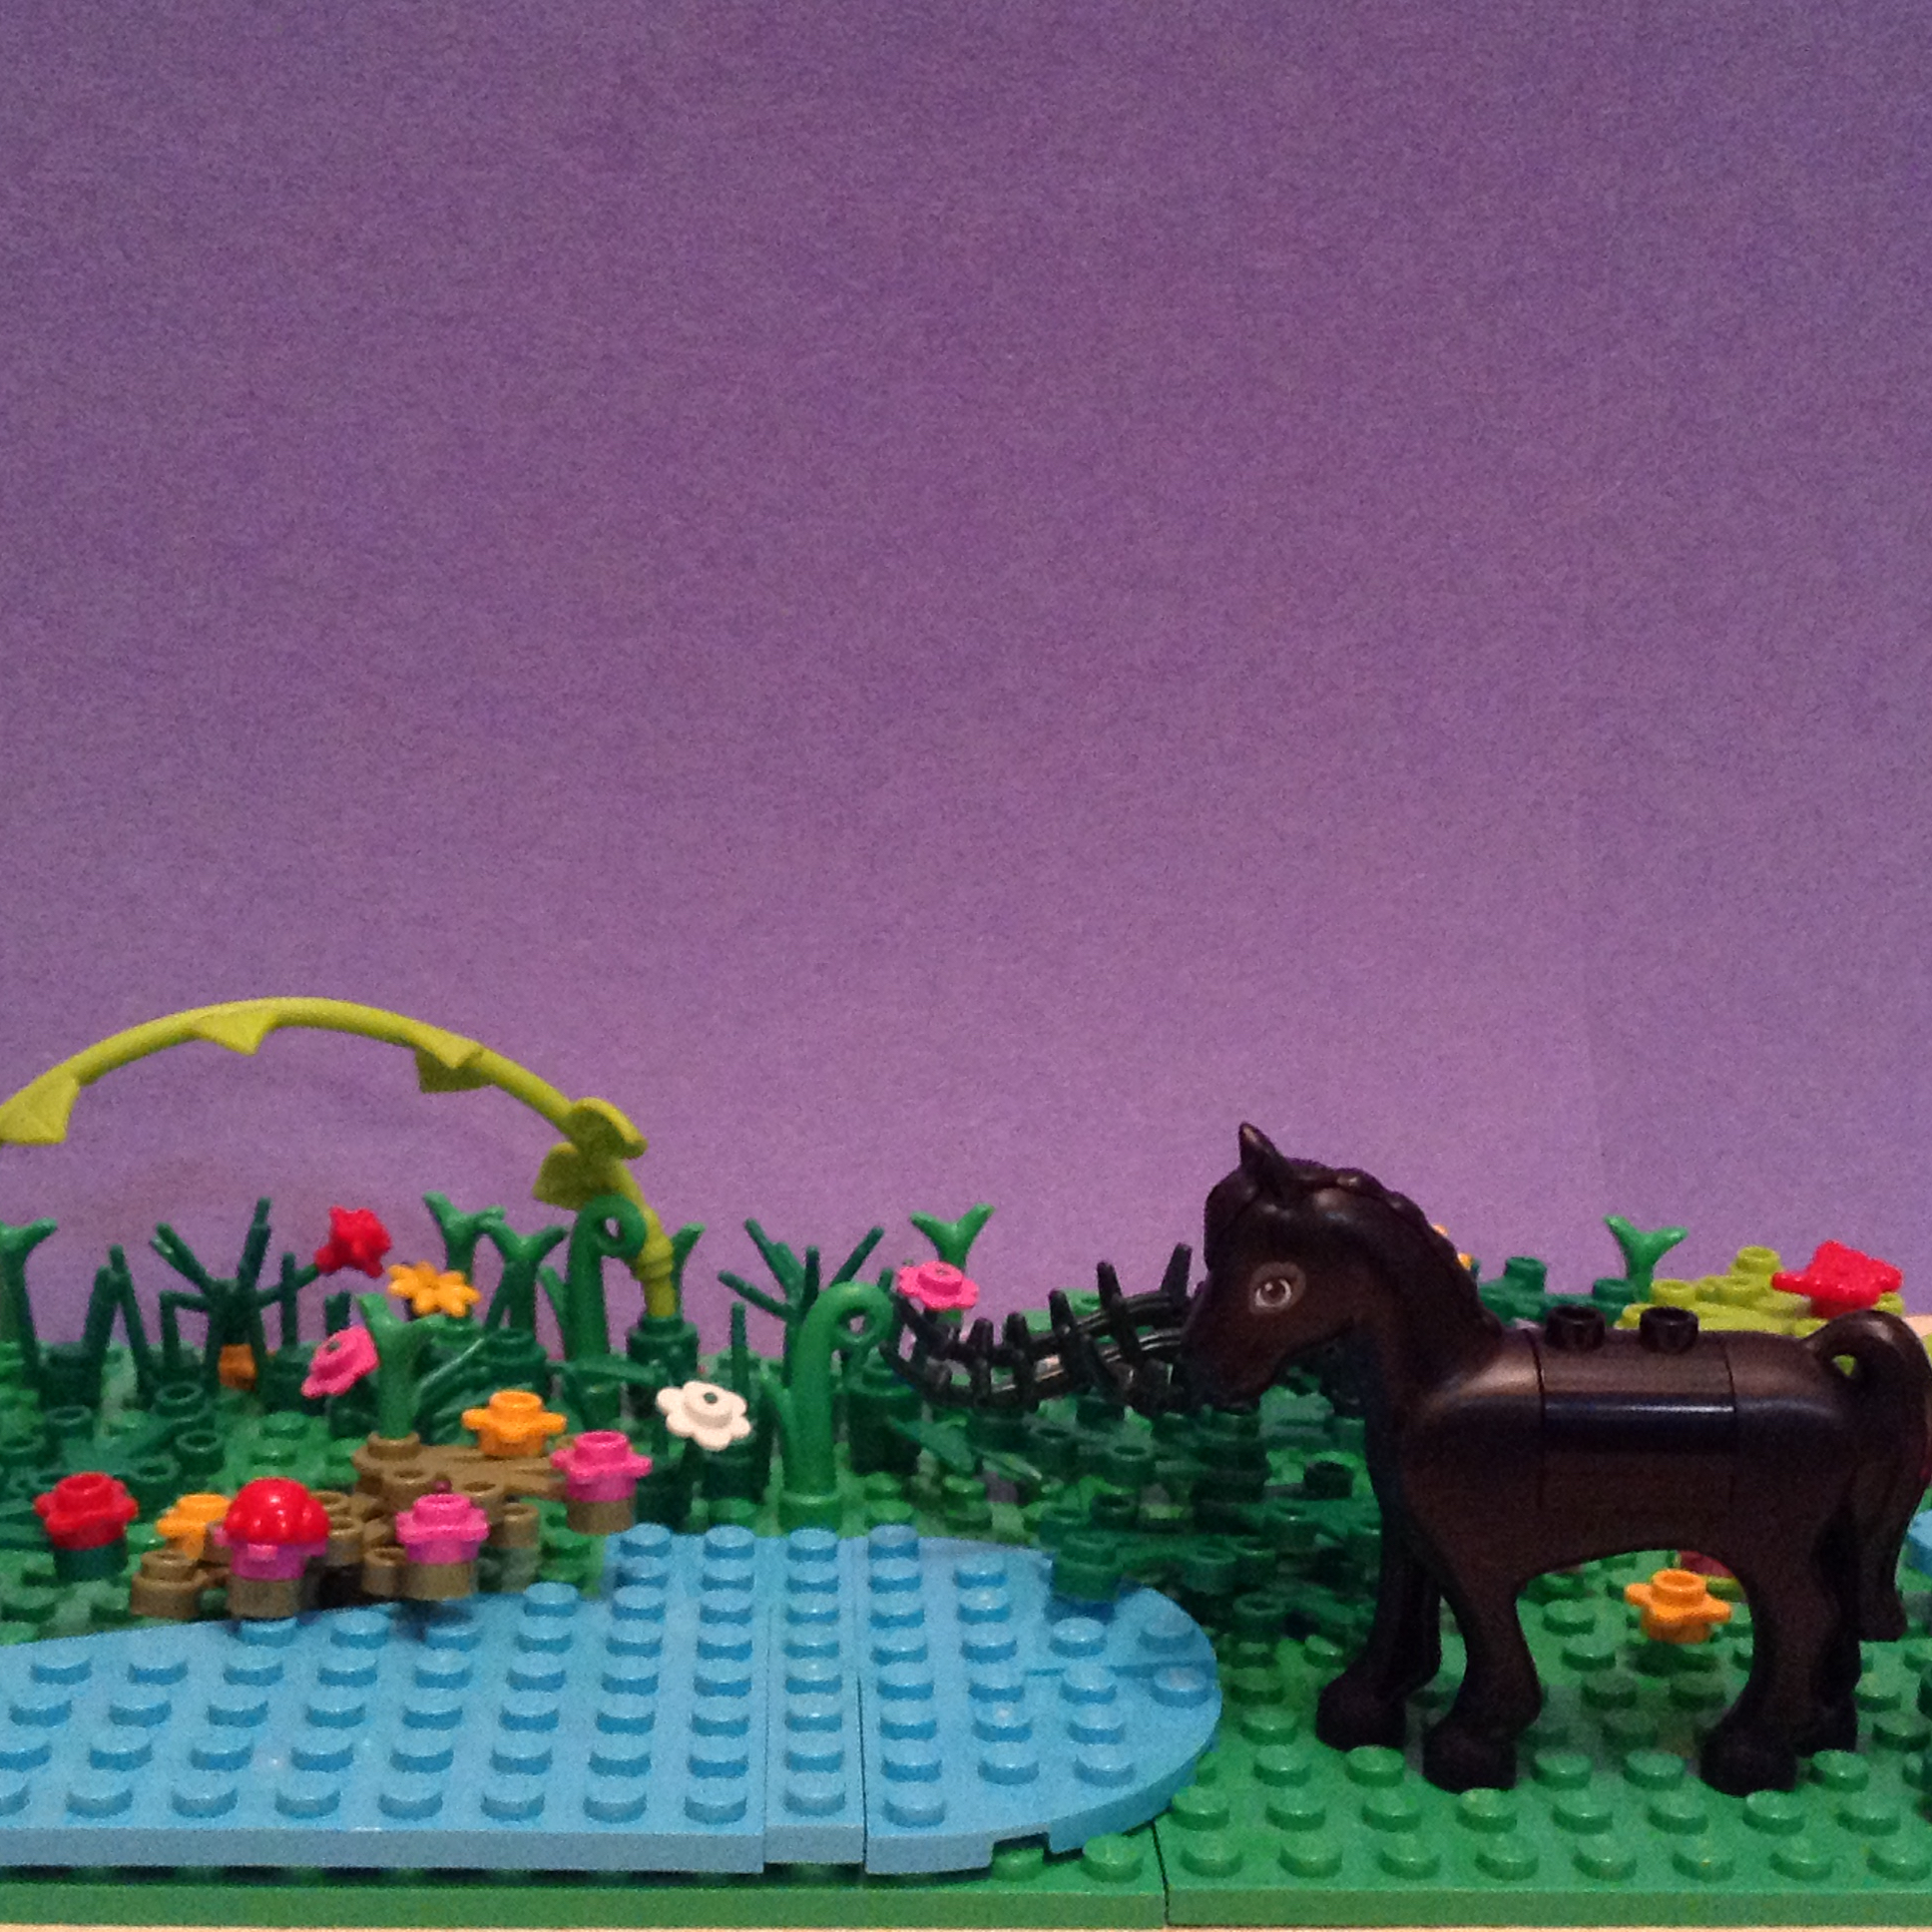
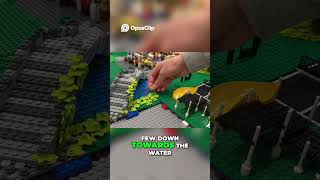
Lay blue tiles or plates to form a winding river inside the river zone.
Step 8
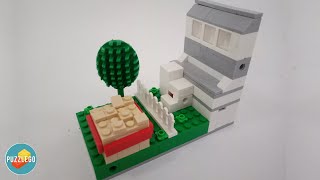
Build at least three trees using brown pieces for trunks and green pieces for leaves.
Step 9
Place the trees where your map shows the forest should be.
Step 10
Build two buildings using bricks and attach windows and doors to each building.
Step 11
Place minifigures and small accessories around the buildings and along paths to add life to your landscape.
Step 12
Change the size or color of one building or tree to experiment with scale and color on your map.
Step 13
Share a photo and a short description of your finished LEGO landscape on DIY.org
Help!?
I don't have a LEGO baseplate or blue tiles — what can I substitute so I can still 'place the LEGO baseplate' and 'lay blue tiles to form a winding river'?
Use a stiff piece of cardboard cut to the same size as the baseplate and tape or glue blue construction paper or aluminum foil along your marked river zone so you can still 'mark the river' and 'lay blue tiles' steps.
My hills keep falling over when I 'stack plates and bricks to build one or two hills' and the river tiles gap — how can I fix those problems?
Stabilize hills by building wider bases and interlocking bricks when you 'stack plates and bricks', and prevent river gaps by taping down blue tiles or using a glued blue paper riverbed under the tiles.
How can I adapt the activity for younger or older children when they need to 'draw a simple map' and 'build two buildings'?
For preschoolers, pre-draw the map and choose a larger scale (one stud = two meters) and use larger bricks, while older kids can add a precise scale on the planning paper, design interior rooms for the two buildings, and make multi-level hills.
What are some creative ways to enhance or personalize the finished landscape before I 'share a photo and a short description' on DIY.org?
Personalize it by changing the size or color of one building as the instructions suggest, add LED tealights under translucent blue tiles for a glowing river, label zones on the planning paper, and stage minifigures for a themed photo.
Watch videos on how to create a LEGO® landscape
lego landscape puzzle 2 (farm) - easy to build - full tutorial
4 Videos
lego landscape puzzle 2 (farm) - easy to build - full tutorial
Creating a LEGO Natural Landscape Enhance Your Garden Design

Creating A Custom LEGO Home - Landscaping How to Tutorial
![EASY LEGO Desert Landscape [Tutorial! - Instructions]](https://img.youtube.com/vi/-soE67OAjJU/mqdefault.jpg)
EASY LEGO Desert Landscape [Tutorial! - Instructions]
Facts about LEGO building and model-making for kids
🧱 The classic LEGO brick clutch-tube design from 1958 is still compatible with bricks made today.
🌳 LEGO minifigure 'scale' is roughly 1:40–1:48, so using a consistent scale helps your buildings and trees look right together.
📏 Scale models let designers test layouts before building full-size projects — your LEGO landscape is a tiny version of that!
🏞️ LEGO baseplates come in common sizes like 16x16, 32x32, and 48x48 studs to give your scene a steady ground.
🎨 Using contrasting colors and textures (smooth tiles vs. studs, dark vs. light plates) makes rivers, parks, and buildings pop.
How do I create a LEGO® landscape with terrain, trees, rivers, and buildings?
What materials do I need to build a LEGO® landscape on a baseplate?
What ages is building a LEGO® landscape suitable for?
What are the benefits of building a LEGO® landscape for my child?
