Craft a geese
Make a colorful paper goose using scissors, glue, and markers. Fold, cut, decorate, and learn simple symmetry and bird features.

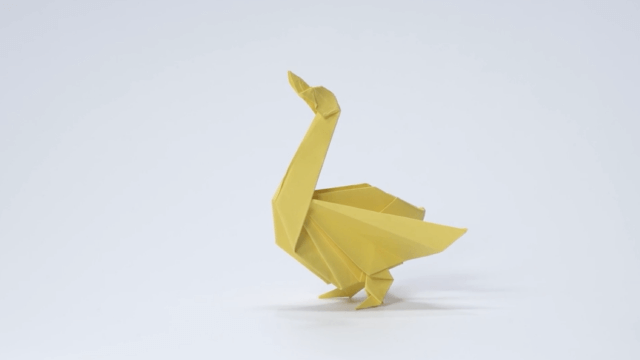

Step-by-step guide to make a colorful paper goose
Step 1
Choose a sheet of colored paper for the goose body.
Step 2
Fold the paper in half vertically to make a center line.
Step 3
Use a pencil to draw half of a goose silhouette along the folded edge.
Step 4
Cut along the pencil line through both layers to create a symmetrical goose shape.
Step 5
Unfold the paper to reveal the full goose silhouette.
Step 6
Cut a wing shape from a different colored paper.
Step 7
Cut a tail shape from a different colored paper.
Step 8
Glue the wing onto one side of the goose body in the spot where wings belong.
Step 9
Glue the tail onto the back of the goose body.
Step 10
Cut a small triangle from colored paper for the beak.
Step 11
Glue the beak onto the goose's head.
Step 12
Use a marker to draw an eye and simple feather lines on the goose.
Step 13
Draw matching patterns on both sides of the goose with markers to show symmetry.
Step 14
Share your finished colorful paper goose on DIY.org.
Help!?
What can we use instead of colored paper, glue, or markers if we don't have them?
Use white printer paper colored with crayons or colored pencils for the goose body, clear tape or a glue stick instead of liquid glue for attaching the wing and tail, and a pen if you don't have markers.
My child cut uneven geese or the layers shifted when cutting—how can we fix that?
Fold the paper firmly along the center line and press the fold with a ruler or fingernail, then use clips or a paperweight to hold both layers while cutting slowly with sharp scissors so the silhouette stays symmetrical.
How can we adapt this goose craft for a 3-year-old versus a 10-year-old?
For 3-year-olds, pre-cut the goose body and large wing and tail pieces for them to glue and draw a simple eye, while 10-year-olds can freehand the folded-edge silhouette, add layered wings or detailed feather lines, and create complex symmetrical marker patterns.
How can we extend or personalize the finished paper goose beyond drawing patterns and posting on DIY.org?
Turn several finished geese into a colorful mobile by punching a small hole at the top of each goose, tying thread through the hole at different lengths, or add sequins and textured paper to the glued wing and tail for extra decoration before sharing.
Watch videos on how to make a colorful paper goose
Geese are nesting and it's important to give them space
4 Videos
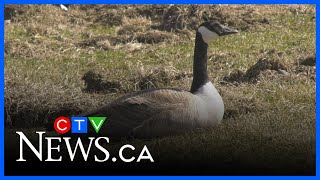
Geese are nesting and it's important to give them space
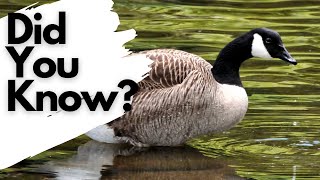
Things you need to know about CANADA GEESE!

How Long Do Ross's Geese Live? - Bird Watching Diaries
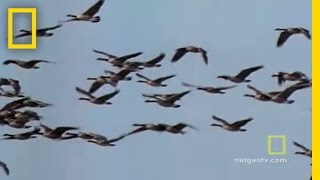
Geese Fly Together | National Geographic
Facts about paper bird crafts for kids
🪶 Geese are waterfowl related to ducks and swans; baby geese are called goslings.
✂️ Simple cutting and folding crafts build fine motor skills and teach safe scissor use.
🎨 Decorating both sides the same shows mirror symmetry — a quick way to make designs look balanced and tidy.
🔁 Many bird features (wings, eyes, beaks) are bilaterally symmetrical, so folded paper patterns look realistic.
📐 Origami and papercraft have long been used to teach geometry concepts like angles, folds, and symmetry.
How do I make a colorful paper goose with my child?
What materials do I need for a paper goose craft?
What ages is this paper goose activity suitable for?
What are the benefits of making paper geese and are there safety tips or fun variations?
