Craft a bunny with paper
Make a paper bunny using folding, cutting, and decorating. Learn basic origami and craft skills while personalizing with colors, googly eyes, and whiskers.


Step-by-step guide to make a paper bunny
Step 1
Place the square sheet of paper flat on your workspace.
Step 2
Fold the paper diagonally in half to make a triangle and press the crease.
Step 3
Fold the triangle in half again to make a smaller triangle and press the crease.
Step 4
Turn the folded triangle so the pointed tip faces away from you.
Step 5
Cut a rounded bunny-ear shape from the top edge of the folded paper without cutting the bottom folded edge.
Step 6
Carefully unfold the paper to reveal the full bunny silhouette.
Step 7
Trim any rough edges with the scissors to make the bunny shape smooth.
Step 8
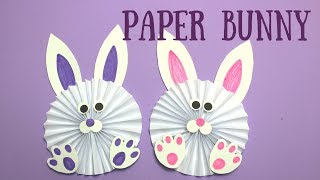
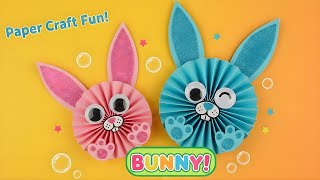
Glue two googly eyes onto the bunny's face.
Step 9
Glue the small scrap of pink paper onto the face as the bunny's nose.
Step 10
Draw whiskers and a mouth with the black marker.
Step 11
Color the ears and the bunny's body with your coloring materials.
Step 12
Glue a cotton ball to the back or bottom of the bunny to make a fluffy tail.
Step 13
Share your finished paper bunny on DIY.org.
Help!?
What can we use if we don't have a square sheet of paper, googly eyes, or a cotton ball?
Trim a rectangular sheet into a square by folding one corner to the opposite edge and cutting off the excess, use eye stickers or draw eyes with the black marker in step 9, and substitute a crumpled piece of tissue or a small pom-pom for the cotton ball tail in step 13.
My paper bunny fell apart after cutting — what likely went wrong and how do I fix it?
If the cut in step 5 accidentally went through the bottom folded edge the bunny silhouette will separate, so re-fold along the diagonal creases and carefully recut leaving the bottom fold intact or use a small piece of clear tape to reattach before trimming in step 7.
How can I adapt the activity for younger or older kids?
For younger children have an adult do the diagonal folds and the ear cut (steps 2–5) so they can focus on gluing eyes, nose, and tail (steps 9–13), while older kids can add extra cuts for legs, create patterned designs with coloring materials in step 12, or make a chain of folded bunnies.
What are simple ways to enhance or personalize the finished bunny?
Add pipe-cleaner whiskers glued at step 11, use glitter or patterned paper when coloring the body and ears in step 12, mount the bunny on a card, or create a group scene to photograph and share on DIY.org as suggested in the final step.
Watch videos on how to make a paper bunny
How to Make a Paper Bunny | Easy Easter Crafts for Kids
3 Videos
How to Make a Paper Bunny | Easy Easter Crafts for Kids
Easy Origami Rabbit | How to Make a Paper Bunny Step by Step | Easy DIY Paper Crafts For Kids
Easy Origami Rabbit 🐇 | Step by Step Paper Bunny Tutorial for Beginners #diy #craft #usa #uk
Facts about origami and paper crafts for kids
🐰 Rabbits have nearly 360° vision, letting them spot predators from almost any direction.
📐 "Origami" comes from the Japanese words ori (folding) and kami (paper) and has been practiced for centuries.
✂️ Paper-cutting art such as Chinese jianzhi dates back to the 6th century AD.
🎨 Adding googly eyes and whiskers instantly boosts a craft's personality because our brains love spotting faces (pareidolia).
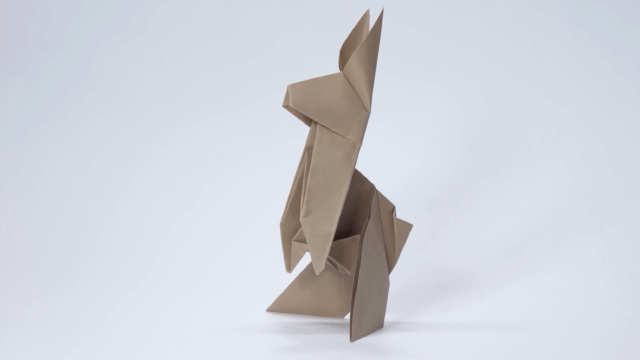
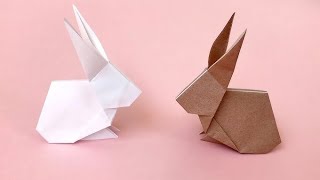
🧩 Many simple origami bunnies can be folded from a single square sheet of paper — often with no glue or tape needed.
How do I make a paper bunny with folding and cutting?
What materials do I need to make a paper bunny craft?
What ages is this paper bunny craft suitable for?
What are the benefits of making a paper bunny craft?
