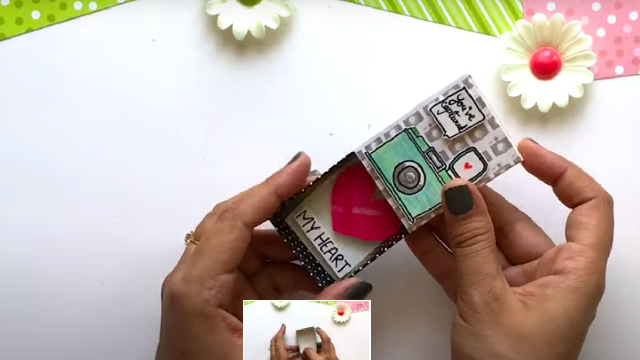
Craft a Box With Messages
Make a small decorated message box from cardboard, write secret notes or positive messages, and practice folding, decorating, and thoughtful writing.


Step-by-step guide to craft a box with messages
Step 1
Gather all your materials and clear a flat workspace so you have room to draw and cut.
Step 2
Use your ruler and pencil to draw a cross-shaped box template: one central square 6 cm by 6 cm with four identical squares attached to each side and a separate square 6.5 cm by 6.5 cm for the lid.
Step 3
Cut out the cross-shaped template and the lid square carefully with your scissors.
Step 4
Lightly score the lines between the squares with the ruler and the blunt side of the scissors so the cardboard folds easily.
Step 5
Fold up the four side squares along the scored lines to form the box walls.
Step 6
Apply glue to the edges where two sides meet to hold the box shape together.
Step 7
Press the glued edges firmly together for a few seconds so the glue sticks and the box holds its shape.
Step 8
Place the 6.5 cm lid square on top to check the fit and trim a tiny amount if it is too snug.
Step 9
Decorate the outside and inside of your box using coloring materials and stickers to make it look special.
Step 10
Cut several small squares of paper to the size you want for secret notes.
Step 11
Write secret notes or positive messages on each small paper using kind words and creative ideas.
Step 12
Fold your notes neatly and place them inside the finished box.
Step 13
Share a photo or description of your finished message box on DIY.org to show everyone your creation.
Help!?
What can we use if we don't have cardboard, a ruler, or glue?
If you don't have cardboard use a cereal- or shoebox panel, replace the ruler with a straight book edge or measuring tape, and swap glue for double-sided tape or a glue stick when cutting and assembling the 6 cm×6 cm cross template and 6.5 cm lid.
My box walls won't stay together or the lid is too tight—what should I try?
If the side seams won't stick, press glued edges firmly for longer and add extra glue or tape along the joins, and if the 6.5 cm lid is too snug gently trim a tiny amount from its edges and recheck the fit.
How can I adapt this activity for different ages?
For younger kids have an adult pre-draw, cut, and score the 6×6 cross template and let them fold and decorate with crayons and stickers, while older kids can measure precisely with the ruler, use thicker cardboard, and add compartments or advanced decoration like decoupage.
How can we make the message box more special or challenging?
To enhance the project add a ribbon hinge or small magnet to secure the 6.5 cm lid, create inner compartments by gluing extra 6×6 squares inside, and personalize with photos, layered paper, or a hidden note pocket under the base.
Watch videos on how to craft a box with messages
How To Make Easy Paper Box That Opens And Closes| Heart Shape Paper Gift Box Origami | Heart Box |
3 Videos

How To Make Easy Paper Box That Opens And Closes| Heart Shape Paper Gift Box Origami | Heart Box |
How to Create a Gorgeous Greeting Card Gift Box
How to make a quick Paper Box | Paper Box with Lid Tutorial
Facts about cardboard and paper crafts for kids
📦 Cardboard is made from paper pulp and is one of the easiest materials to recycle and reuse.
✂️ Traditional origami uses only folds—no glue or scissors—and folding also makes cardboard much stronger.
📝 Handwritten notes often feel more personal and are remembered better than typed messages.
🎁 Decorating a small box turns it into a keepsake; people have long used decorated boxes to hide treasures and secret notes.
🌱 Cardboard can be composted or upcycled into new crafts, so it's a great kid-friendly sustainable material.
How do I make a small decorated message box from cardboard?
What materials do I need to craft a message box for notes?
What ages is making a decorated message box suitable for?
What are the benefits of making a message box and fun variations?
