Construct a paper costume
Make a wearable paper costume using newspaper, colored paper, tape, and safe scissors; design, cut, decorate, and assemble pieces to fit and move comfortably.


Step-by-step guide to make a wearable paper costume
How to make tree costume / Easy DIY paper costume / Fancy dress competition
Step 1
Lay a clean sheet of newspaper down to protect your table or floor.
Step 2
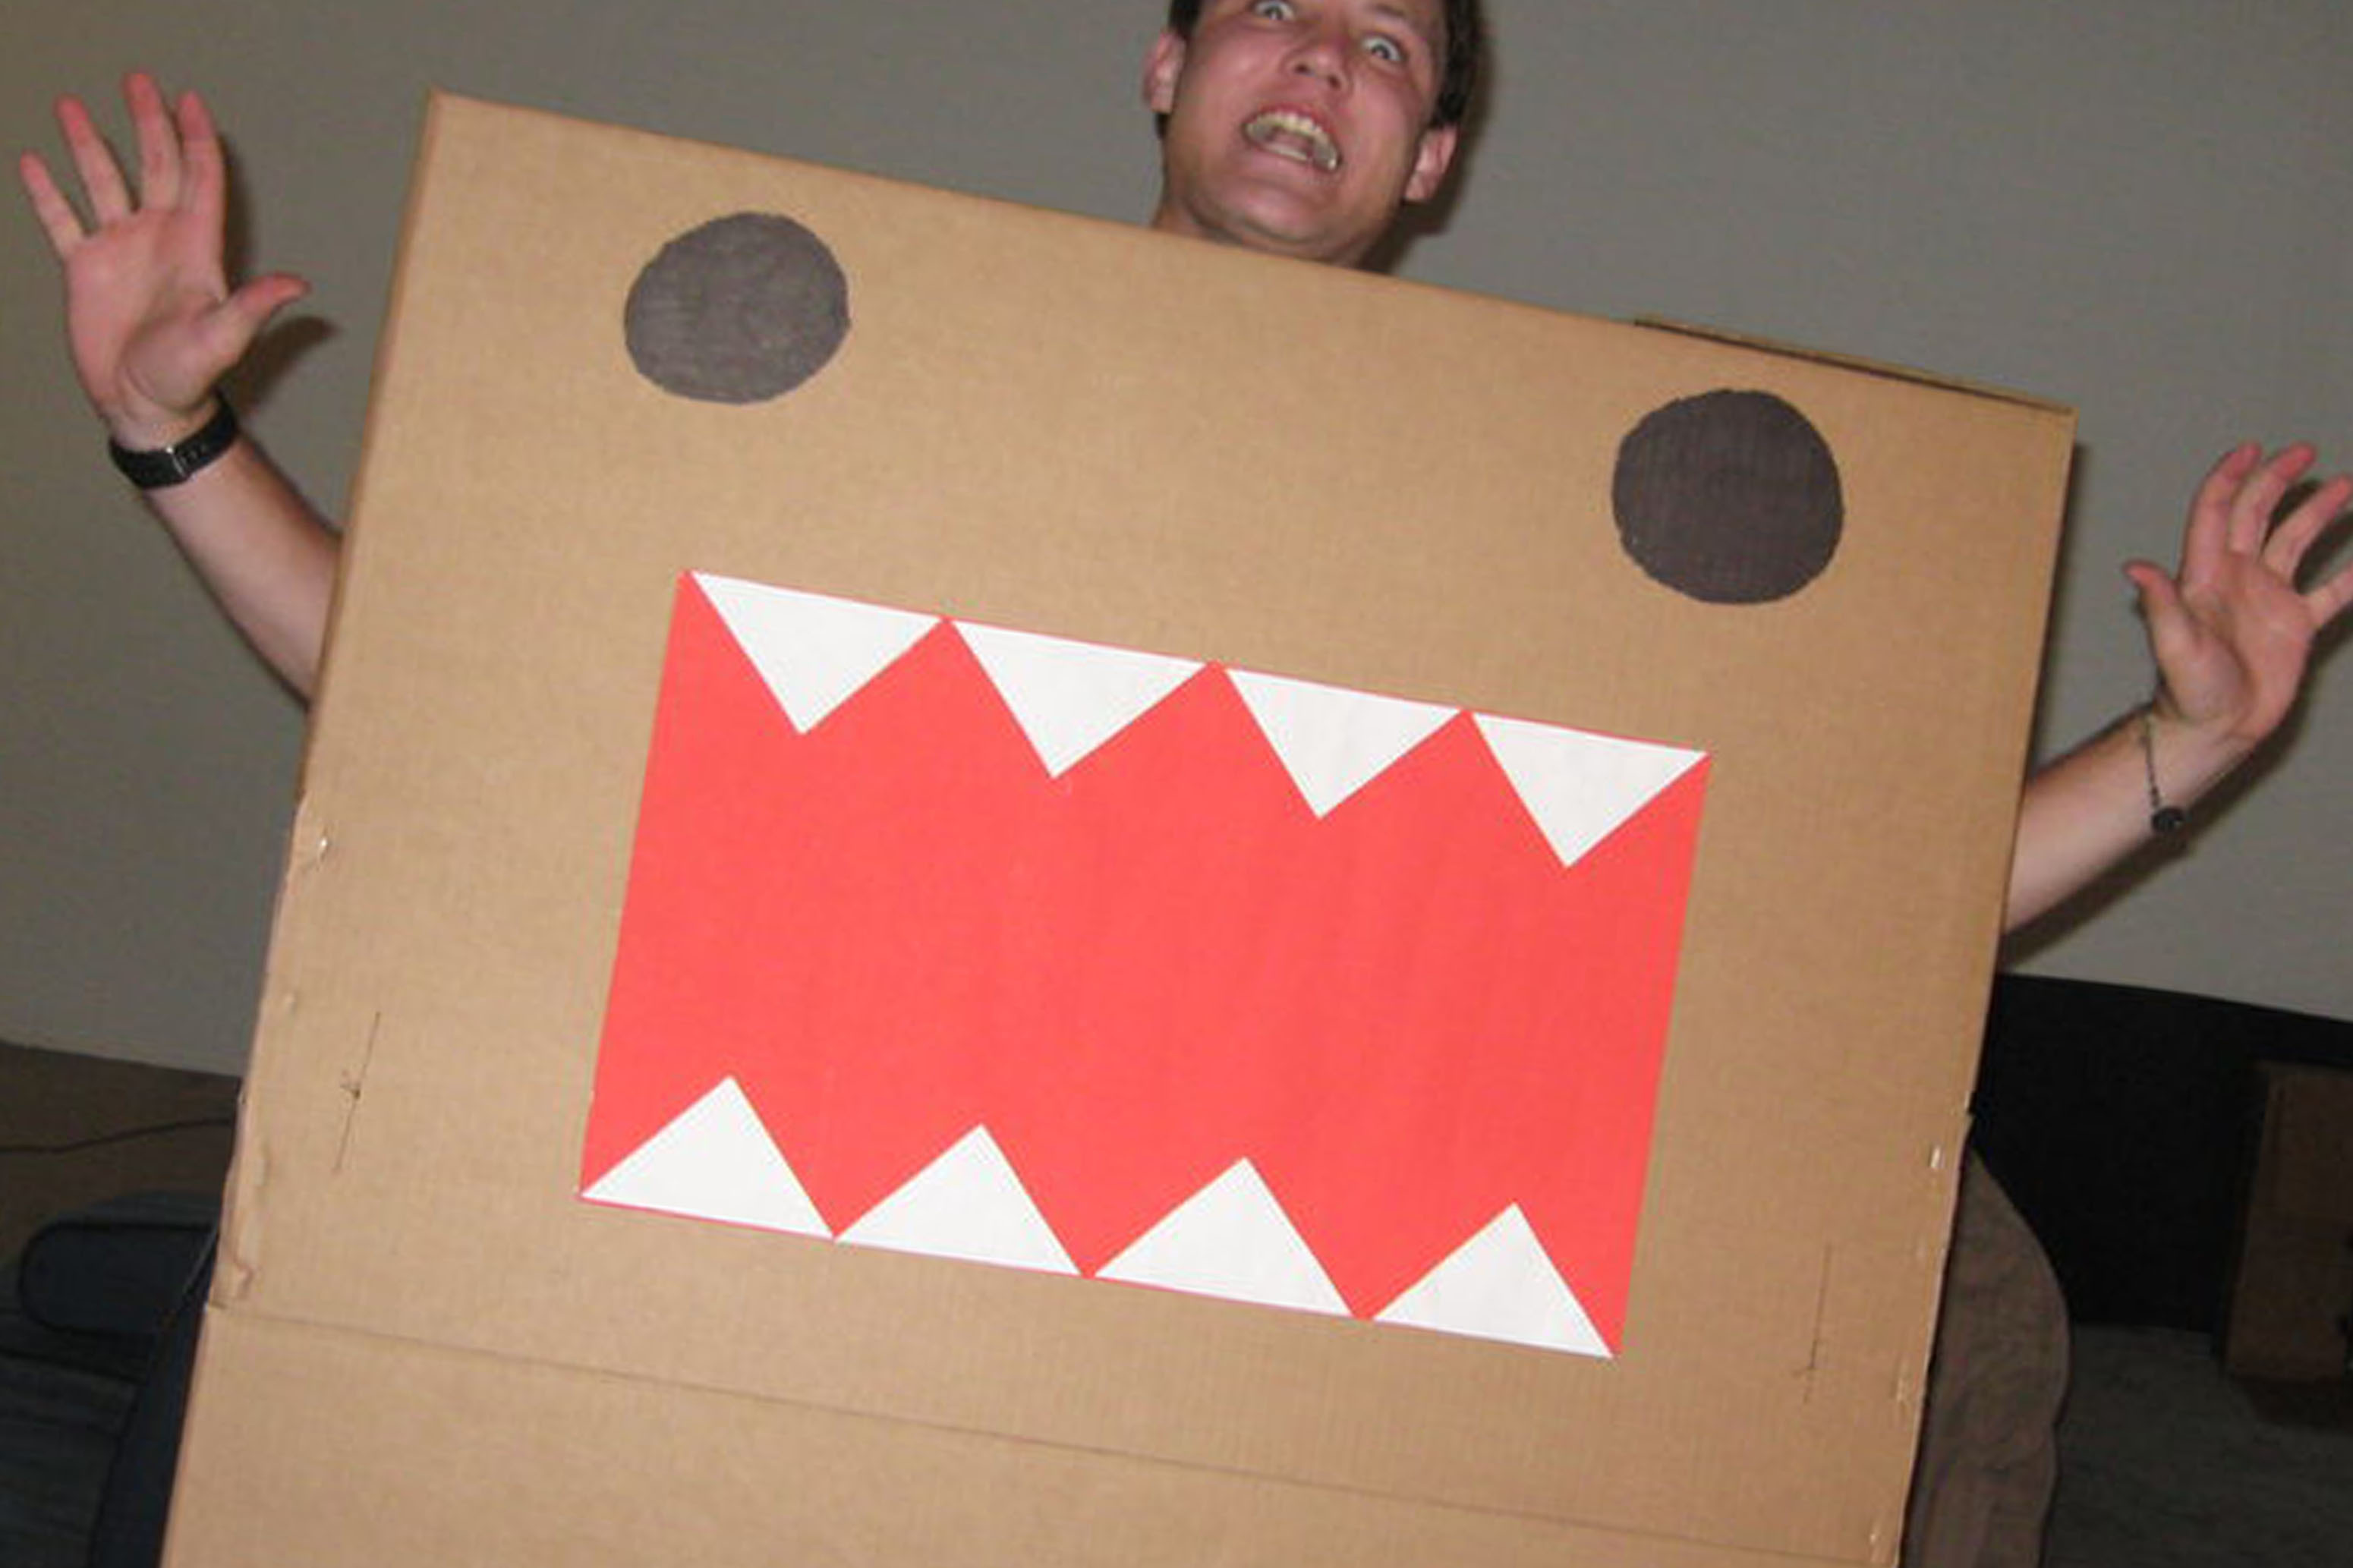
Decide what kind of wearable costume you want to make like a cape tunic robot or magic dress.
Step 3
Take a large sheet of newspaper and fold it in half lengthwise to make the costume base.
Step 4
Use colouring materials to draw a small half-moon at the folded top edge for the head hole.
Step 5
With adult supervision cut out the half-moon head hole using safe scissors.
Step 6
Open the paper and slip it over your head to check how the neck and length feel.
Step 7
While wearing the paper dot where your arms should come out using a marker.
Step 8
With adult supervision cut out the two armhole dots to make arm openings.
Step 9
Cut shapes and fun pieces from colored paper to decorate your costume.
Step 10
Use tape to stick the colored-paper decorations onto the newspaper base where you like them.
Step 11
Cut two long strips of ribbon or newspaper to use as ties for the sides.
Step 12
Tape each strip inside the costume sides to create adjustable ties so you can move comfortably.
Step 13
Share a photo of your finished costume on DIY.org.
Help!?
What can I use instead of a large sheet of newspaper, colored paper, or ribbon if they are hard to find?
Use butcher or brown packing paper or a clean wrapping paper folded to the size of the large newspaper base, cut decoration shapes from magazine pages or fabric scraps instead of colored paper, and substitute ribbon ties with shoelaces or strips of an old T‑shirt.
If the head hole or armholes tear or don't fit right, how can I fix them?
If the half‑moon head hole or armhole dots from steps 4–7 are too small or begin to tear, widen them gradually while the child wears the paper to test fit and reinforce the cut edges with clear tape to stop further ripping.
How can I adapt this activity for different age groups?
For toddlers have an adult pre‑fold the base and pre‑cut the head and arm openings and use stickers for decorations, for school‑age kids let them draw the half‑moon and cut with supervision (steps 4–7), and for older kids add cardboard details and more intricate colored‑paper designs with tape ties for adjustable fit.
What are simple ways to enhance or personalize the finished costume?
Enhance the costume by adding taped cardboard panels or folded newspaper armor to the newspaper base, attaching battery LED fairy lights under tape for a glow, swapping tape for Velcro for removable pieces, and labeling or drawing character details before sharing a photo on DIY.org.
Watch videos on how to make a wearable paper costume
DIY Carrot Fancy Dress | Paper Carrot costume making for school competition #fancycostume
3 Videos
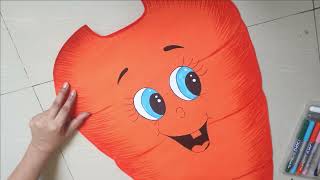
DIY Carrot Fancy Dress | Paper Carrot costume making for school competition #fancycostume
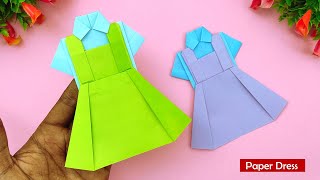
Origami Dress - How to Make Paper Dress | Paper Things Without Glue | Easy Paper Crafts
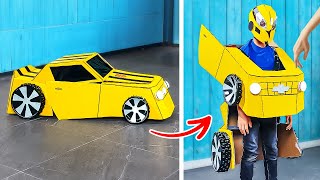
DIY CARDBOARD CAR COSTUME🚕 AMAZING PAPER CRAFTS FOR YOU!
Facts about paper crafts for kids
📰 Paper fashion actually became a playful trend in the 1960s when designers and companies sold cheap paper dresses!
📄 Most people can fold a regular sheet of paper by hand only about 7–8 times — so costume folding uses clever tricks and cuts!
✂️ Fashion designers often sketch and cut paper patterns first to test shapes and movement before making real clothes — you can too!
🎭 Papier-mâché has been used for centuries to make lightweight masks, puppets, and costume armor because it molds and paints easily.
♻️ Turning old newspapers into costumes is a fun way to upcycle and reduce waste while being creative and resourceful.
How do you make a wearable paper costume?
What materials do I need for a paper costume?
What ages is this activity suitable for?
What are the benefits and safety tips for paper costume making?
