Color the Mermaid
Draw and color your own mermaid using pencils, markers, and glitter; explore color mixing, pattern design, and adding imaginative underwater details.

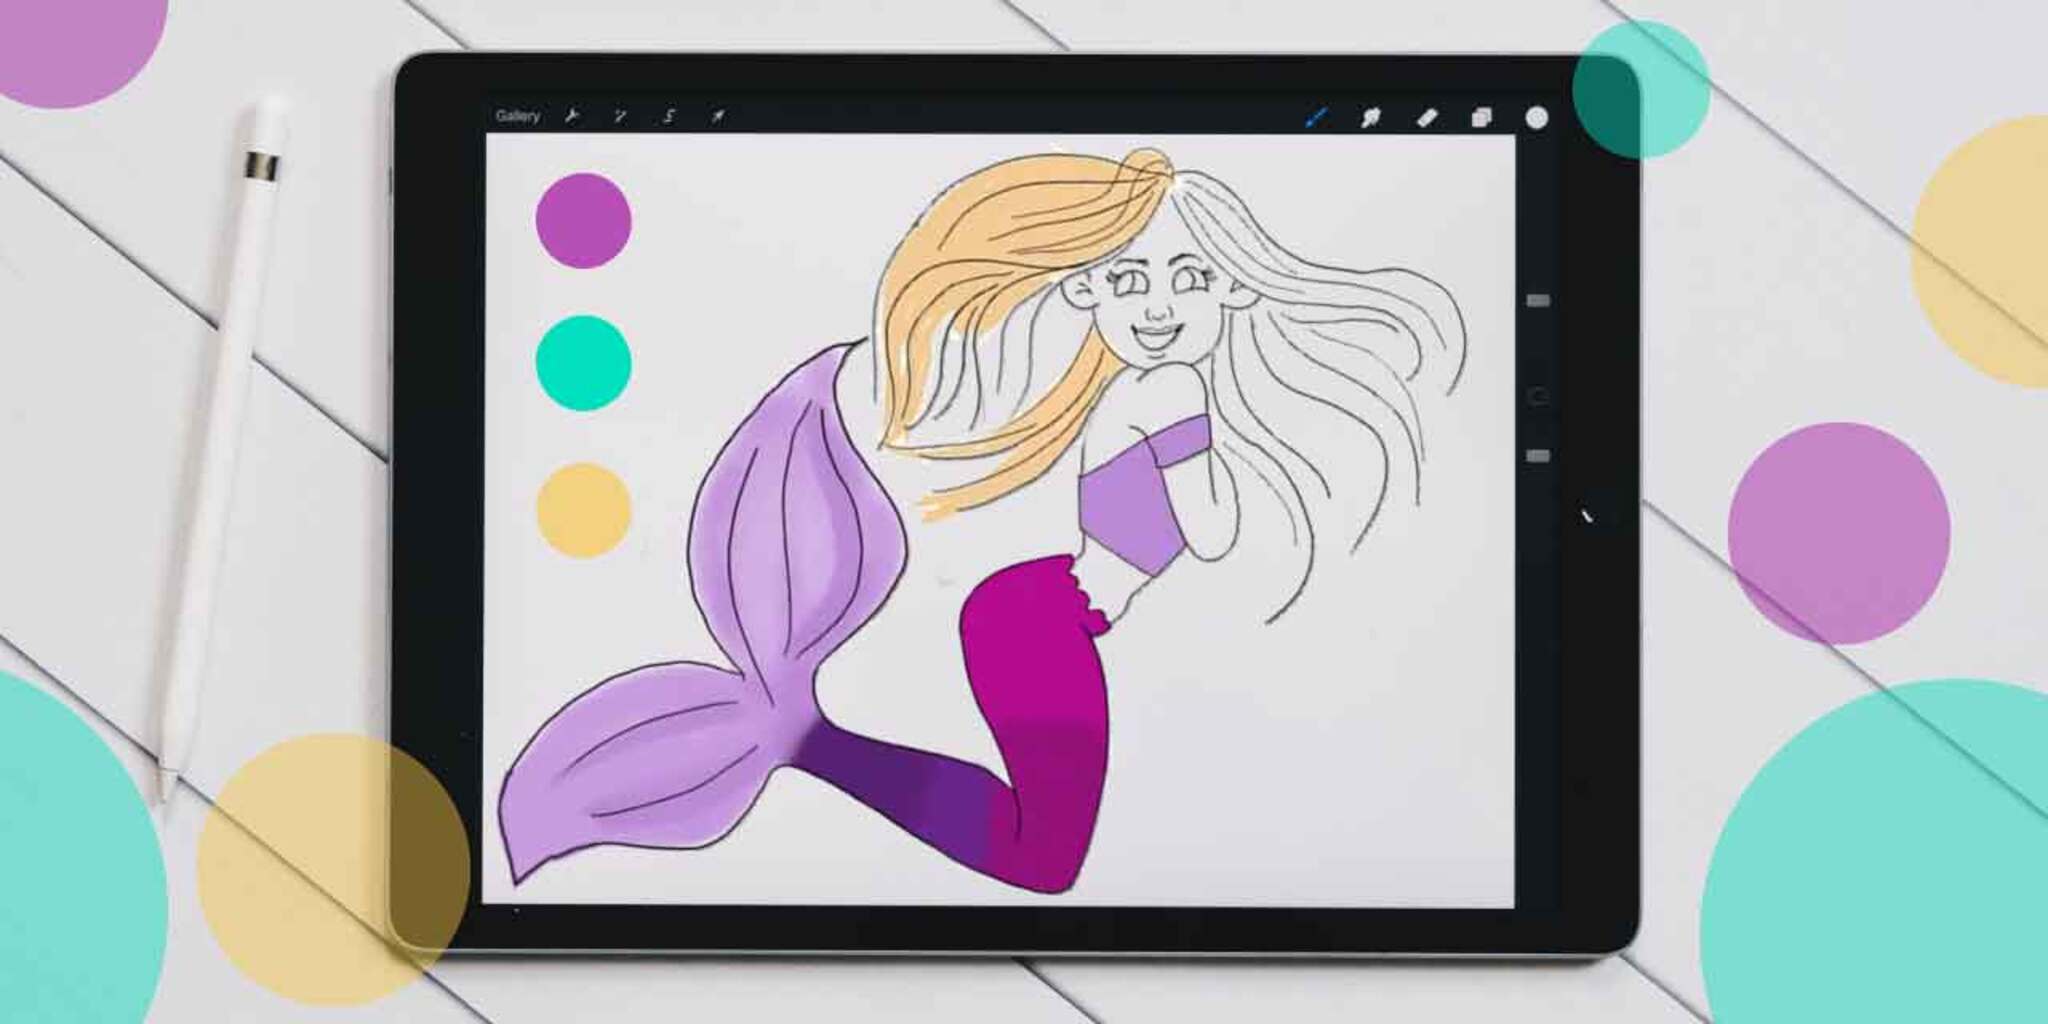
Drawing Apps
Step-by-step guide to Color the Mermaid
How to Draw a Mermaid Step by Step for Kids 💜Mermaid Drawing 🦀🐠 Fun Coloring for Kids and toddlers
Step 1
Gather all your materials and find a clean flat surface to work on.
Step 2
Decide how your mermaid will pose and lightly sketch the head and torso with your pencil.
Step 3
Sketch the mermaid's arms and hands in simple shapes.
Step 4
Draw the tail outline attached to the torso with a big flowing fin at the end.
Step 5
Add a full flowing hair shape around the head to show underwater movement.
Step 6
Draw the mermaid's facial features like eyes a smile and a nose.
Step 7
Draw a repeating scale pattern on the tail using curved rows of small shapes.
Step 8
Add fun patterns and accessories like a shell bra crown or bracelets.
Step 9
Test color mixing on your scrap paper by layering two colors to make a new shade.
Step 10
Color your mermaid using your mixed shade and other colors for big areas.
Step 11
Shade the scales and patterns to add depth using the mixed color and darker tones.
Step 12
Add glitter highlights to scales and accessories using glitter glue or glue and loose glitter.
Step 13
Draw imaginative underwater details around your mermaid like seaweed bubbles and shells.
Step 14
Add simple color to the underwater details to finish the scene.
Step 15
Share your finished mermaid creation on DIY.org.
Help!?
What can we use if we don't have glitter glue or loose glitter?
If you don't have glitter glue or loose glitter for the step 'Add glitter highlights to scales and accessories,' use metallic gel pens, sequins glued with school glue, or sprinkle coarse salt onto wet paint for a sparkly effect.
My mermaid's tail or arms look wrong—how can we fix the drawing before coloring?
If proportions or limb placement look off, follow steps 2 and 3 by lightly sketching the head, torso, and simple arm shapes first, then erase and redraw the tail attachment and fin until the pose looks balanced before coloring.
How can I adapt this activity for different age groups?
For younger kids simplify step 7 by drawing large curved stripes instead of a repeating scale pattern and let them use crayons, while older children can focus on step 9's test color mixing, detailed scale shading in step 11, and finer accessories.
How can we extend or personalize the mermaid project once it's finished?
To personalize and extend the scene, build on step 13 by adding textured seaweed with crepe paper, extra sequins to scales from step 11, and a background diorama before sharing the final piece on DIY.org.
Watch videos on how to Color the Mermaid
Learn how to color Ariel | Little Mermaid coloring page | Disney princess fun art for creative kids
4 Videos
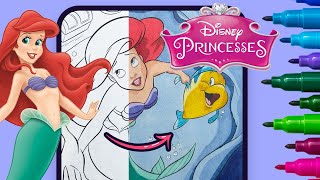
Learn how to color Ariel | Little Mermaid coloring page | Disney princess fun art for creative kids

How to color sparkling Mermaids with Glitter: a magical Tutorial! | Mermaid Magic
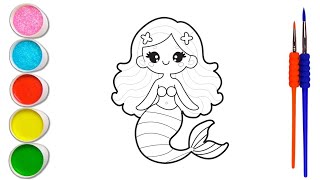
How to Draw a Mermaid Step by Step for Kids 💜Mermaid Drawing 🦀🐠 Fun Coloring for Kids and toddlers
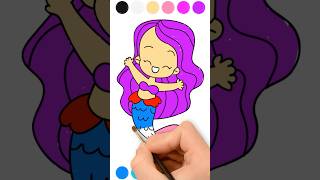
Let's Color a Cute Mermaid | Kids Drawing Tutorial 🧜♀️ #kidslearning
Facts about drawing and color mixing for kids
🧜♀️ Mermaids appear in stories from cultures all over the world—Europe, Africa, and Asia each have their own sea-person legends.
🎨 Mix blue and yellow and you get green—basic color mixing you can try with pencils and markers!
✨ Glitter sparkles because tiny flat pieces reflect light back to your eyes—use it sparingly for big shimmer.
🐠 Coral reefs cover less than 1% of the ocean floor but are home to about 25% of marine species.
🖍️ Layering colored pencils lightly builds smooth shades; pressing harder makes richer, darker colors.
How do I guide my child to draw and color a mermaid?
What materials do I need for the Color the Mermaid activity?
What ages is the Color the Mermaid activity suitable for?
What are some creative variations and benefits of Color the Mermaid?
