Collect wild berries
Go on a supervised nature walk to identify and collect safe wild berries using a small basket, record observations, and always check with an adult.
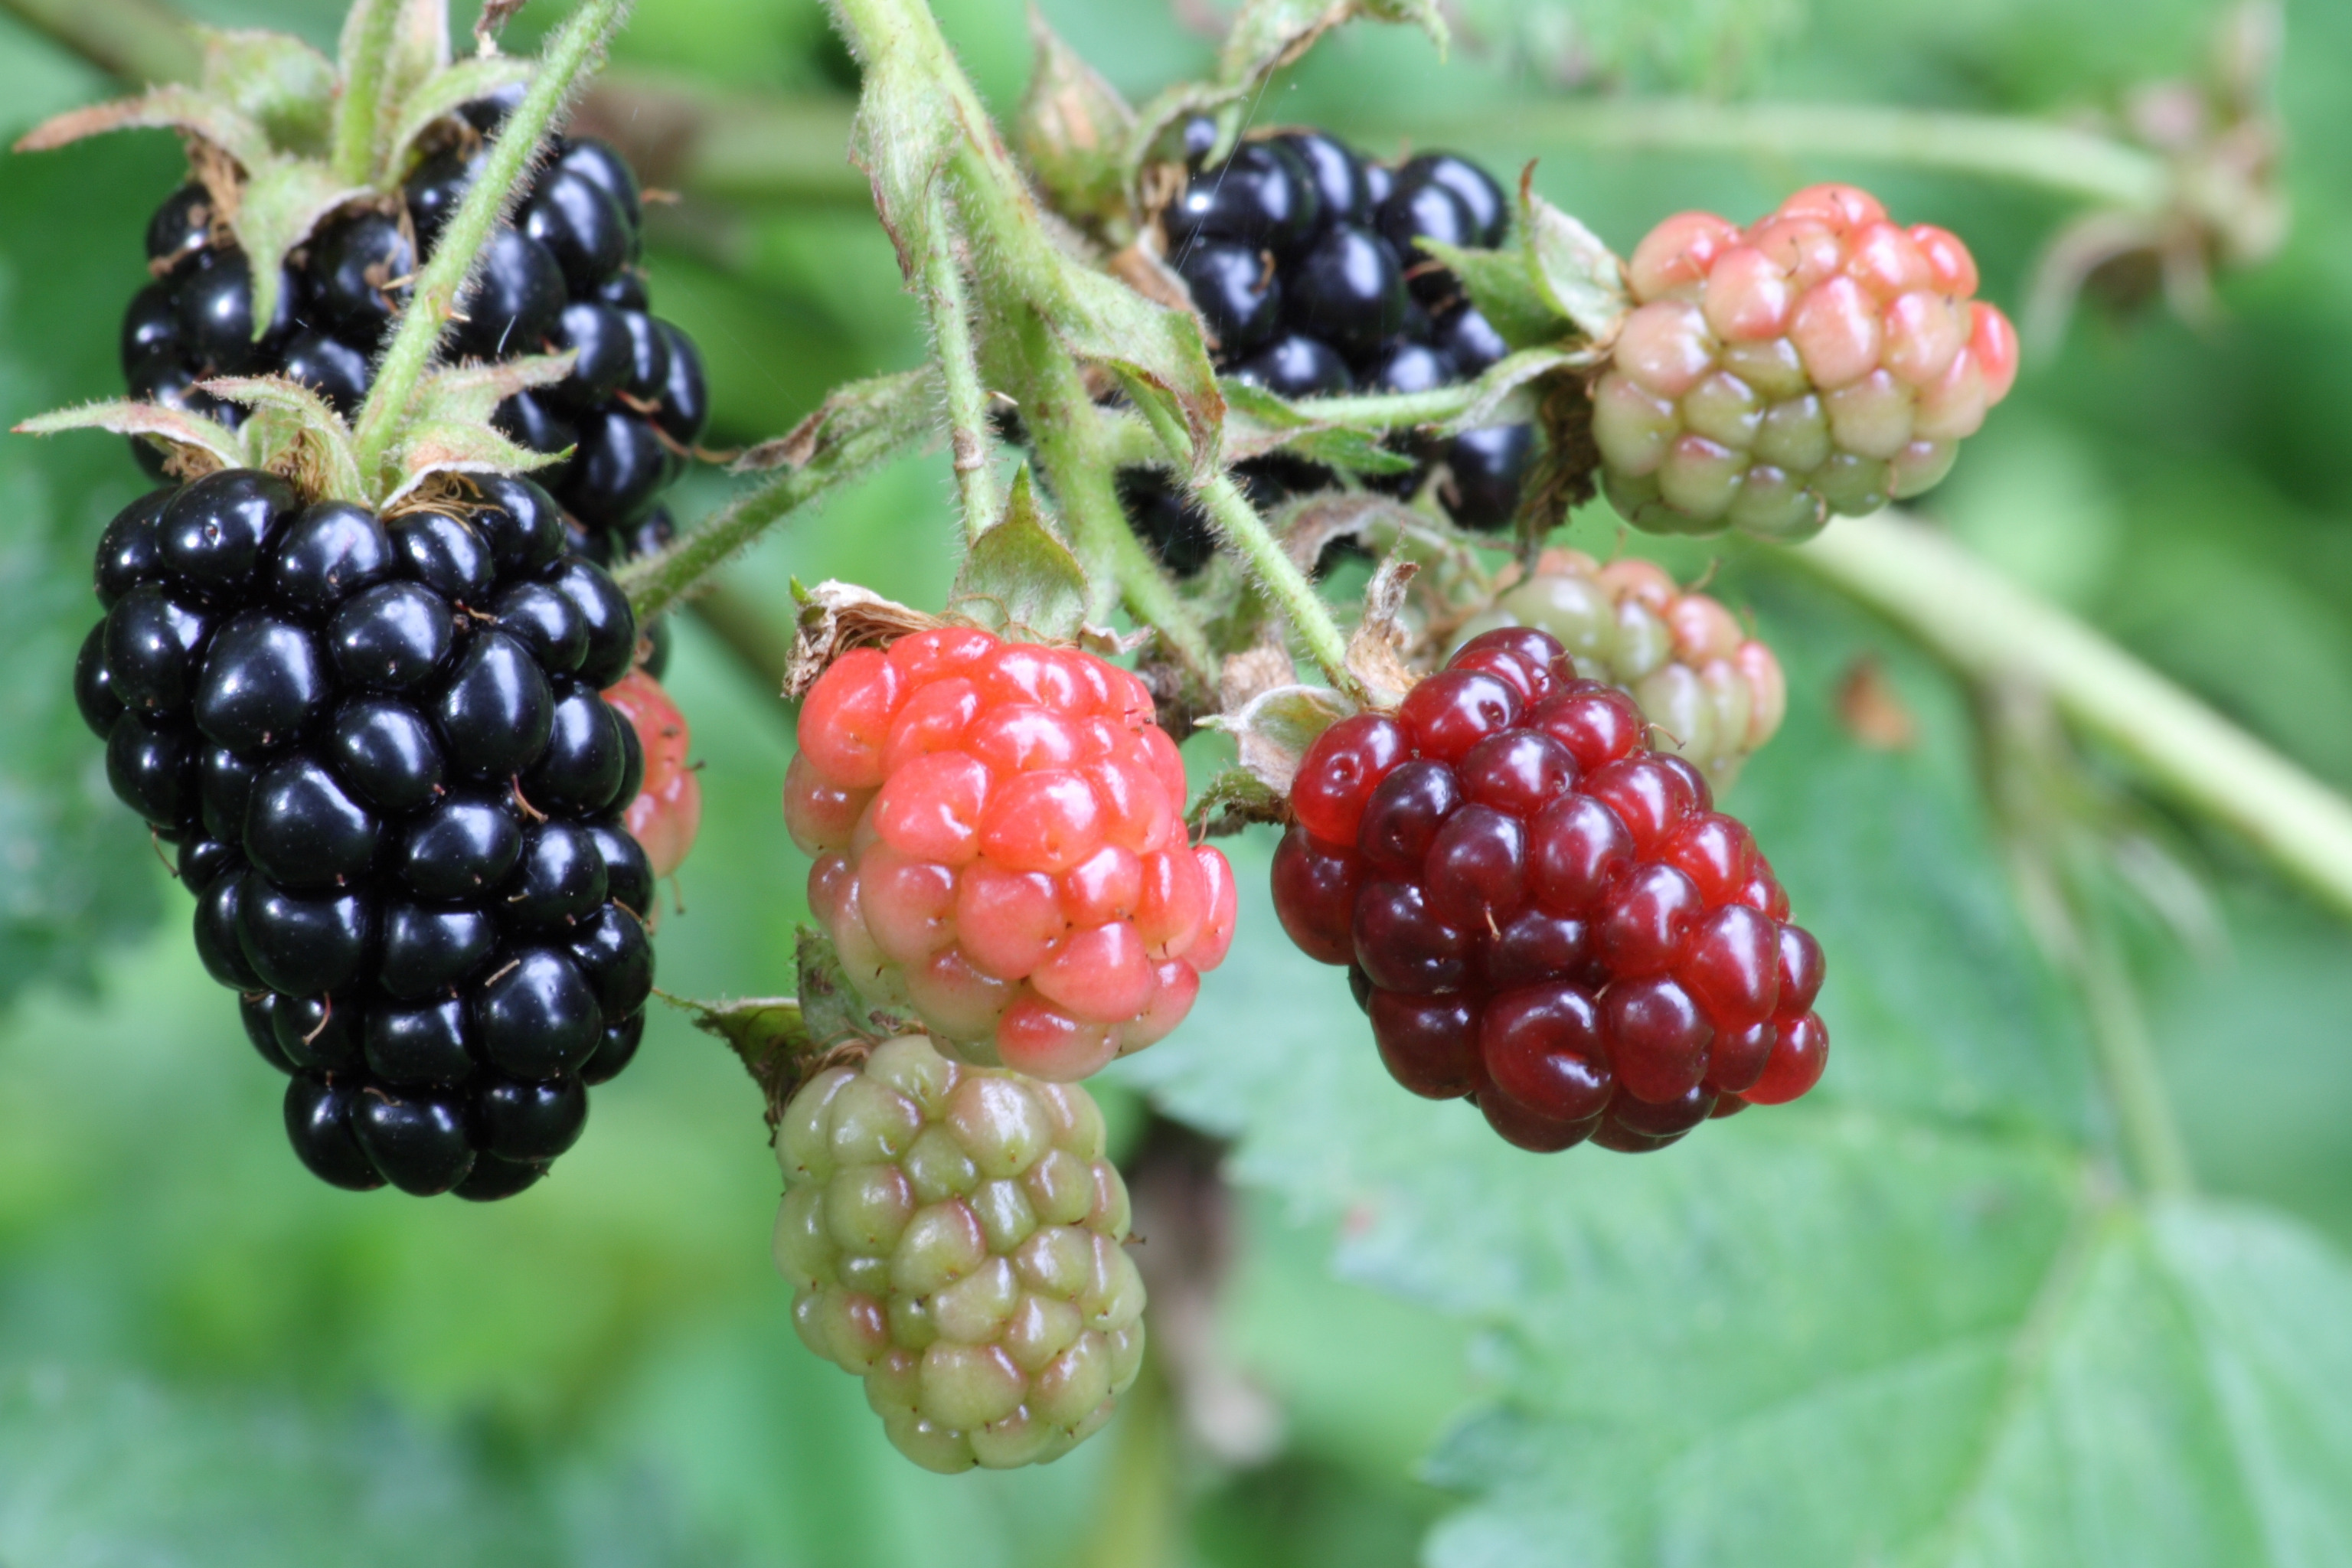
About this activity
Go on a supervised nature walk to identify and collect safe wild berries using a small basket, record observations, and always check with an adult.
What you need
Step by step
- 1
Step 1
Find an adult to come with you and choose a safe nearby trail or park for your berry walk.
- 2
Step 2
Gather your small basket notebook pencil and optional magnifying glass and bring them to your starting spot.
- 3
Step 3
Ask your adult to show you pictures or examples of berries that are safe to touch and berries you must avoid.
- 4
Step 4
Walk slowly with your adult and look carefully at bushes and low branches for berry clusters.
- 5
Step 5
Show each berry cluster to your adult and wait for their OK before you touch or pick anything.
- 6
Step 6
If your adult says a berry is safe pick a few gently and place them in your basket one at a time.
- 7
Step 7
Write the berry name the date and where you found it in your notebook.
- 8
Step 8
Use your magnifying glass to look closely and draw the berry leaf and stem in your notebook.
- 9
Step 9
Describe how the berry looks smells and feels in one or two short sentences in your notebook.
- 10
Step 10
Count the berries you collected and write the total number next to your notes.
- 11
Step 11
Give the basket to your adult so they can store or inspect the berries safely.
- 12
Step 12
Ask the adult for permission before tasting any berry and only taste if they say it is safe.
- 13
Step 13
With your adult's help share your finished nature log and drawings on DIY.org.
Fun facts
How do I collect wild berries on a supervised nature walk with my child?
Start by choosing a safe, familiar trail and set clear rules: stay together, don’t taste anything without adult approval, and stick to paths. Bring a field guide or ID app and teach children key features of safe berries. Let kids pick a few specimens into a small basket, take photos, and record notes about location, plant, and color. Leave doubtful or protected plants, wash hands after handling, and never eat berries until an adult confirms they’re safe.
What materials do I need for a child-friendly wild berry collecting walk?
Materials you'll need: a small wicker or mesh basket for collected berries; a regional plant field guide or berry ID app; notebook and pencil for observations; smartphone or camera for photos; hand sanitizer and wipes; magnifying glass and gloves; water, sunscreen, and a basic first-aid kit; and sturdy shoes. Optional: zip-top bags for samples (label them) and a map. Teach children to use tools responsibly and avoid touching unknown plants.
What ages is berry collecting suitable for with children?
This activity suits different ages with supervision: toddlers (1–3) can enjoy a stroller or short close-guided walk—focus on looking, not touching. Preschoolers (3–5) can point out colors and help collect with hand-over-hand guidance. Early elementary (6–9) can learn simple ID rules and record observations. Older children (10+) can assist with identification, mapping, and safe harvesting. Always supervise, confirm each berry with an adult, and adapt route length to the child's stamina.
What safety tips should parents follow when collecting wild berries with kids?
Safety first: teach children never to taste or eat wild berries unless an adult positively identifies them. Use a reliable field guide and compare look-alikes; teach identifying features like leaf shape and plant structure. Avoid picking near roads, treated lawns, or polluted water. Wear long sleeves and gloves to prevent skin irritation, wash hands and berries before eating, and carry a phone and first-aid kit. If ingestion of unknown berries occurs, call poison control immediately.
Watch & Learn
Need help?
If we don't have a magnifying glass or a small basket, what can we use instead?
If you don't have a magnifying glass, use a phone camera's zoom or reading glasses to examine the berry leaf and stem, and if you lack a small basket use a clean container or paper bag to collect berries one at a time as instructed in step 6.
What should we do if we're unsure whether a berry cluster is safe to touch or pick?
If your adult isn't sure a berry is safe, don't touch or pick it; instead photograph the cluster, write its location in your notebook, and give the basket to your adult for inspection as directed in step 11.
How can this berry walk be adapted for younger children or older kids?
For younger children have the adult do the picking while the child uses the magnifying glass to observe and dictates simple descriptions for the adult to write in the notebook, and for older kids have them identify species, draw detailed leaf and stem sketches, count and record totals, and upload the finished nature log to DIY.org.
How can we extend or personalize the activity after the walk?
Extend the activity by pressing a sample leaf in your notebook, adding a small map of where each berry was found, taking close-up photos to paste alongside your drawings, and creating a DIY.org post with the berries' names, date, counts and descriptions from your notes.