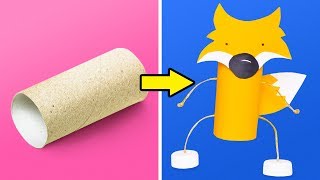
Collect recycled materials
Collect recycled materials and build a small art sculpture or model, learning about recycling, sorting items, teamwork, and creative reuse.


Step-by-step guide to collect recycled materials and build a small recycled sculpture
20 EASY RECYCLED PROJECTS FOR KIDS
Step 1
Gather recycled items from around your home and put them in one box or bag so everything is ready to use.
Step 2
Sort the items into piles by type like paper plastic metal and fabric so you can find pieces fast.
Step 3
Invite a friend or family helper and give each person one simple job like cutter decorator or builder.
Step 4
Choose a fun theme for your sculpture such as an animal rocket or funky robot so you have a clear idea.
Step 5
Draw a quick sketch of your idea on scrap paper to plan where big pieces will go.
Step 6
Pick a sturdy base like a cereal box lid or a flat plastic tray to build your sculpture on.
Step 7
Arrange your chosen recycled pieces on the base without gluing to try different layouts until you like one.
Step 8
Attach the largest pieces to the base using glue or tape to make the main shape sturdy.
Step 9
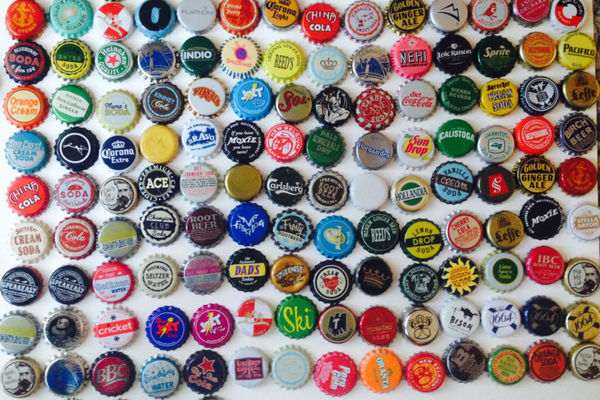
Glue or tape smaller parts like bottle caps buttons or paper tubes onto the main shape to add detail.
Step 10
Decorate the sculpture with colouring materials string or markers to add bright colors and patterns.
Step 11
Add any finishing touches like balancing pieces or trimming edges to make the sculpture neat and steady.
Step 12
Put leftover materials and tools away in their boxes or drawers to keep your workspace tidy.
Step 13
Share your finished creation on DIY.org so others can see your recycled art and learn from your teamwork and creativity.
Help!?
What can we use instead of a cereal box lid or glue if those are hard to find?
Use a piece of corrugated cardboard or a large hardcover book as a sturdy base instead of a cereal box lid, and replace missing glue with strong clear tape, a stapler, or a simple flour-and-water paste to attach pieces.
My sculpture keeps falling over or the pieces won't stick—what should I try?
If parts won't hold when you 'attach the largest pieces to the base', strengthen the base by taping multiple pieces of cardboard together or placing a heavy book underneath, make folded cardboard tabs to glue or tape under big elements, and trim or rebalance overhanging pieces to stop tipping.
How can we adapt this project for different ages?
For younger children, skip the cutter step and give them simple jobs like sorting or decorating with pre-cut pieces, while older kids can do detailed planning on the 'draw a quick sketch' step, use a supervised hot glue gun, and add moving or layered parts for complexity.
How can we enhance or personalize the recycled sculpture before sharing it on DIY.org?
Make the sculpture more unique by adding movable parts with brads or straws, small battery LED lights, bold patterns or mixed-media textures when you 'decorate the sculpture with colouring materials', and glue a handwritten nameplate describing your theme and team roles before you share it.
Watch videos on how to collect recycled materials and build a small recycled sculpture
Upcycled Crafts DIY | Upcycling Ideas For Beginners | Activities For Kids | School Project Ideas
4 Videos
Upcycled Crafts DIY | Upcycling Ideas For Beginners | Activities For Kids | School Project Ideas
23 CHEAP RECYCLED CRAFTS FOR CHILDREN
10 DIY Crafts Using Recycled Materials - EASY and CHEAP CRAFTS #recycle
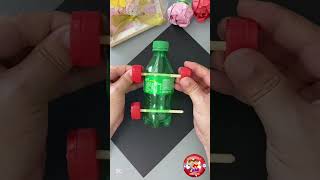
"Recycle & Create: DIY Toy Car from Plastic Bottles!" kidiesTime7 How to make Kids Car Fun & Learn
Facts about recycling and upcycling for kids
♻️ The familiar three‑chasing‑arrows recycling symbol was designed in 1970 by 23‑year‑old student Gary Anderson.
🎨 In 1917 Marcel Duchamp shocked the art world by exhibiting a urinal as a 'readymade', helping inspire found‑object sculpture.
🔁 Upcycling means turning discarded items into something even more useful or beautiful — like a bottle into a bird feeder.
🤝 Group art projects help kids practice teamwork skills like sharing tools, planning, and solving problems together.
📦 Everyday recyclables — cardboard, bottle caps, jars, and fabric scraps — make fantastic, free building materials for sculptures.
How do you make a small art sculpture from recycled materials with your child?
What materials do I need to collect for a recycled materials art sculpture?
What ages is building recycled-material sculptures suitable for?
What are the benefits of making recycled-material sculptures with kids?
