Celebrate Friendship Day On DIY!
Make handmade friendship bracelets using colorful threads and beads, exchange with friends and learn simple patterns, knots, and creative decoration techniques.


Step-by-step guide to make handmade friendship bracelets for Celebrate Friendship Day
DIY Paper Friendship Bands | 3 Easy & Creative Friendship Day Crafts |Arts A2Z
Step 1
Pick four colourful threads you like and lay them out in a row.
Step 2
Measure each thread to about 60 cm (24 inches) and cut them with scissors.
Step 3
Line up the four cut threads and tie a tight knot about 5 cm from one end to make a loop and short tail.
Step 4
Secure the knotted loop to a table or pillow using clear tape or a safety pin.
Step 5
Spread the threads flat so you have two middle filler strands and two outer working strands.
Step 6
Tie one square knot by crossing the left outer strand over the two middle strands and under the right outer strand then pull it snug.
Step 7
Repeat the same square knot over and over until the knotted section is the length you want.
Step 8
Slide colourful beads onto the middle two strands wherever you want decorations.
Step 9
Tie a final tight knot just after the last bead to secure the design.
Step 10
Trim the tails to about 5 cm with scissors.
Step 11
Braid the trimmed tails and tie a small knot at the end to make a tie for the bracelet then give the bracelet to a friend to exchange.
Step 12
Share your finished friendship bracelet on DIY.org
Final steps
You're almost there! Complete all the steps, bring your creation to life, post it, and conquer the challenge!

Help!?
Can I substitute the clear tape or safety pin used to secure the knotted loop if I don't have them?
Yes — instead of clear tape or a safety pin you can clip the knotted loop under a clothespin or binder clip, tuck it under a heavy book, or pin it into a cushion to keep the bracelet steady while you tie the square knots.
My beads keep sliding down the middle strands before I finish — how do I stop that?
Slide a bead up close to the knotted section and tie a small overhand knot on the two middle strands before adding more square knots, and remember to tie the final tight knot just after the last bead to secure the design.
How can I change the difficulty for younger or older kids doing this bracelet activity?
For younger kids (3–5) have an adult pre-cut the 60 cm threads, tie the knotted loop, secure it to a pillow with a safety pin, and use large pony beads, while older kids (8+) can use six or more threads and repeat square knots to make a wider, more intricate bracelet.
What are simple ways to personalize or extend the friendship bracelet project?
Personalize by sliding alphabet or charm beads onto the middle strands before the final tight knot to spell names, mix different colour patterns across multiple bracelets to give a set, and then share photos on DIY.org.
Watch videos on how to make handmade friendship bracelets for Celebrate Friendship Day
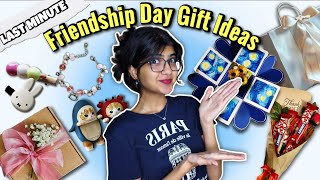
3 Best Easy Friendship Day Gift Ideas for Kids | Friendship Day Crafts, Poster & Card 2022
4 Videos

3 Best Easy Friendship Day Gift Ideas for Kids | Friendship Day Crafts, Poster & Card 2022
7 *Cute & Quick* Friendship Day Crafts You Can Make at Home😍🎀
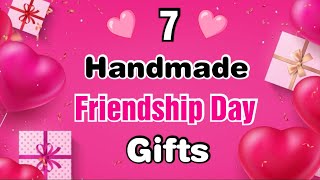
7 Amazing DIY Friendship Day Gift Ideas | Happy Friendship Day Crafts | Friendship Day Gifts 2024
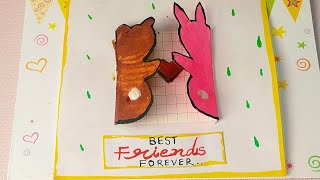
DIY Friendship Day Card | Easy Handmade Card Craft for Kids | Friendship Day Special
Facts about friendship bracelets and kids' crafts
💝 A sweet tradition is to tie a bracelet on a friend's wrist and make a wish; folklore says when it naturally falls off, the wish might come true.
🧵 Embroidery floss usually has 6 strands you can separate, so you can make bracelets thin or thick without changing the color.
🔗 Macram��r����� was long used by sailors to make decorative knotwork and is the basis for many bracelet knots.
🎨 Popular friendship bracelet patterns include chevrons, stripes, diamonds, and arrows — easy to mix for colorful designs.
🤝 The United Nations celebrates the International Day of Friendship every year on July 30.
How do I make handmade friendship bracelets for Friendship Day with my child?
What materials do I need to make DIY friendship bracelets?
What ages is making friendship bracelets suitable for?
What are the benefits of making friendship bracelets with kids?


One subscription, many ways to play and learn.
Only $6.99 after trial. No credit card required