Cartoonify a Household Object
Turn a household object into a friendly cartoon character using paper, markers, glue, and recycled materials; design facial features and pose to express emotions.


Step-by-step guide to cartoonify a household object
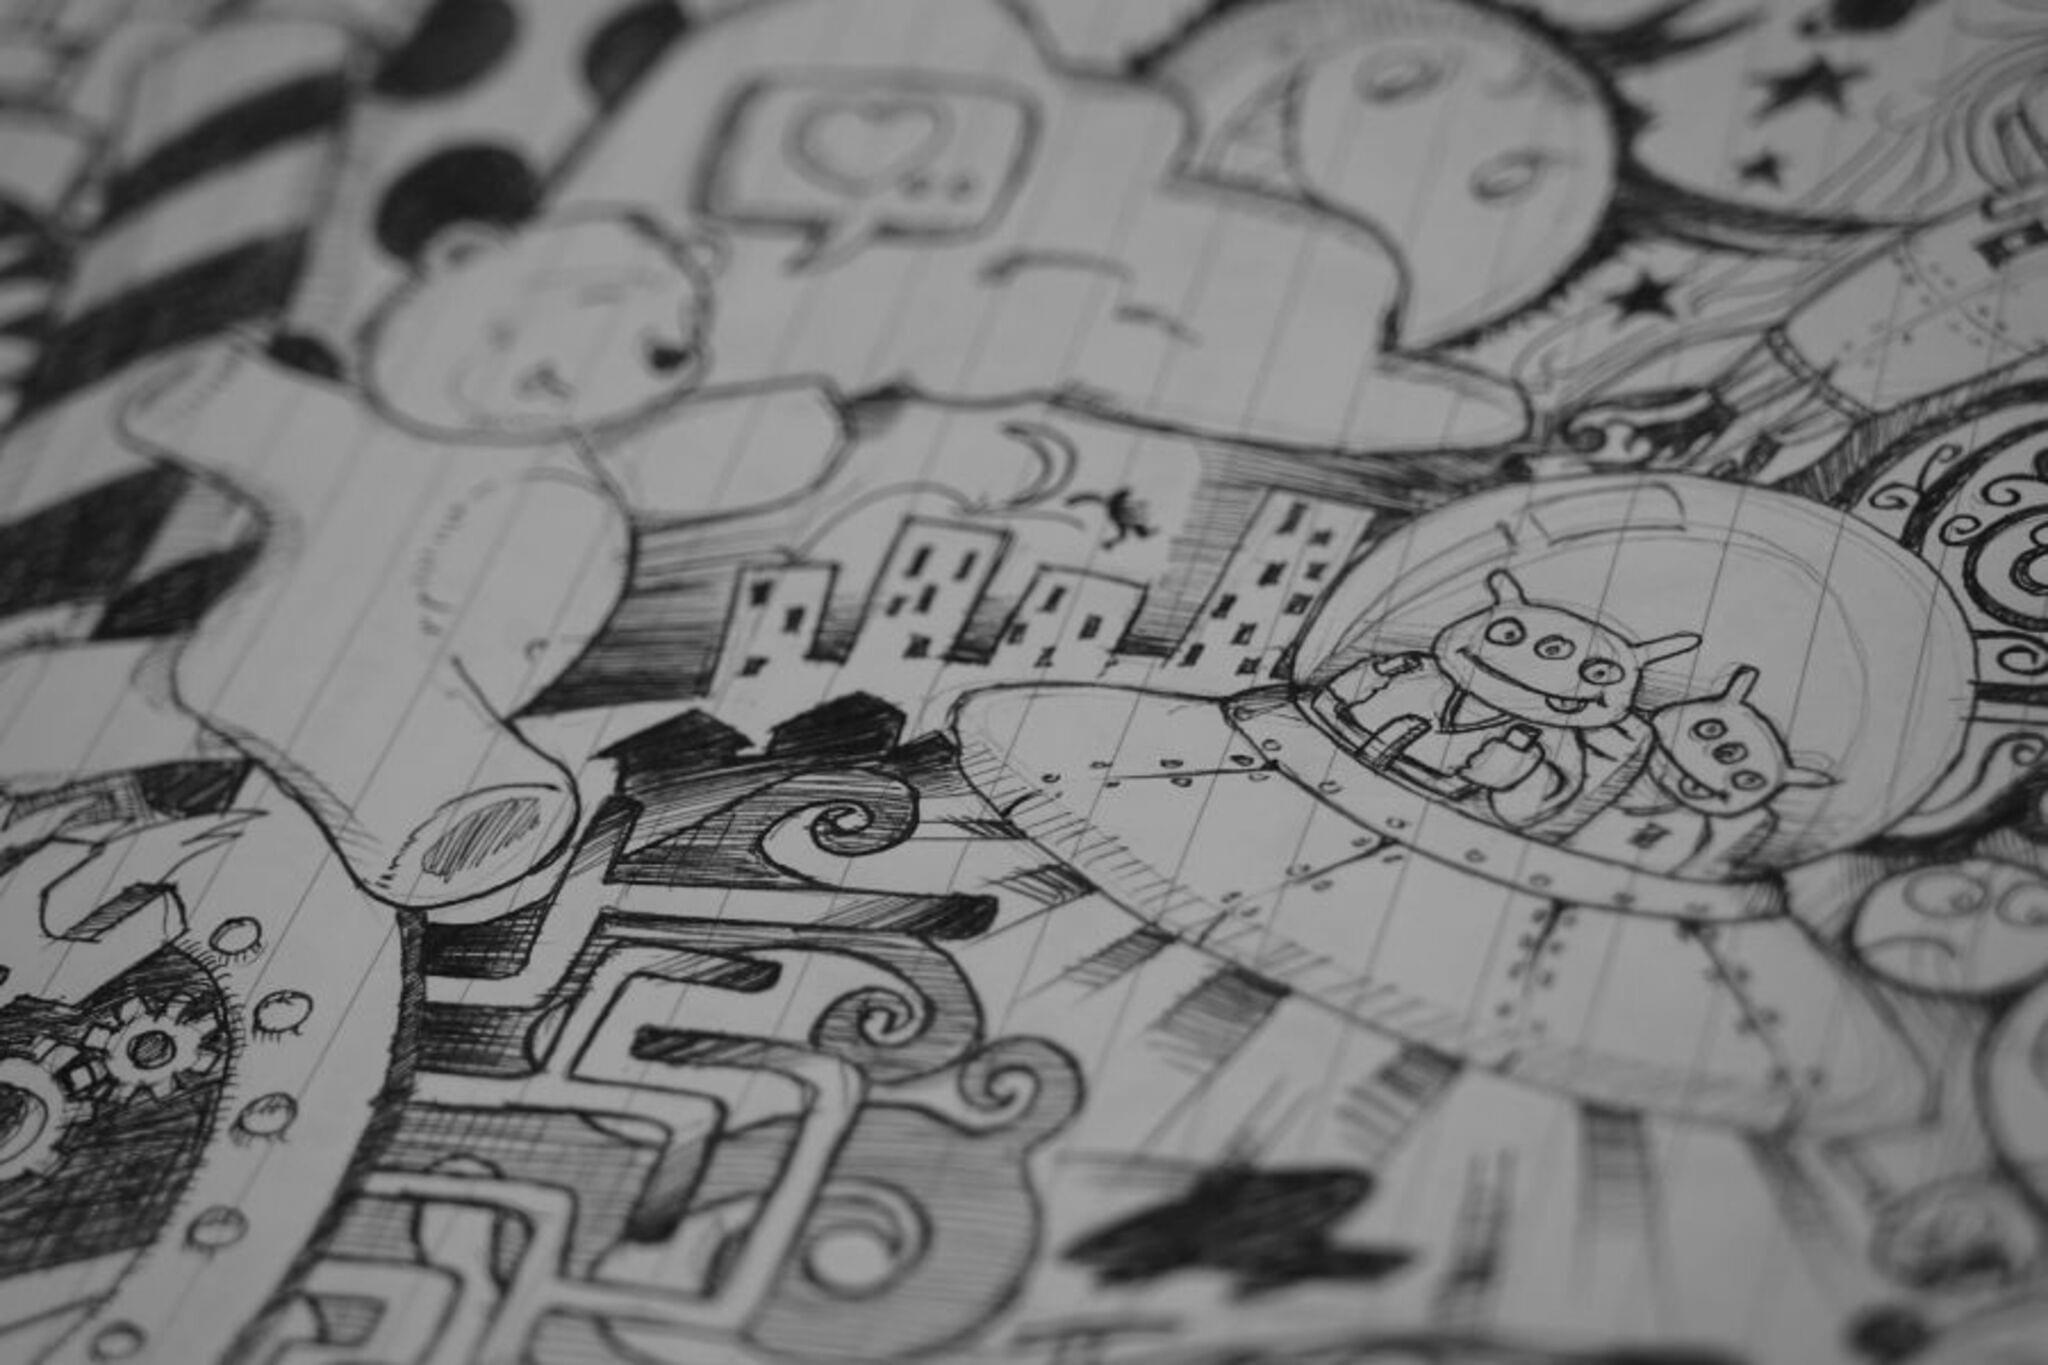
How To Cartoonize A Picture | AI Image to Cartoon or 3D Animation Pixar Style
Step 1
Pick one household object you want to turn into a cartoon character.
Step 2
Decide what emotion your character will show like happy sleepy or surprised.
Step 3
Look at your object and choose where a face would fit best.
Step 4
Draw the facial features on paper using a pencil so you can change them if needed.
Step 5
Color the paper features with your colouring materials to make them bright and bold.
Step 6
Cut out the paper features carefully from the paper using scissors.
Step 7
Collect recycled materials to make accessories such as a hat arms or glasses.
Step 8
Glue the paper features and recycled accessories onto your object to make the face and outfit.
Step 9
Add a pose by attaching folded paper legs or arms with tape so the character looks active.
Step 10
Give your character a name and write it on a small paper tag to stick on the object.
Step 11
Share your finished creation on DIY.org
Help!?
What can we use instead of scissors, glue, or colouring materials if we don't have them at home?
If you don't have scissors for step 6 use torn paper edges or ask an adult to cut with a craft knife, swap glue in step 7 for double-sided tape or a stapler, and replace colouring materials in step 5 with markers, crayons, or painted scraps.
What should we do if the paper face or recycled accessories won't stick or the character keeps falling over?
If features from step 7 won't stick, press them with extra glue or use strong double-sided tape and if folded paper legs from step 8 make the object tip, reinforce or widen the legs with tape or glue a small cardboard base underneath for balance.
How can we adapt this activity for different age groups so it's safe and fun for everyone?
For toddlers use pre-cut paper features, stickers, and wide crayons and let them attach accessories with tape (steps 5–8), while older kids can cut finer details, sew fabric accessories, or add small LEDs and moving joints to arms or legs with supervision (steps 6–8).
How can we extend or personalize the cartoon object after finishing the basic steps?
You can personalize accessories from recycled materials in step 7 with fabric, buttons, or googly eyes, make a small cardboard stage for poses in step 8, write a funny backstory on the name tag in step 9, and film a short video to share on DIY.org in step 10.
Watch videos on how to cartoonify a household object
How to create Animated Cartoons in 5 Minutes! (Easy Adobe Express Tutorial)
4 Videos

How to create Animated Cartoons in 5 Minutes! (Easy Adobe Express Tutorial)
Household Objects for Kids | Learn About Everyday Items | Fun & Educational
Learn 100 Household Objects for Kids with Realtime Photo and Video | Bright Bunnies
A to Z Household Items for Kids | Learn Home Objects Names | Educational Video |
Facts about character design and paper crafts for kids
🎨 Many cartoons are built from simple shapes—circles, squares, and triangles—so they're easy to draw and remember.
♻️ Recycling one ton of paper can save about 17 trees, so using recycled materials helps the planet.
🙂 People around the world commonly recognize six basic facial emotions: happiness, sadness, anger, fear, disgust, and surprise.
✂️ Papercraft and collage let kids layer textures and colors to give flat objects 3D personality and motion.
🤖 Anthropomorphism—giving objects human traits—is how artists turn a teapot or sock into a character with feelings.
How do I cartoonify a household object step by step?
What materials do I need to turn a household object into a friendly cartoon character?
What ages is this Cartoonify activity suitable for?
What are the benefits of cartoonifying household objects for kids?


