Build your own Minecraft set
Build a custom Minecraft set using cardboard, paper cubes, paint, and toy figures to recreate scenes, practice planning, measuring, and creative problem-solving.


Step-by-step guide to build your own Minecraft set
I built EVERY MINECRAFT structure in LEGO...
Step 1
Pick one Minecraft scene you want to recreate like a village cave or farm.
Step 2
Draw a simple layout of your scene on paper showing where water houses and paths will go.
Step 3
Measure and mark a cardboard piece for your base using a ruler and pencil.
Step 4
Cut out the cardboard base along your markings.
Step 5
Paint the base background colors such as grass water and sky.
Step 6
Fold each paper cube template along the lines to form cube shapes.
Step 7
Glue the tabs to close each paper cube so they hold their shape.
Step 8
Measure and cut small cardboard squares or rectangles to make extra larger blocks.
Step 9
Paint the paper cubes and cardboard blocks with Minecraft-style colors and patterns.
Step 10
Arrange the painted cubes and blocks on the base following your drawn layout.
Step 11
Glue or tape the cubes and blocks down to secure your scene to the base.
Step 12
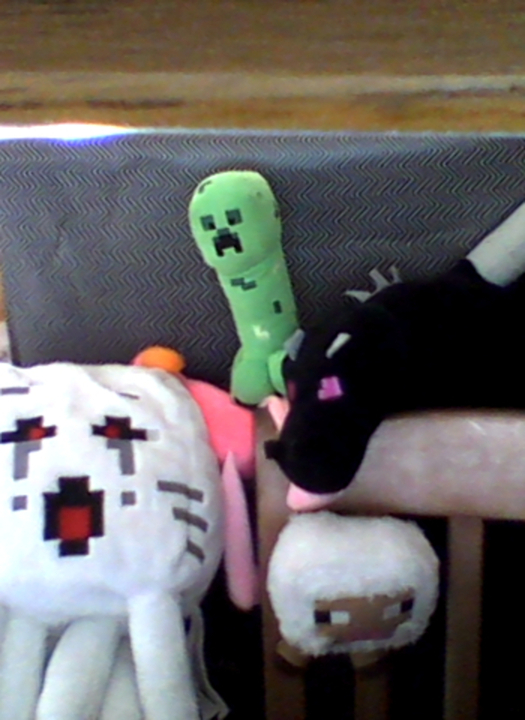
Place toy figures and any extra details into the scene in the spots you like.
Step 13
Share your finished Minecraft set on DIY.org
Help!?
What can I use if I don't have paint or preprinted paper cube templates?
Use colored markers, construction paper glued onto recycled cereal-box cardboard for the base and blocks, or draw the 6-square cube nets by hand and color them instead of using paint or preprinted paper cube templates.
My paper cubes keep popping open or the scene shifts when I glue them down—how can I fix that?
Pre-crease every fold with a ruler before you glue the tabs, apply glue sparingly to tabs and hold them with clothespins or small clamps until dry, and press the cubes onto the cardboard base with a heavy book while the glue sets so the blocks adhere securely.
How do I adapt this Minecraft set activity for different age groups?
For preschoolers, have an adult measure and cut the cardboard base and pre-fold cubes so they can paint big blocks and place toy figures, for elementary kids let them measure with a ruler, cut with safety scissors, and fold and glue their paper cube templates, and for older kids encourage detailed painting, extra cardboard block construction, and photographing the finished scene to share on DIY.org.
What are simple ways to extend or personalize our Minecraft scene after it's built?
Personalize by painting custom Minecraft skins on paper cubes, add battery tea-lights inside painted cardboard houses for torch glow, stack extra cardboard platforms for multi-level terrain, and include handmade clay or paper figures before sharing the finished Minecraft set on DIY.org.
Watch videos on how to build your own Minecraft set
Minecraft: How to Build a Cozy Spruce Cabin
4 Videos
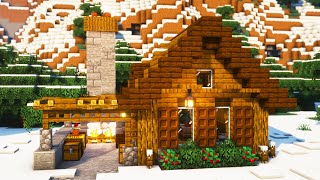
Minecraft: How to Build a Cozy Spruce Cabin
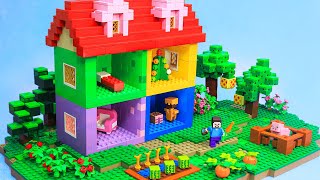
Creating a Vibrant 4-Color LEGO Minecraft House | Brickmine Highlights #3
![The PERFECT Starter House in Minecraft [Tutorial]](https://img.youtube.com/vi/T9Sl2VajkHo/mqdefault.jpg)
The PERFECT Starter House in Minecraft [Tutorial]
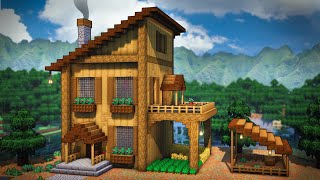
Minecraft: How To Build A Starter House | Easy Tutorial
Facts about papercraft and model building for kids
🧱 In Minecraft one block is treated as a 1×1×1 meter cube — a handy real-world scale for paper-cube builds.
🎮 Minecraft launched in 2011 and became one of the most influential, player-driven creative games ever.
✂️ Papercraft turns flat sheets into 3D models using folds and tabs — perfect for making sturdy paper cubes with glue and a ruler.
🎨 Pixel art and Minecraft both use a block-by-block grid style — each paper cube can act like a giant pixel in a scene.
♻️ Cardboard is lightweight, easy to cut and paint, and widely recyclable — a kid-friendly material for creative builds.
How do you build a custom Minecraft set at home?
What materials do I need for a DIY Minecraft set?
What ages is this Minecraft set activity suitable for?
What are the benefits of building a Minecraft set for kids?
