Build paper architecture
Design and build small paper buildings and bridges using cardstock, scissors, glue, and rulers while exploring structure, scale, and simple engineering.


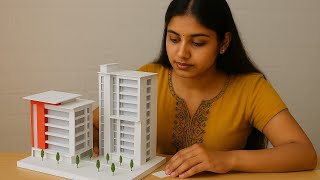
Step-by-step guide to build paper architecture
How To Build A Building: Architecture for Kids Step by Step Paper Model
Step 1
Gather all materials into one pile on a clear workspace.
Step 2
On scrap paper draw a simple sketch of the building you want to make.
Step 3
On scrap paper draw a simple sketch of the bridge you want to make.
Step 4
Write the scale you will use for your models on scrap paper (for example 1 floor = 3 cm).
Step 5
Use the ruler and pencil to draw the building walls and base on cardstock and add 1 cm glue tabs.
Step 6
Use the ruler and pencil to draw the roof pieces and the bridge deck and supports on cardstock and add 1 cm glue tabs.
Step 7
Cut out all the cardstock pieces carefully with scissors.
Step 8
Score fold lines on each piece using the ruler or the blunt side of the scissors where you will fold.
Step 9
Fold all tabs and edges to make crisp 90-degree corners.
Step 10
Glue the building tabs together to form the building shell.
Step 11
Wait until the glued building pieces are dry and stable.
Step 12
Glue the bridge tabs and supports to assemble the bridge structure.
Step 13
Wait until the glued bridge pieces are dry and stable.
Step 14
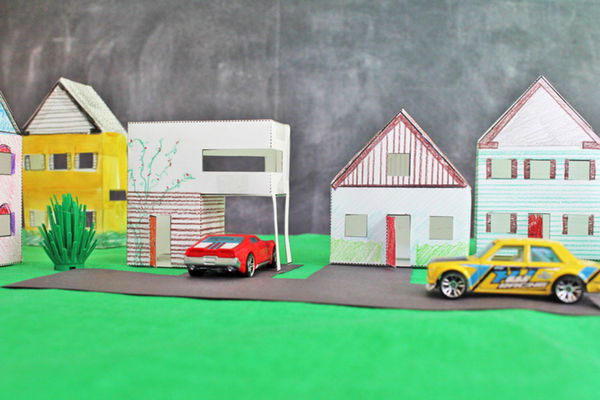
Decorate your building and bridge with colouring materials and add small details.
Step 15
Share a photo and a short description of your finished paper buildings and bridge on DIY.org.
Help!?
What can I use instead of cardstock or glue if I don't have them?
If you don't have cardstock, use cereal-box cardboard or heavy paper for the building walls and bridge deck, and replace white school glue with double-sided tape or a glue stick to join the 1 cm glue tabs.
My folds aren't making crisp 90-degree corners and the model keeps coming apart, what should I do?
Re-score the fold lines using the ruler or the blunt side of the scissors, press each fold firmly to make sharp edges, and hold glued 1 cm tabs in place with clothespins or small weights until the glued pieces are dry and stable.
How can I adapt this activity for different ages or skill levels?
For younger children, pre-draw and pre-cut the cardstock walls, roof pieces, bridge deck and 1 cm glue tabs so they can fold, glue with tape, and colour, while older kids can use your chosen scale, measure precisely, score with the ruler and assemble more detailed roofs and supports.
What are some ways to extend or personalize the finished building and bridge?
Enhance your glued building shell and bridge by adding corrugated-paper roofing, paper furniture inside, painted details on the supports, small landscaping from scrap paper, and then share a photo and short description on DIY.org.
Watch videos on how to build paper architecture
Build a City With Paper: Origami Architecture For Kids
4 Videos
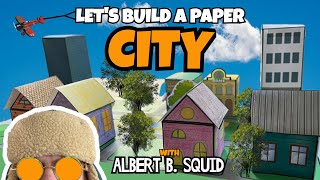
Build a City With Paper: Origami Architecture For Kids
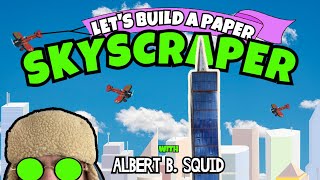
A Paper Skyscraper: Architecture for Kids
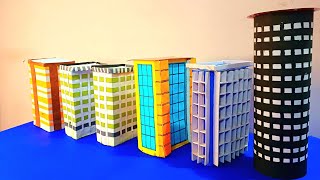
Building model making for school project | Paper building & city model | Cardboard building model
architectural building model from paper | architecture model making
Facts about paper engineering and model building
🏗️ Triangles are super-strong — engineers use triangular trusses in bridges and roofs because they don't change shape under pressure.
✂️ Cardstock is thicker than regular paper (commonly around 200–300 gsm), so it holds edges and shapes better for tiny buildings.
📏 Scale is a ratio: at 1:100 scale, 1 cm on your model equals 1 m in real life — tiny rulers, big ideas!
🌉 There are three common bridge types — beam, arch, and truss — and each moves forces a different way to stay standing.
🧠 Hands-on model building boosts spatial reasoning and problem-solving, making it a fun STEM activity for kids.
How do I design and build small paper buildings and bridges with cardstock?
What materials do I need to build paper architecture with my child?
What ages is building paper architecture suitable for?
What are the benefits and safety tips for paper architecture, and are there fun variations?
