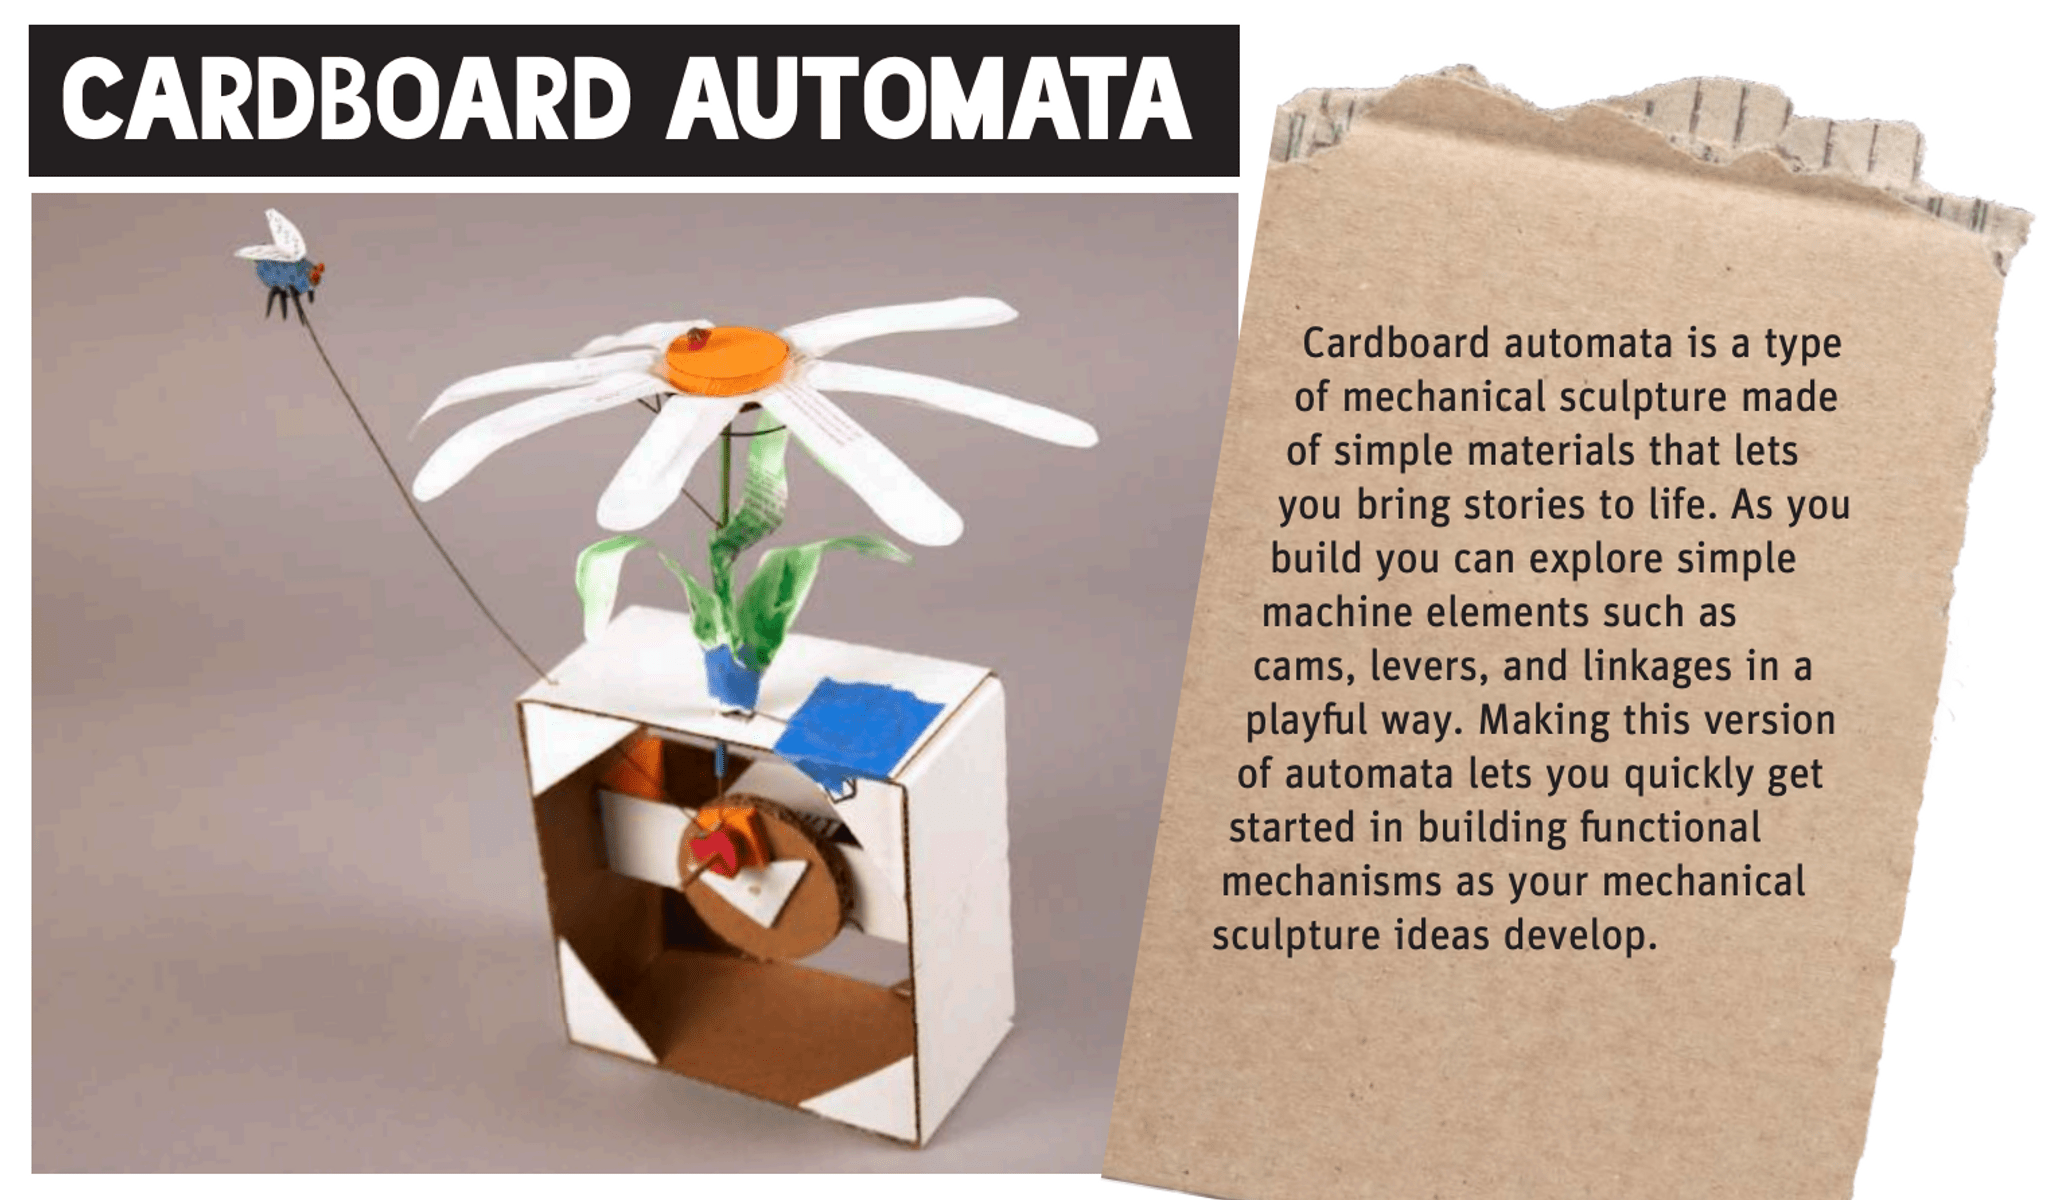
Build an Automaton
Build a simple hand-crank automaton using cardboard, wooden dowels, cams, and glue to make moving figures while learning basic mechanisms and motion.


Step-by-step guide to build a hand-crank automaton
How to make an Automata- a STEM activity | DIY | School project | science project | STEM activity
Step 1
Cut a rectangle from cardboard about 30 cm by 12 cm to make the base.
Step 2
Cut two upright support pieces from cardboard and add a slot in each sized for the dowel to sit in.
Step 3
Glue the two support pieces upright onto the base near each end so the slots face each other.
Step 4
Slide the wooden dowel through the slots to create a rotating axle across the supports.
Step 5
Cut two or three cardboard discs and shape each disc with an off-center lobe to make simple cams.
Step 6
Slide the cams onto the dowel and add beads or washers between them so each cam can turn freely.
Step 7
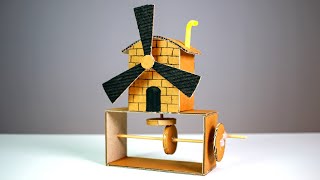
Glue a short dowel or skewer perpendicular to one end of the axle to act as a crank handle.
Step 8
Cut two follower rods from thin cardboard strips or use skewers to reach from the cams down toward the base.
Step 9
Glue the top end of each follower under a cam lobe so the cam will lift the follower as it turns.
Step 10
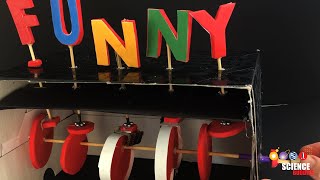
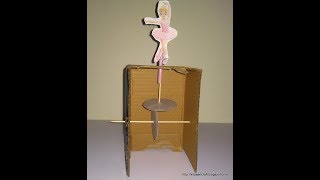
Cut two small cardboard figures to attach to the followers.
Step 11
Colour or decorate the cardboard figures with markers or crayons if you like.
Step 12
Glue each figure to the bottom end of a follower rod so the figures will move when the cams turn.
Step 13
Turn the crank slowly to watch your automaton figures move and check that everything spins freely.
Step 14
Share your finished automaton on DIY.org
Help!?
I can't find a wooden dowel or beads—what can I use instead for the axle and spacers?
Use a sturdy pencil or chopstick as the dowel axle and replace beads/washers with small buttons or tightly folded paper between the cardboard cams so they still spin freely.
My axle is hard to turn after I 'Turn the crank slowly'; what should I check and fix?
Check that the cardboard slots aren't too tight and widen them slightly, ensure the cams have beads/washers or folded-paper spacers between them, and realign or trim any follower or figure that rubs the base so the axle can rotate freely.
How can I adapt this automaton activity for different ages?
For preschoolers, have an adult pre-cut the 30 cm × 12 cm base, supports with slots, and let them slide the dowel and glue pre-made figures, while older kids can design multiple off-center cam lobes, experiment with cam shapes, and attach skewers as crank handles themselves.
What are simple ways to enhance or personalize the finished automaton?
Glue extra cardboard cams and follower rods for more complex movement, decorate the cardboard figures with markers or crayons, and optionally replace the hand crank with a small battery motor attached to the dowel for continuous motion to film and share on DIY.org.
Watch videos on how to build a hand-crank automaton
Design and Make Automata | STEM Activity
4 Videos
Design and Make Automata | STEM Activity
How to make your first Cardboard Automata
How to Make a Automata Toy From Cardboard
Cardboard Automaton: Up And Spin Example
Facts about simple machines and mechanisms
🤖 The word "automaton" comes from ancient Greek meaning "self-moving" — people built working automatons over 2,000 years ago.
⚙️ A cam converts rotary motion into linear or reciprocating motion, and a single cam can create surprisingly complex repeating movements.
🔩 Cranks are ancient and powerful: hand cranks helped power mills, pumps, and even early internal combustion engines.
🪵 Wooden dowels are simple but sturdy — they're often used as axles or pivots in models because they're smooth and easy to shape.
🎩 Victorian automata were beloved mechanical toys and curiosities, and some antique automata now sell at auction for tens of thousands of dollars.
How do I build a simple hand-crank automaton?
What materials do I need to build a cardboard and dowel automaton?
What ages is a hand-crank automaton suitable for?
What are the benefits and safety tips for making an automaton, and how can I vary it?
